Barn move … wings dismantle

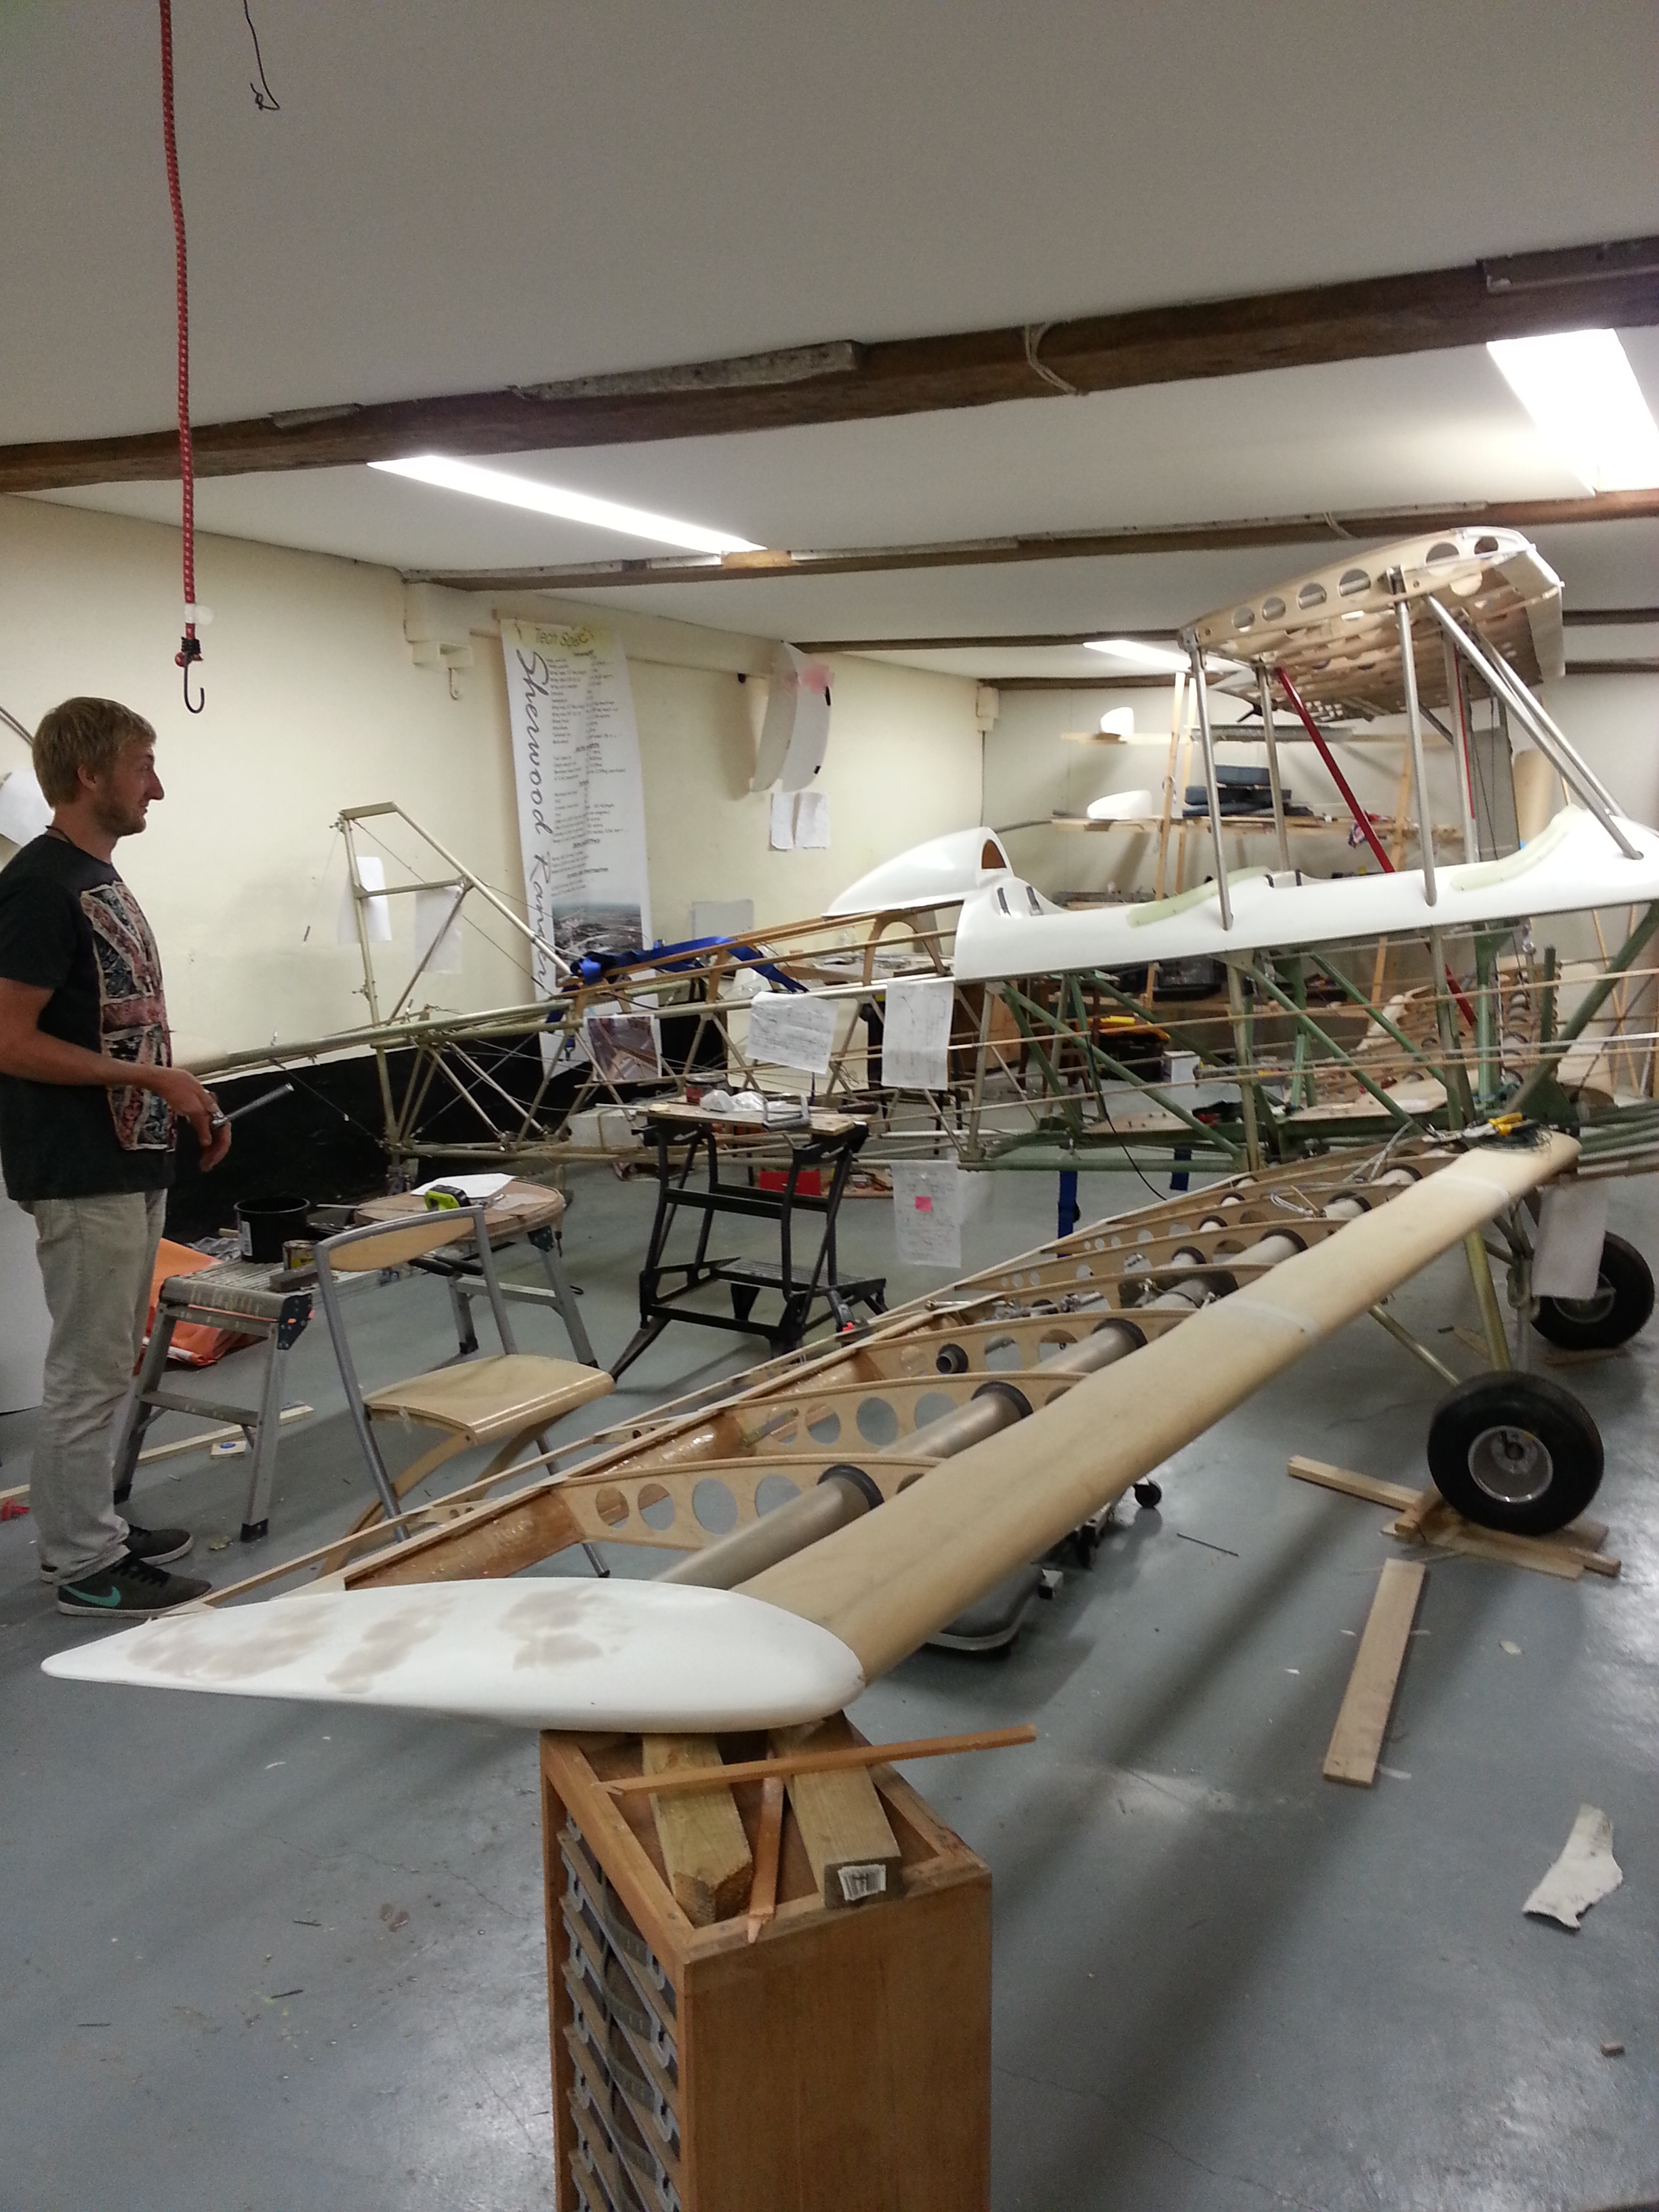
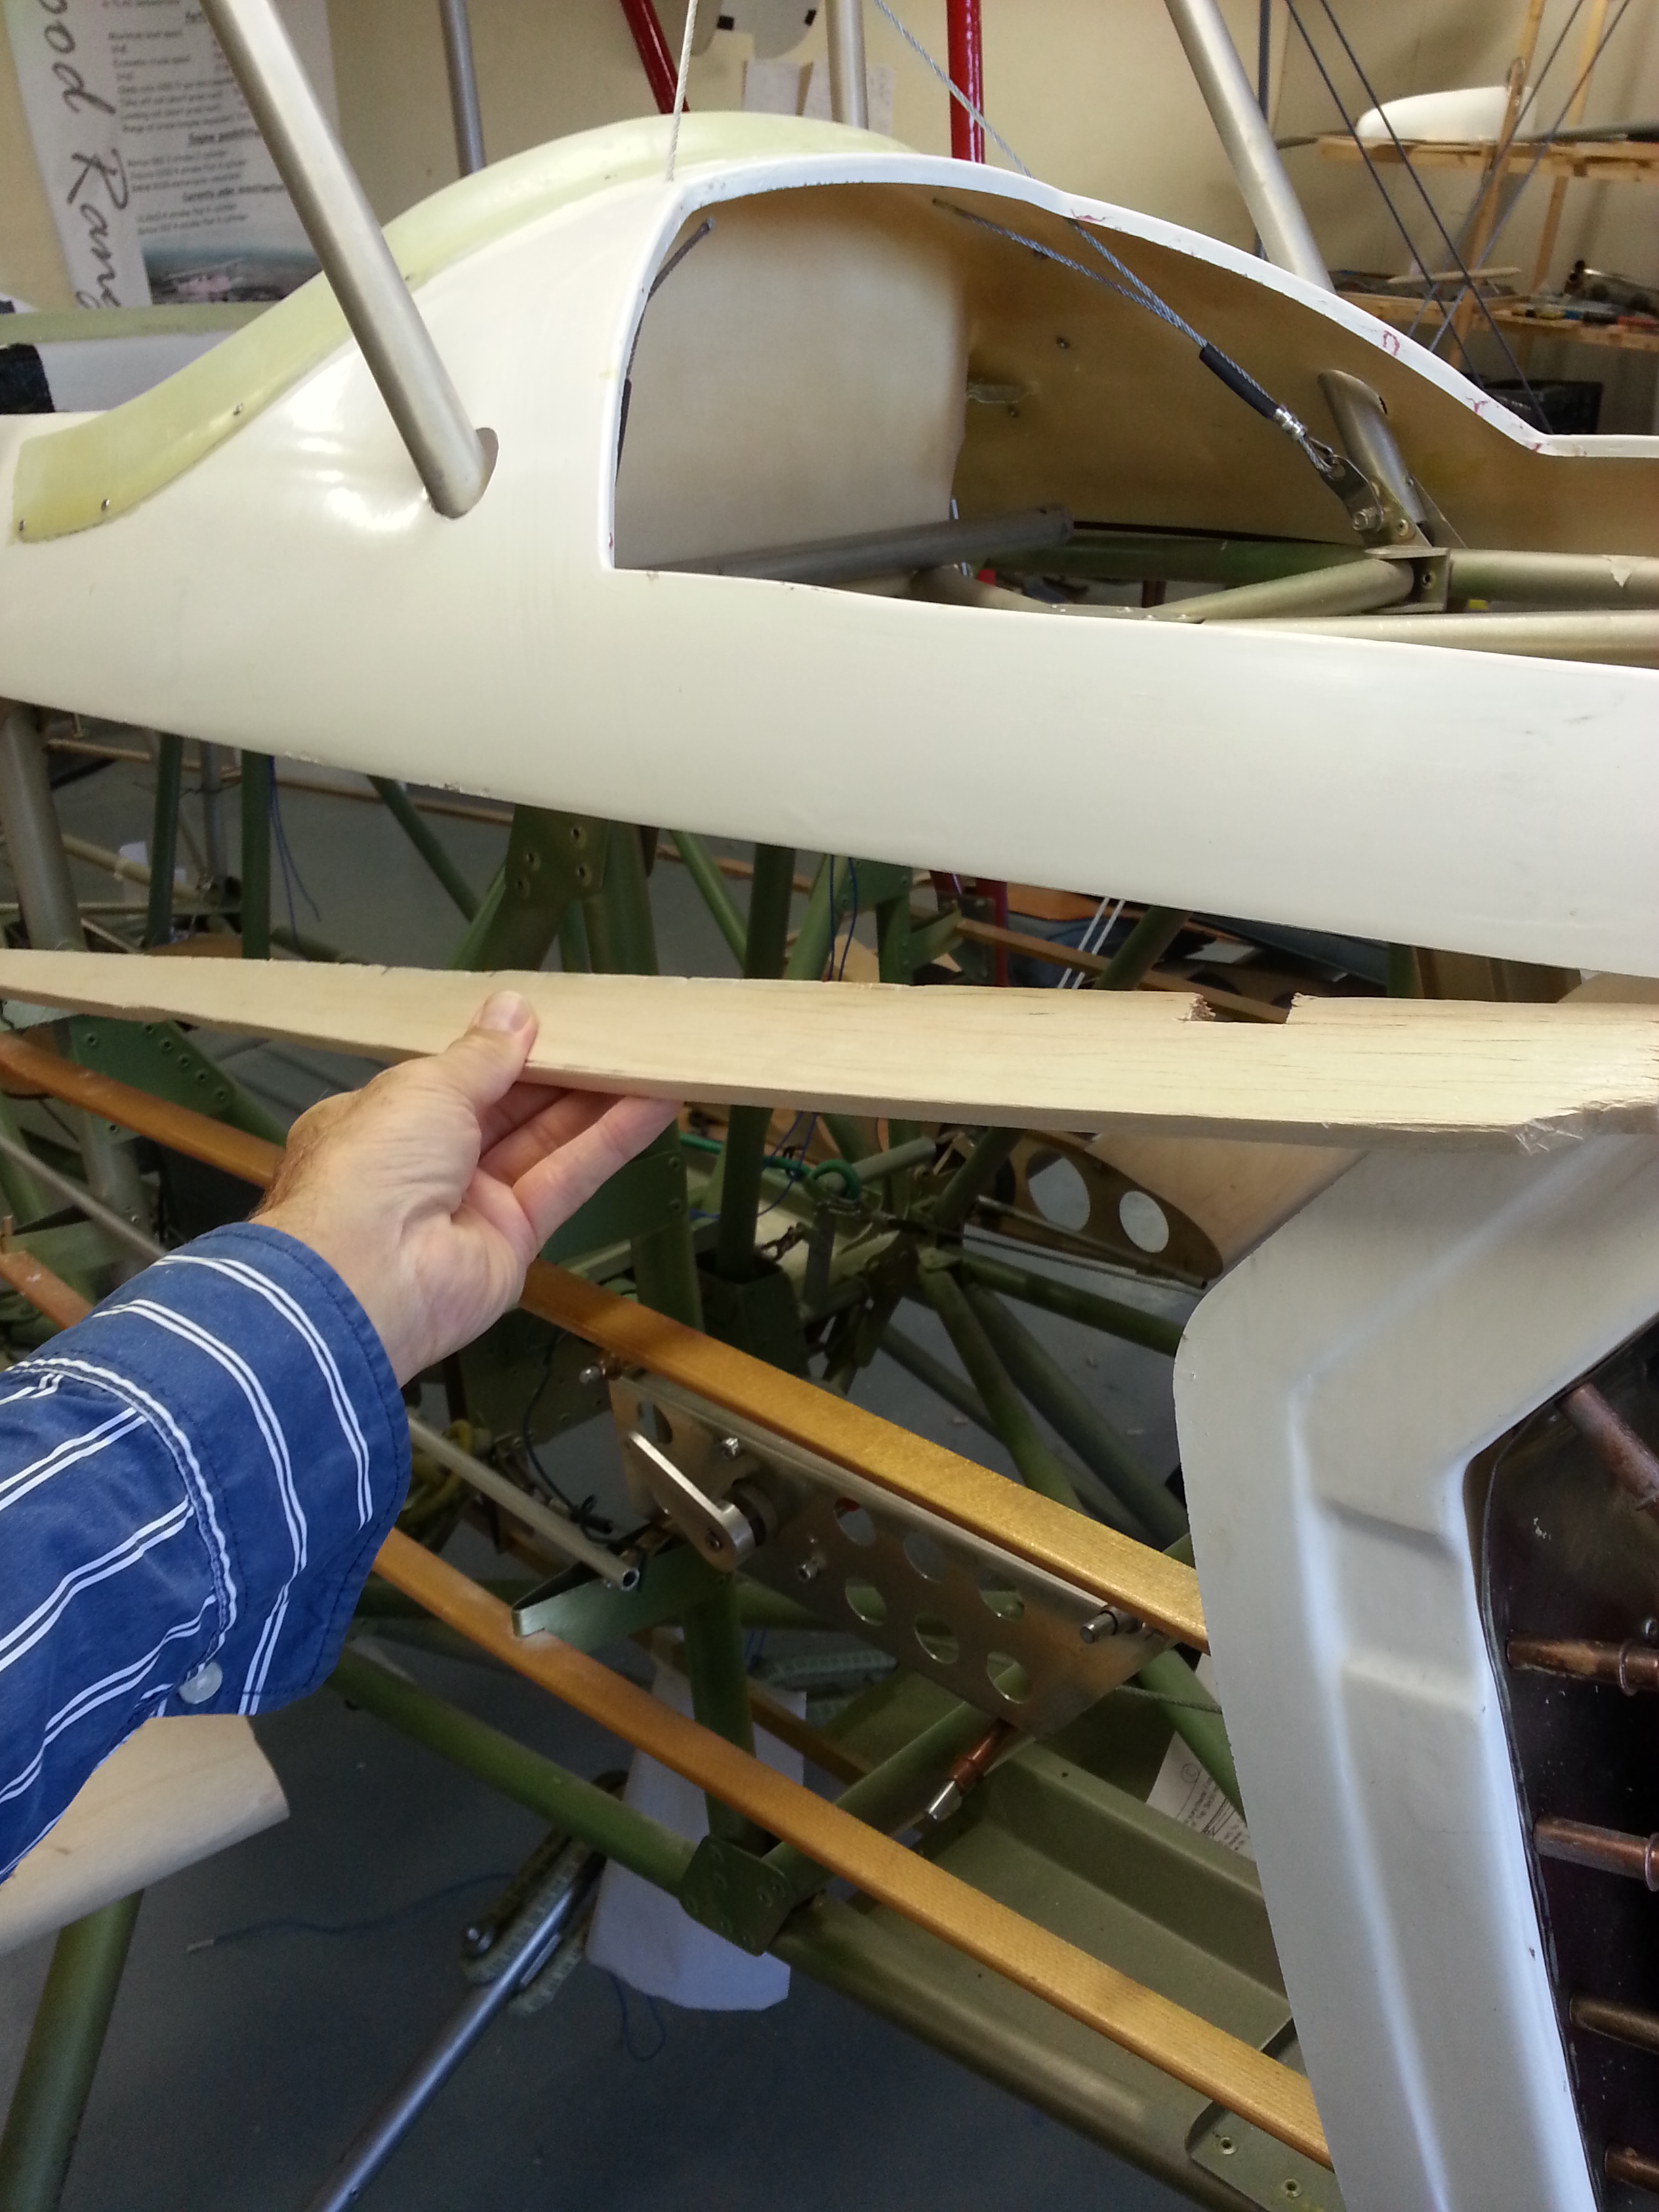
In readiness for the relocation of the aircraft into a barn where I can get the trailer in and out, I have been finishing off all the wing parts. This means its coming up to the time when I can

  • disassemble the wings from the body – Sam helped me de-rig – all that lovely careful work !!
  • give them a good clean/de dust
  • Thinned polyurethane coat

wings off


  • Relocate the body outside similarly blow all the dust away
  • Mike F has sourced a running rail for the rear wheel which we will be attaching to the trailer
  • Then, with a suitable winch added we will be able to trailer mount her in readiness for the Jersey Air Display
  • Then re-attach wings and rigging before …
  • FIRST test load onto the trailer.

James suggested running the trailer tyres slightly lower to give more protection to jarring whilst towing. Good idea on our roads out here !

Turtle Deck support

One of the many little tasks that needs completing is the blocking off of the gap between body framework and the top decking around the nose area. The plans advise on using 1/2″ balsa which is easy to shape to fit snugly into the gap. Once trimmed it is epoxied into position.


Nose block 1   nose block 2

It can be left to harden here before I give all the woodwork (including this) a coat of 10% thinned polyurethane.

New Visitor – and an old dog – new tricks

Had a new visitor last night – a chap who had left the island a short while ago to locate to beautiful Devon. I bumped into Tim Baker at a harbour restaurant in Jersey last month and Tim asked how the ‘plane was going. Having updated him and mentioned the blog he promptly went home that evening and read the entire blog start to finish !! (stamina or what !)

Tim was very keen to visit the build so came along last night just in time for my latest package in the post from TLAC – more M62 rivets .. for the aileron rods and wing strut bracing rods.

Tim Baker

Having shown Tim how great Celco’s are for holding things in place whilst you set everything up I offered Tim my very old (but very reliable and very very well used rivet gun). Tim popped the first rivet in then flipped it upside down and ejected the rivet shaft …..

ADMISSION TIME …. I never knew that was how you ejected the old stem ! I have always tapped the side to get the stem to come through the face edge of the tool – not always with success. Just goes to show you can use a tool (incorrectly for 18 months !) and then working with someone else and a lightbulb moment !

Tim has offered his skills for future help which I am sure will help move things along when extra hands are required – like dismantling in the next week or so to move barns !

Screen base fit

I need to get the top decking completed so we can start to get other pieces in place for the planned static display at this years Jersey Air Display.

Did the dust filled job of trimming the fibreglass screen surrounds last night, then rubbed down with wet and dry to get smooth edges.

screen 0  screen 1

Then epoxied them in place and will leave to set before putting the 12 or so rivets in place.

screen 2

Then I can neaten the edges ahead of painting or wrapping …. the painter suggested wrapping with the stick on heat gun based covering that means I can colour match to the Oratex Olive green and get a good finish in the process. Also, if in 4 years time I want to change it, that should be easier.

Headrest fitting

Making up the small alloy brackets for this ahead of riveting them in place and then drilling and riveting in to support in place. The TLAC supplied leather headrest will be fitted to a small wooden panel that will be hinged (If I can locate a small gauge piano hinge). This will give access to the headrest storage area (has a bottom ply base).

I still need to source a suitable Ariel for the planned Icom units and, from speaking to Alistair on the TLAC open day, this requires a metal under piece to ensure good polar reception (I think that’s what he said ! – so will ask where he got it from)

(update Oct 2019) prompted to update this post as I see someone had read it recently …

Anyway .. didn’t opt for the Ariel in the headrest ..placed it on top of the centre overhead cabane .. with a super ground plane in place .. see the associated blog page …

Also .. I made a tiny alteration to the standard headrest .. I epoxied and fibreglassed a 1mm plywood base onto the headrest unit… then cut an access hole in the front … keeping about 5cm around the edge to allow good location and anchor points for the headrest popper studs. This now provides a neat easy access storage unit that can hold the aircraft papers and certificates (mandatory for some French airfields) as well as a small socket set, cable ties, pliers and OF COURSE some gaffa tape 😉

Dashboard

Having created a draft P1 panel for the rear out of hardboard I got Ray and Russell from our locale Marin Fabrication company to cut the template out of thin metal. I have designed a rectangle hole in the centre of this so that we can have an easy to access rear panel for the main gauges.

The initial depth of the panel is deliberately oversized so that we can cut back based on how it sits in the turtle deck. It currently sits exactly level with the top of the stick so this will be cut back to ensure good movement and still be able to get my knees in !

The aim is to have it deep enough to allow up to two rows of the smaller Winter dials and still have room for a row of switches / fuses in the bottom. I have already fitted the two stage carb heat unit which will results in two switches and two lights  and I aim to have the switches on the lower panel and warning/advisory lights above the panel – so they stay more in eye line.

The right of the panel will hold the slightly larger diameter multi unit gauge – again – this has a warning LED so shouldn’t be mounted too low.

Wing struts completed

Didn’t realise just how many rivets go into these things ….

All drilled and completed and last 20 or so rivets went in on Birthday morning

dfinal rivets strut  view from cockppit

I am really not happy with the slots I have cut for the pitot tubes so will re-do these before covering.

Birthday boy(s)

Well … another year comes …. turns our Paul H S and I share the same Birthday (he being the fresh faced junior – by 1 year !)

Many happy returns Capn ….

Reluctant as I am to embrace all the new technology (I have been an IT specialist and programmer/change manager my entire career) but refuse to be dragged (kicking and screaming into the unstructured Facebook world ! I have, nevertheless resorted to a birthday ‘selfie’ .. my first and possibly my last …..

I have had the Sherwood two years in October and have refused to sit in her until the moment was right ! Last night was that moment…. Off the trestles that have had her in flying pose whilst all the setup is completed, she was sitting on her tail and I just had to finally sit in ….

first sit in


OK – Its not the normal selfie you might expect … but hey …. what has been built isn’t run of the mill !

The picture tells me other things of course .. got to put stiffeners on the rear of the front seat back panel and also must get the PTT switch bevel in position !

Wing Struts completed

Thanks to a sterling job by Ivor turning around my request for replacement strut bracing tubes, they arrived in Jersey on Friday evening. Re shaped these to fit the top supports on Saturday and then waxoyled the tubes (and the aileron pushrod connection tubes at the same time).

Sunday afternoon saw the brackets completed and pilot holes drilled, remembering to put the stiffener plates in position. Then the drill ran out of battery ! argggh …

strut 1stbd   strut under

Sunday evening, post charged drill, saw the top strut brace supports in position and looking good. Very strong with the rivets in place and bolted up.

Aileron – closed loop

Last night was a busy evening, scalloped leading edges then completed the closed loop on the aileron system.

Still not 100% happy with it as I need to get the ‘straight line’ runs from the bellcranks to the bottom of the joystick completely ‘rub’ free. At the moment its slightly rubbing on the last rib .. I have elongated the rib lightening hole, just need a fraction more off.

Ail connect

The picture above shows quite an excess on the cables as I didn’t want to cut these too short. This will be taped off, cut and then the heat shrink set once I have had it all inspected.

Also need to make sure that the fibreglass wing root fillet is cut away sufficiently to not touch. At the moment this has the cables missing each other by over 25mm so I have got separation … just need to get the exits clean.

Seem to be getting the required 25′ up and 15′ down though. I have to finalise the bottom to top aileron interconnecting rod, but push fit test has them working very smoothly.

Blog at WordPress.com.

Up ↑