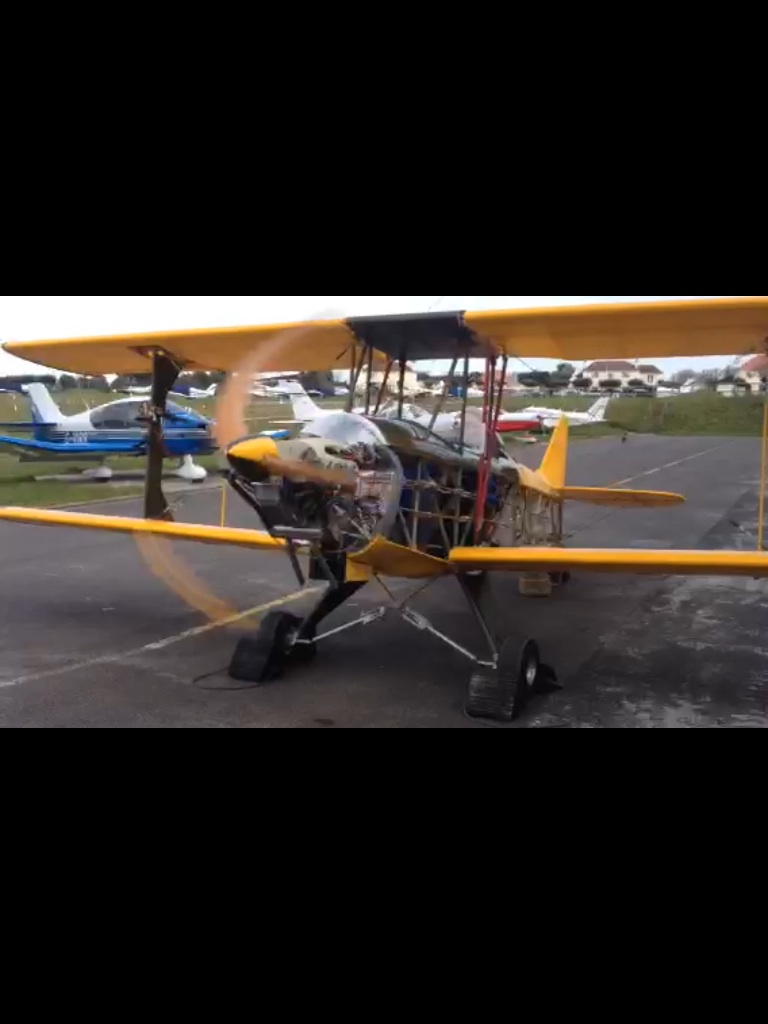
Having had three successful but short engine runs it was disappointing to see that the small smear of oil I noticed just near the base of the oil filler hadn’t disappeared after I had thoroughly cleaned all around it.
This means it can’t just down to a careless dribble whilst topping up ;(
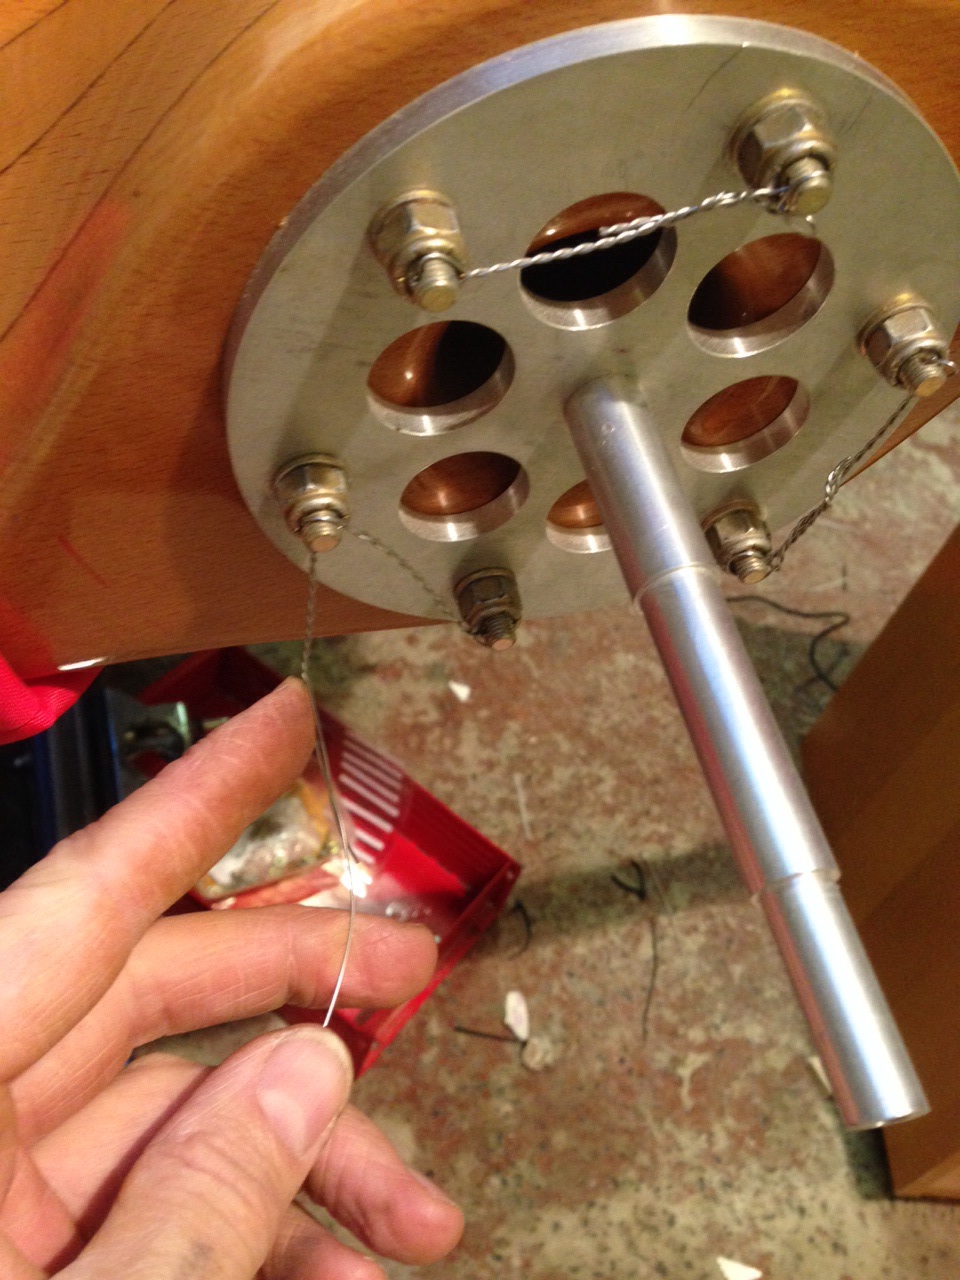
Contacted Jabiru in Australia as, although this is around 6 years old it’s brand new out of the box ! A chap called Michael got back to me and suggested undoing the grub screw that holds the dipstick / fill tube in place and checking it was seated ok …
Oh dear ….
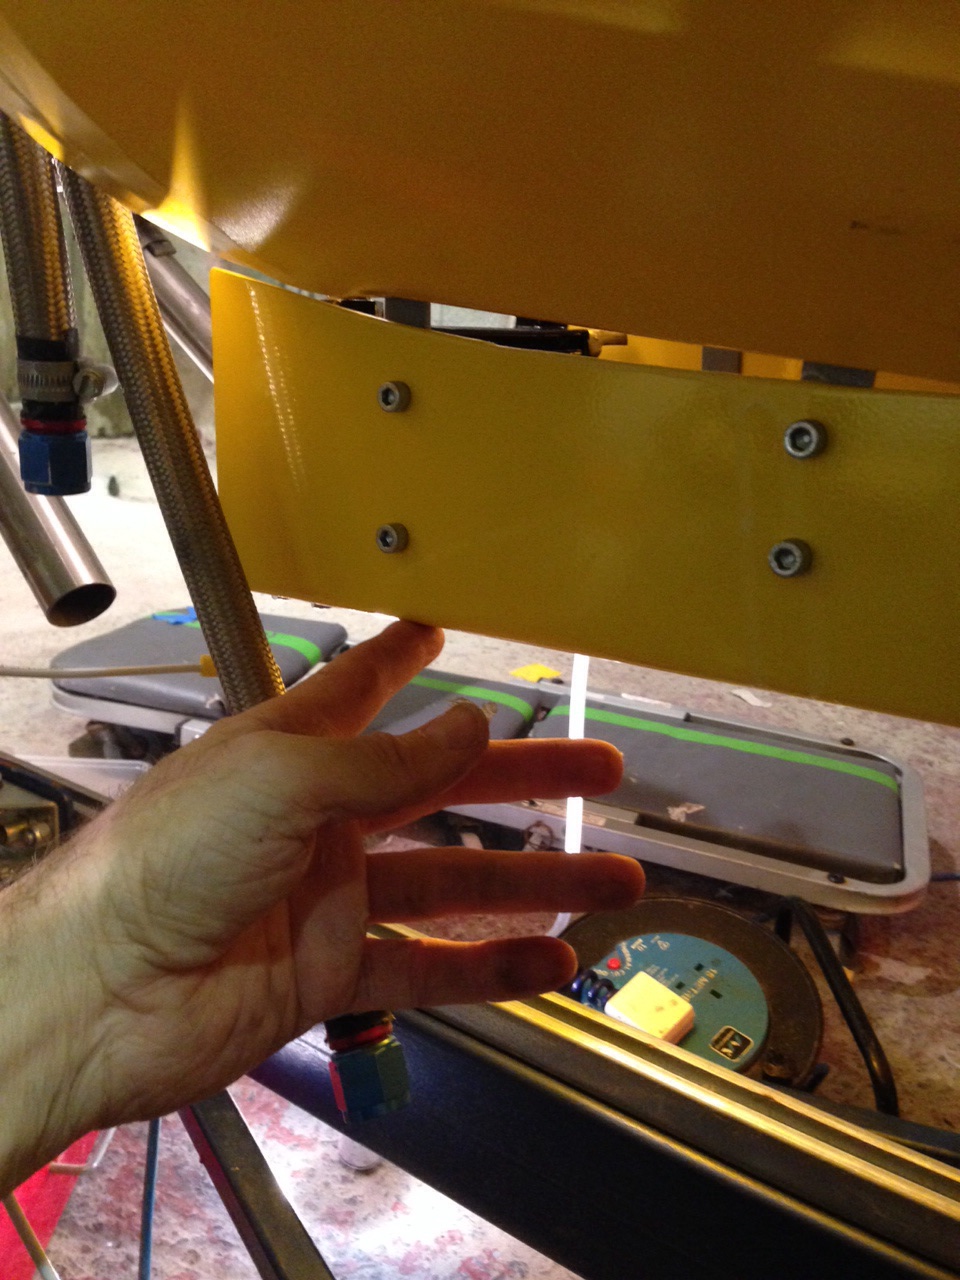
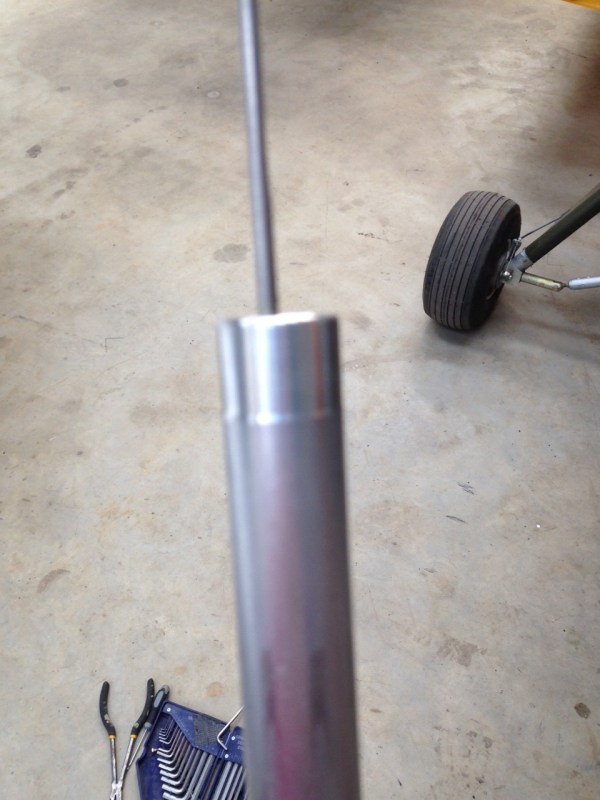
Tube duly removed and yes I can just see the O ring indent about 2mm down from the nicely machined face on the lower sump …. The inlet pipes are just above this so it’s tricky to see too closely but my nail could fit nicely into the machine groove ….. Which of course it SHOULDN’T ! … A rubber O ring should prevent that ! But it’s missing !


That leaves me with the challenge of
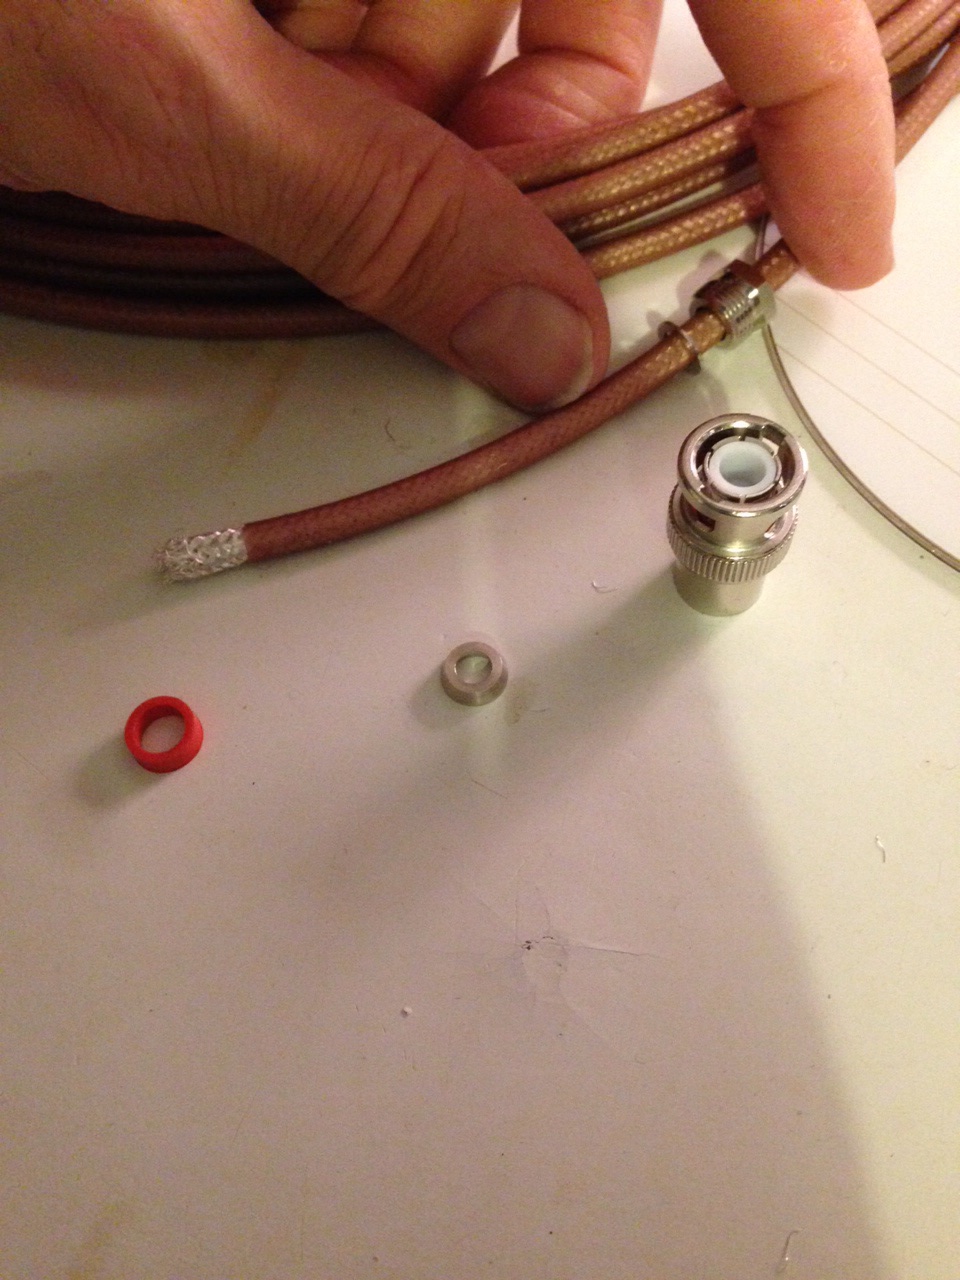
A) it’s missing and was never put in … Not good practice .. But better for me … 95p from SkyCraft or
B) it WAS put in but was pushed inside by the tube when fitted ! … So it’s in the sump somewhere
I have mixed feelings ….
I suddenly feel a little more like an engineer as I have looked into a problem and found the actual issue but angry that this is slowing the critical engine testing now ….
Graham from CIAS has a couple of scopes that we will try to see if we can see anything … Have asked SkyCraft if they stock sump gaskets and looking how easy it is to drop the sump … Looks like all the exhaust and inlet manifolds off and then a rectangle of Allen bolts …. May be safer in the long run