Next inspection planning

Starting to knuckle down for the next inspection. Controls, wings, ailerons, body etc

So all thos temporary fittings of bolts, some had washers in place for alignment, some had nylocs, some castelated … now I need to re-check all plans and get the rights fitting, right number of washers, all in place for the inspection.

I have ordered some spares as I dont think a nyloc that has been on and off a few times is particularly good. And they will ALL be off again once I can think about covering.

Paint – Oratex

As I was in the UK I had a chance to bring back the paint that it is yet another item that is tricky to get shipped to the Channel Islands. I now have some Olive Green and Cub Yellow for completing the tips (green) and the top decking (Olive) and the cowls (top Olove, Bottom Yellow).

This means that I need to finish the wing tip brackets, all ply gussets in and treated with polyurethane, ready for making up alloy brackets. Gone for 3 top and 3 bottom on each top. This will mean they are quite quick to remove – secured by self tappers through to the alloy brackets.

It also means I need to complete the wood packing under the turtle deck to get that fully secured. I had almost completed the front cockpit cross bracing bar when my hacksaw slipped last week and managed to take the top off my index finger .. amazing how much blood these things deliver !!

Plan to gusset the alloy bracing bar in front with spare alloy gussets I have. Then finalise the bolting of the cross bracing bars so that the turtle deck can be finally riveted in place.

There is some cleaning up of excess epoxy that secured the windscreen mounting fillets in place before a final clean up and rub down in preparation for painting.

Started to cut the cowls but need to make up a nose block to ensure good alignment.

Leg back on

TLAC did a great job turning around my damaged leg and its now safely back in situ. I had made a temporary prosthetic leg out of 10mm square steel tube which forms a solid link between the centre brace and the axle. I will paint this red and keep to one side for any other time I need o work on the undercarriage.

One thing I have spotted is that the brakes (probably the first thing I made) arent actually working ! To be fair, they were manufactured some time ago and have not been used in anger (ever !).

I guess like most metals, the inner steel drum will have a surface of light rust and need cleaning down with brake cleaner. I will also take the opportunity, once jacked up with the wheel off, to re check all backplate fittings and tighten bolts and re-grease the spindles. Then get the brake biting at a suitable pull point on the bracket.

Wing pin – supports

I made  a start on these a few weeks ago but then ran out of time to finish due to Air Show preparation.

The aim is to produce 4 wing pin support brackets to support the longer alloy tube guide.  I prepared one of these I created a short length of alloy tube to allow me to line up the exact position. Unfortunately the shorter stem allowed for some movement which, extrapolated up, mean that I had drilled the hole about 2mm out. This left the wing pin impeding the leading edge and so was no good.  A quick email to Ivor at TLAC and a replacement is in the post along with a  replacement aileron turnbuckle (I managed to cross thread one on the 3rd de-rigging).


Now I have a better more reliable method of aligning holes and have done 2 of these brackets now.

wing bolt

Just need to insert the right angle steel handles so checking with Mike the best way of doing this into the alloy tube. Then I can trim to length and plan to wrap the alloy wing root fairing around.

UK Trip – Amazing Duxford

Had a suddenly planned trip over to visit my very ill mother and take my Dad out for a well earned break. Try to visit Duxford at least every two years … what a simply amazing place .. been 20+ times but it never ceases to amaze.

(I can also admit to crashing a Spitfire here – a Mark 1a … turned to sharply on approach and tip stalled .. ok .. it was a Brian Taylor model ! – from my time when I was a member of the South Cambridgeshire Model club who flew at Duxford)

20140920_124908 20140920_124649

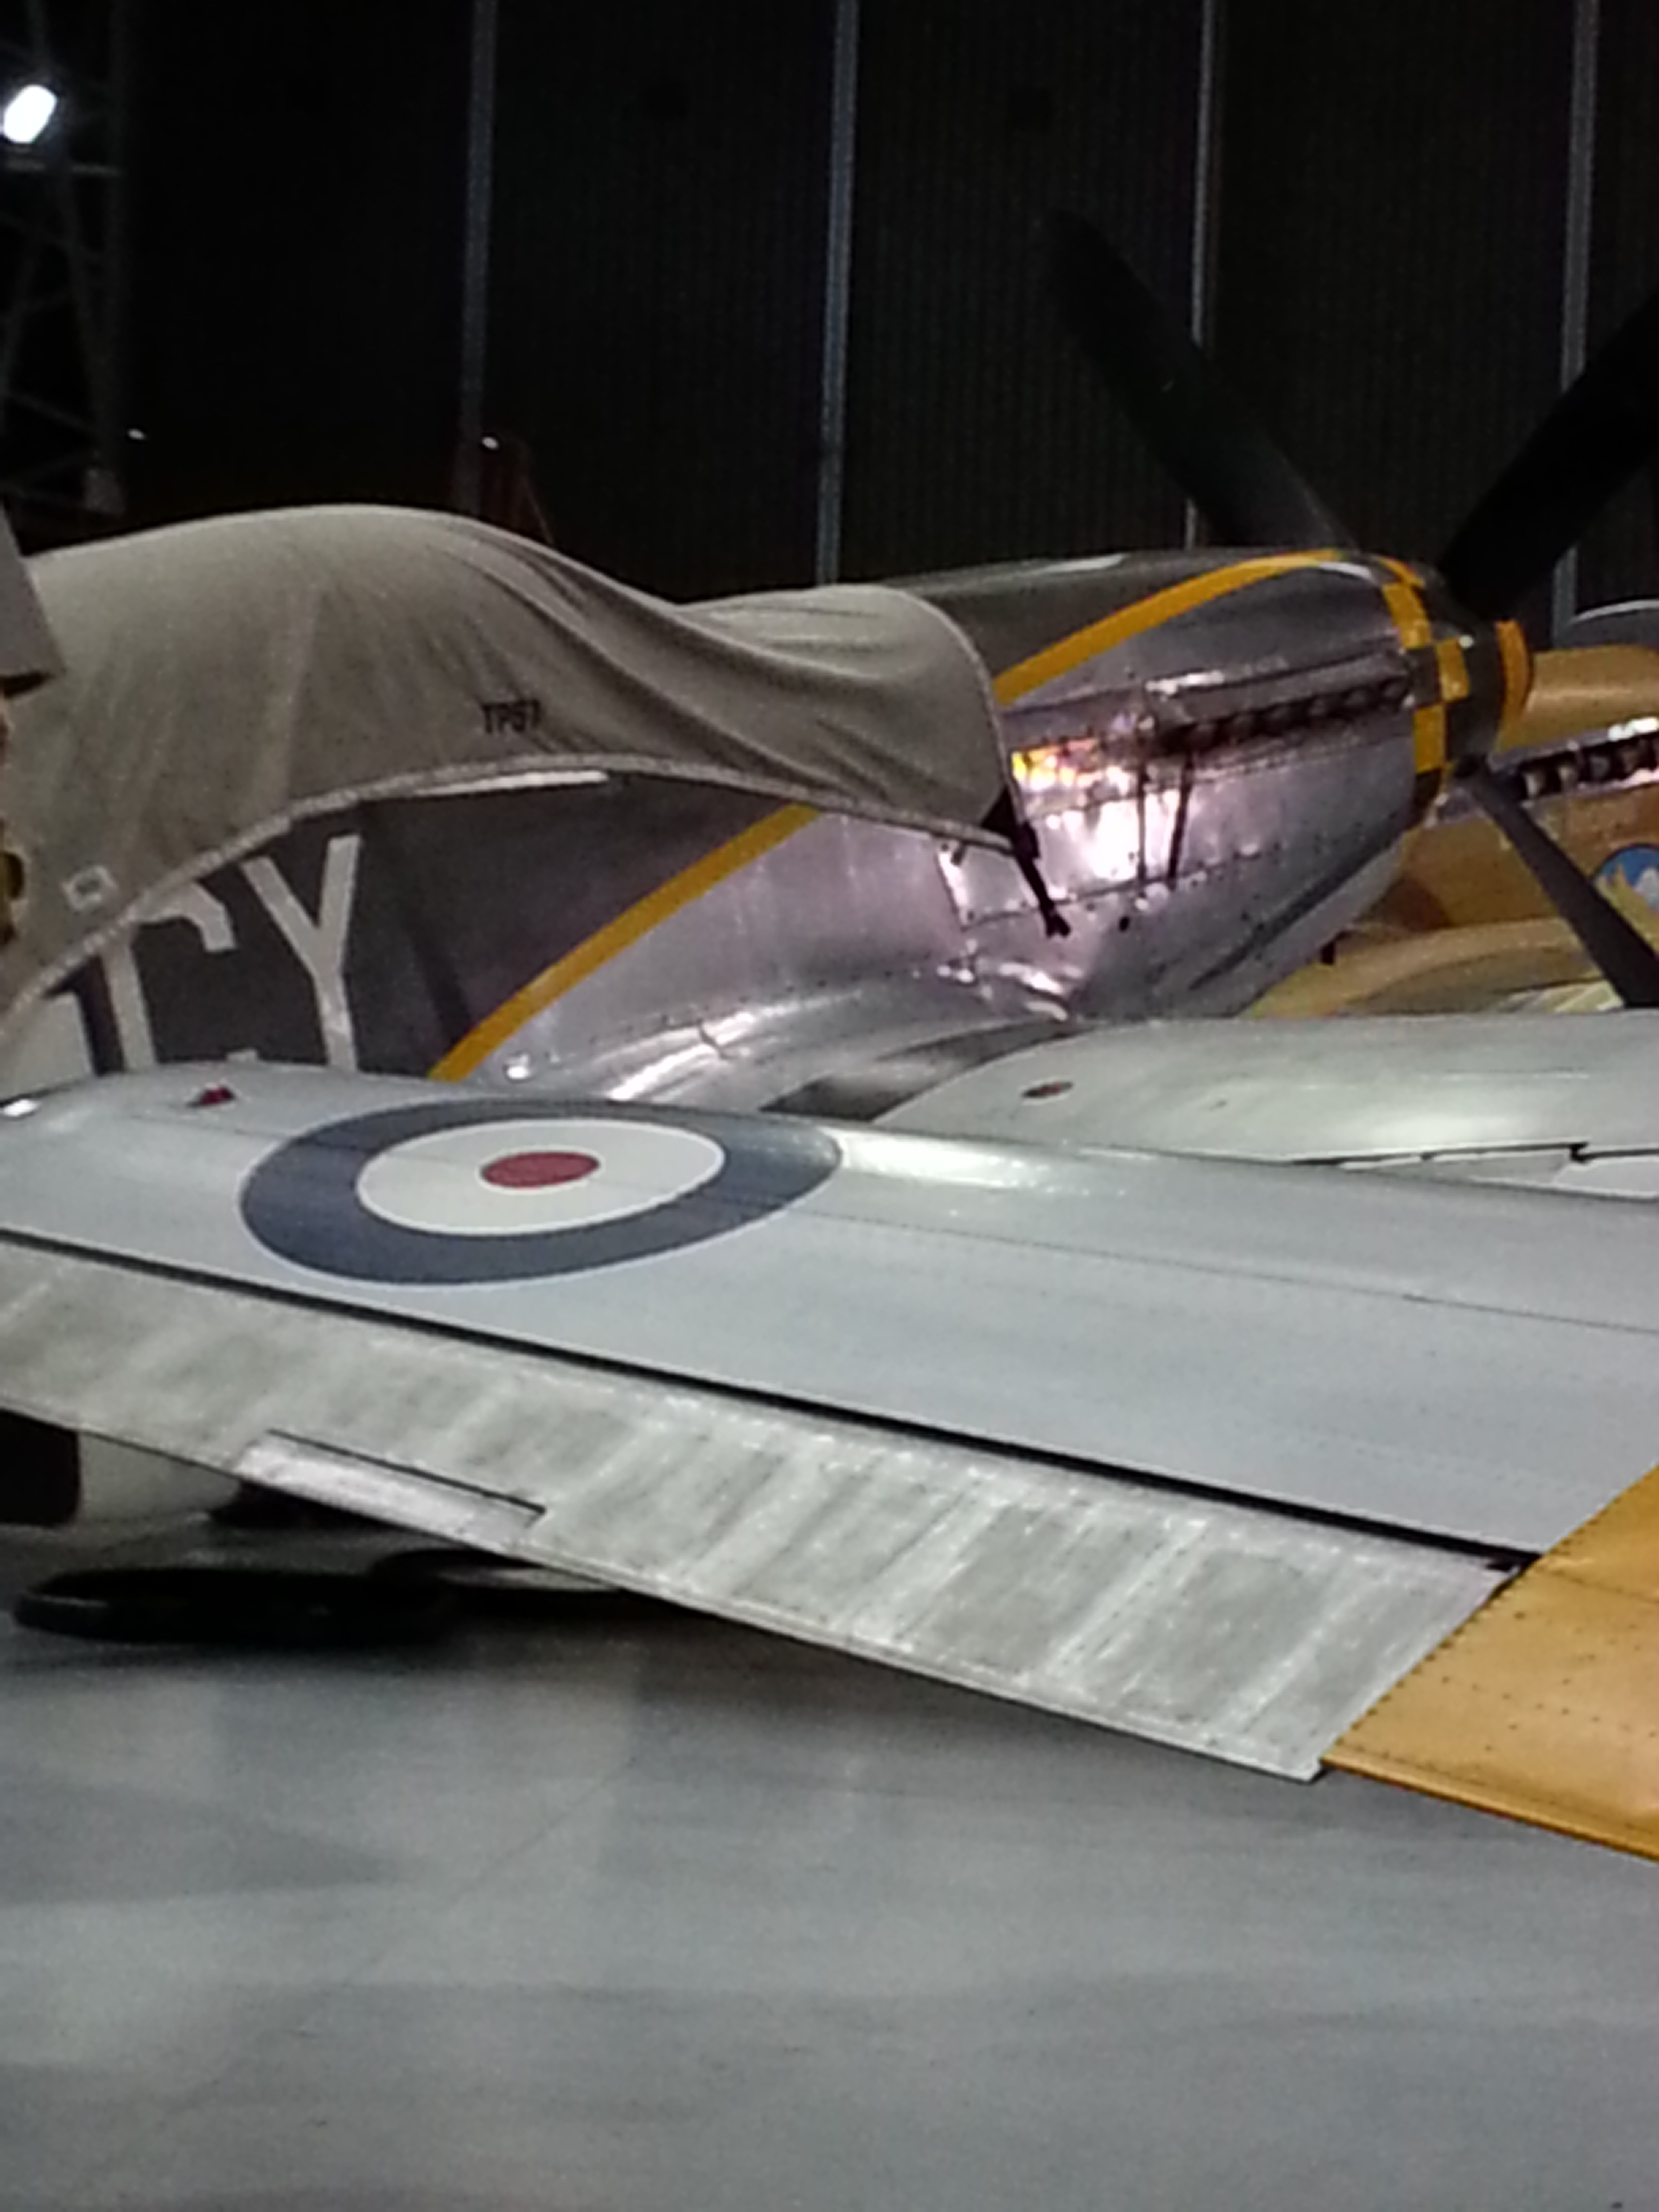
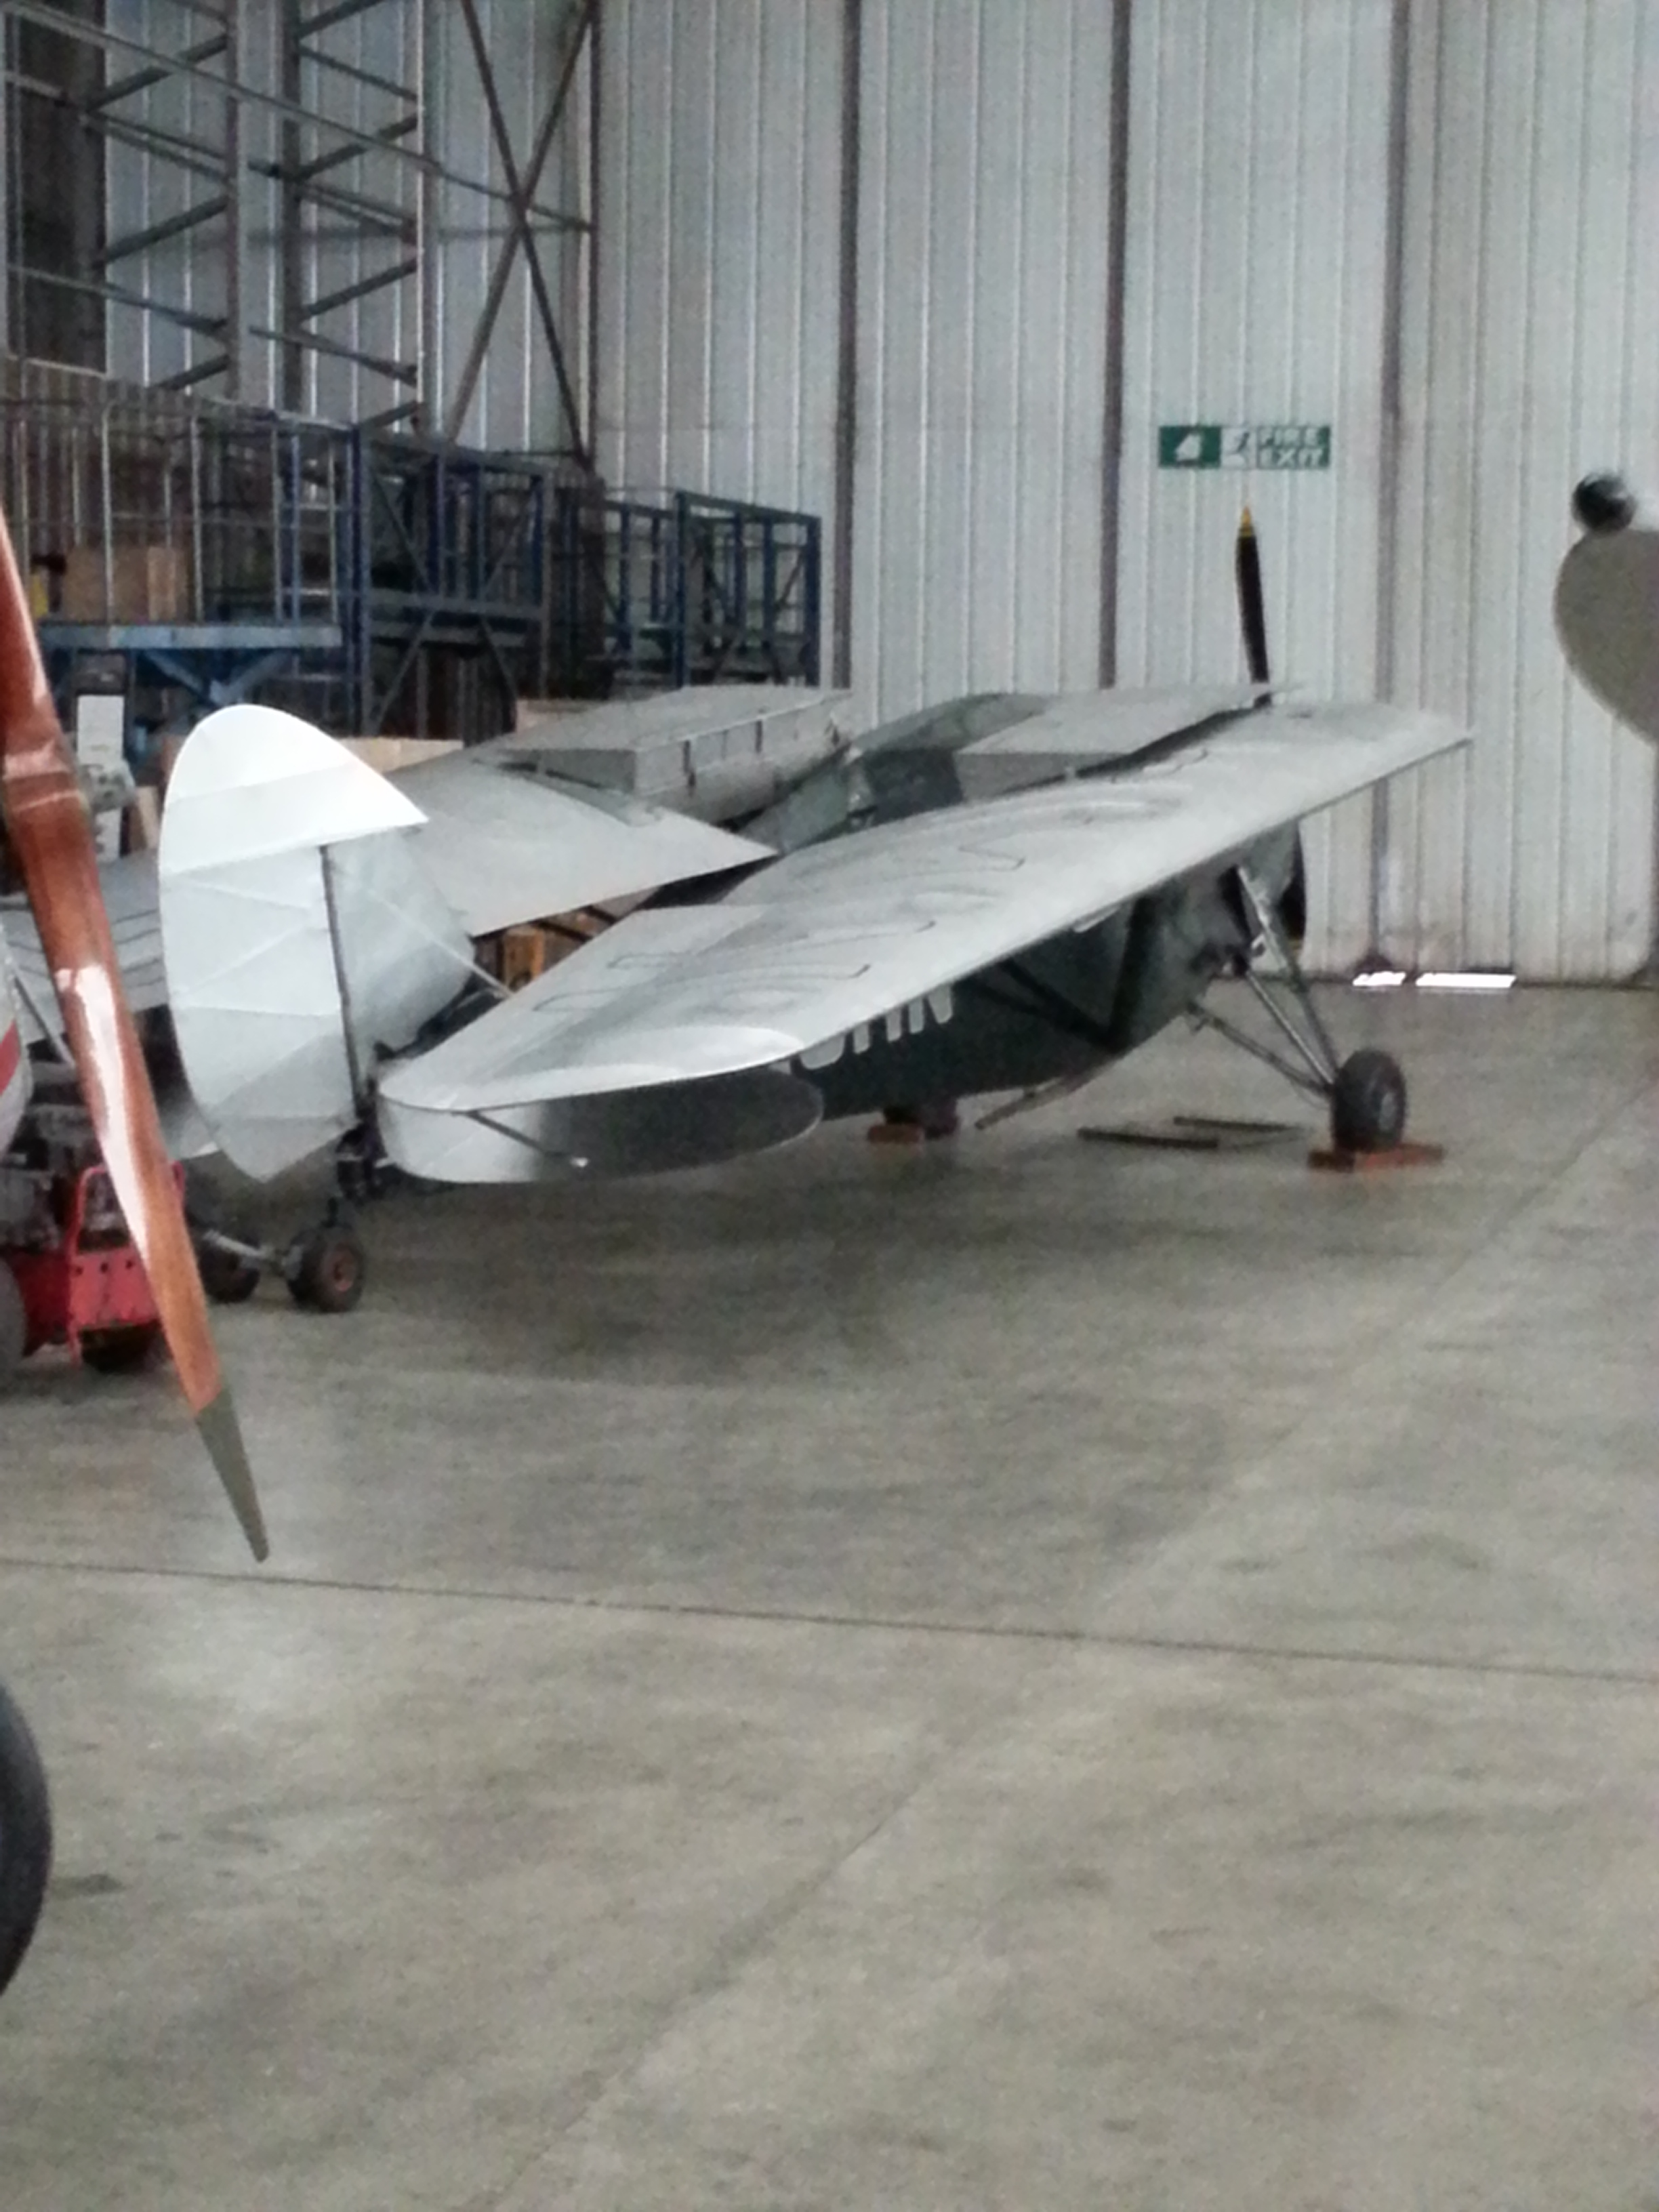
Notice the Mustang is in my planned colours of Yellow and Olive Green !

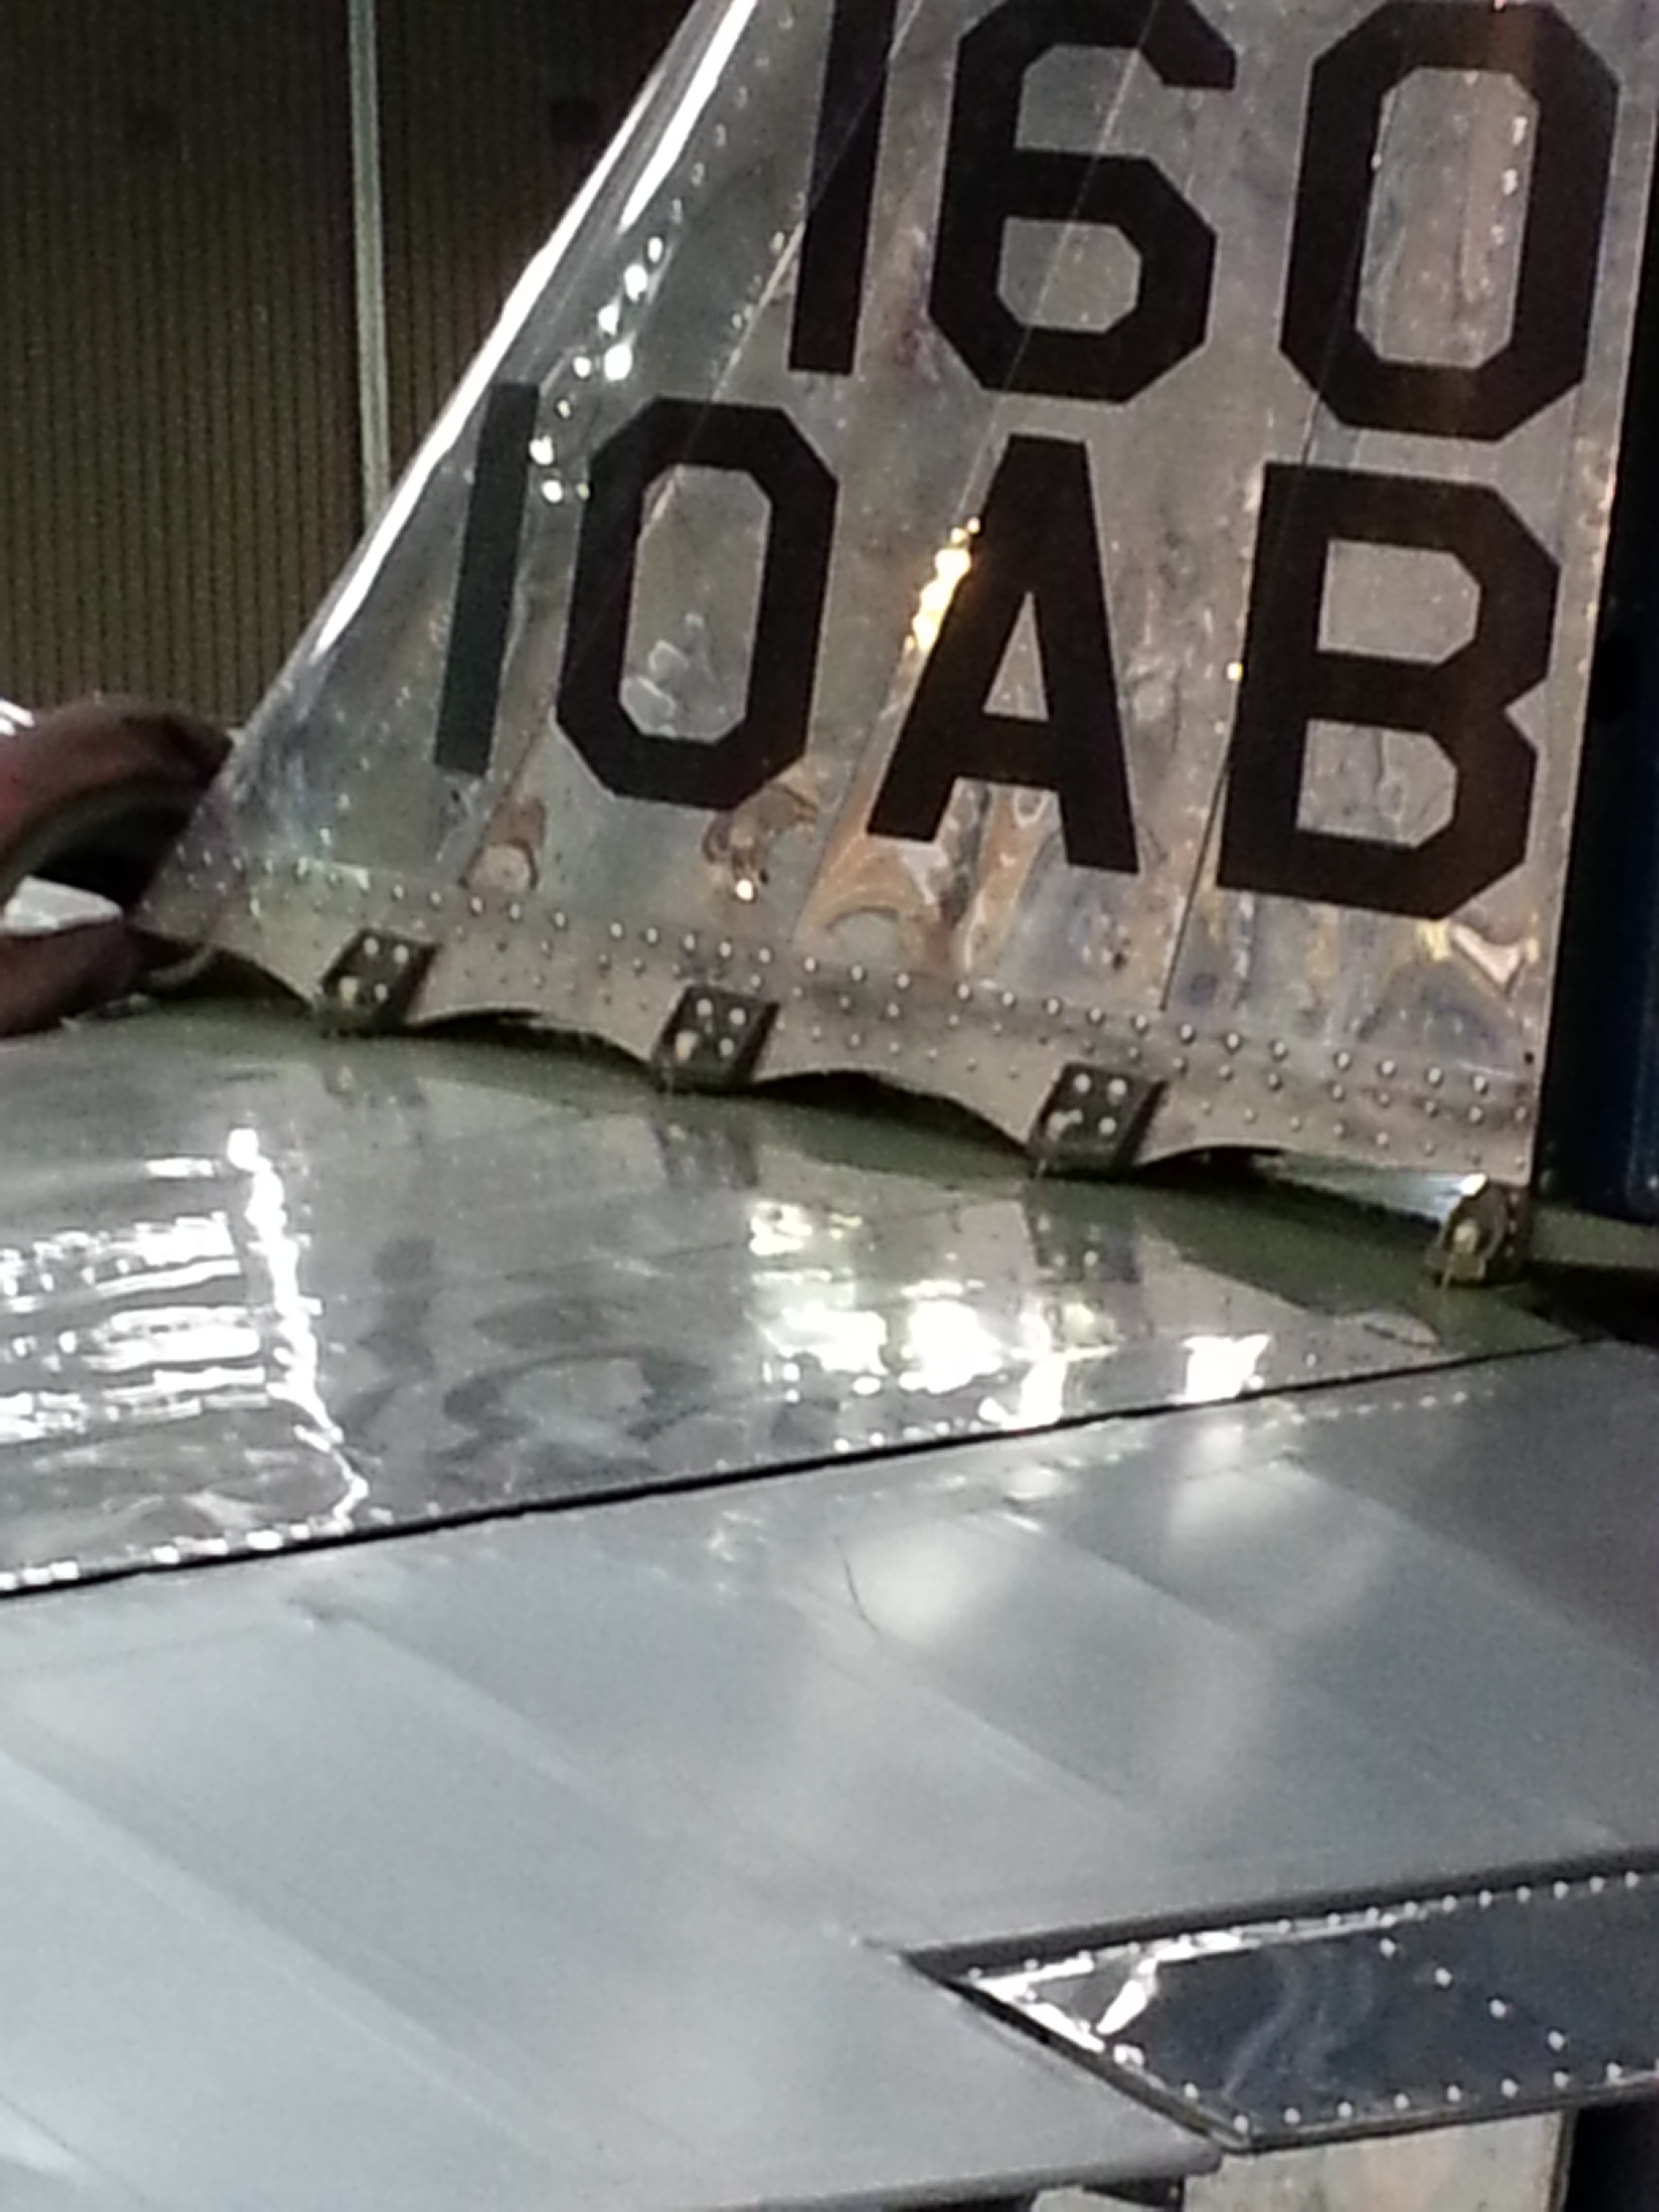
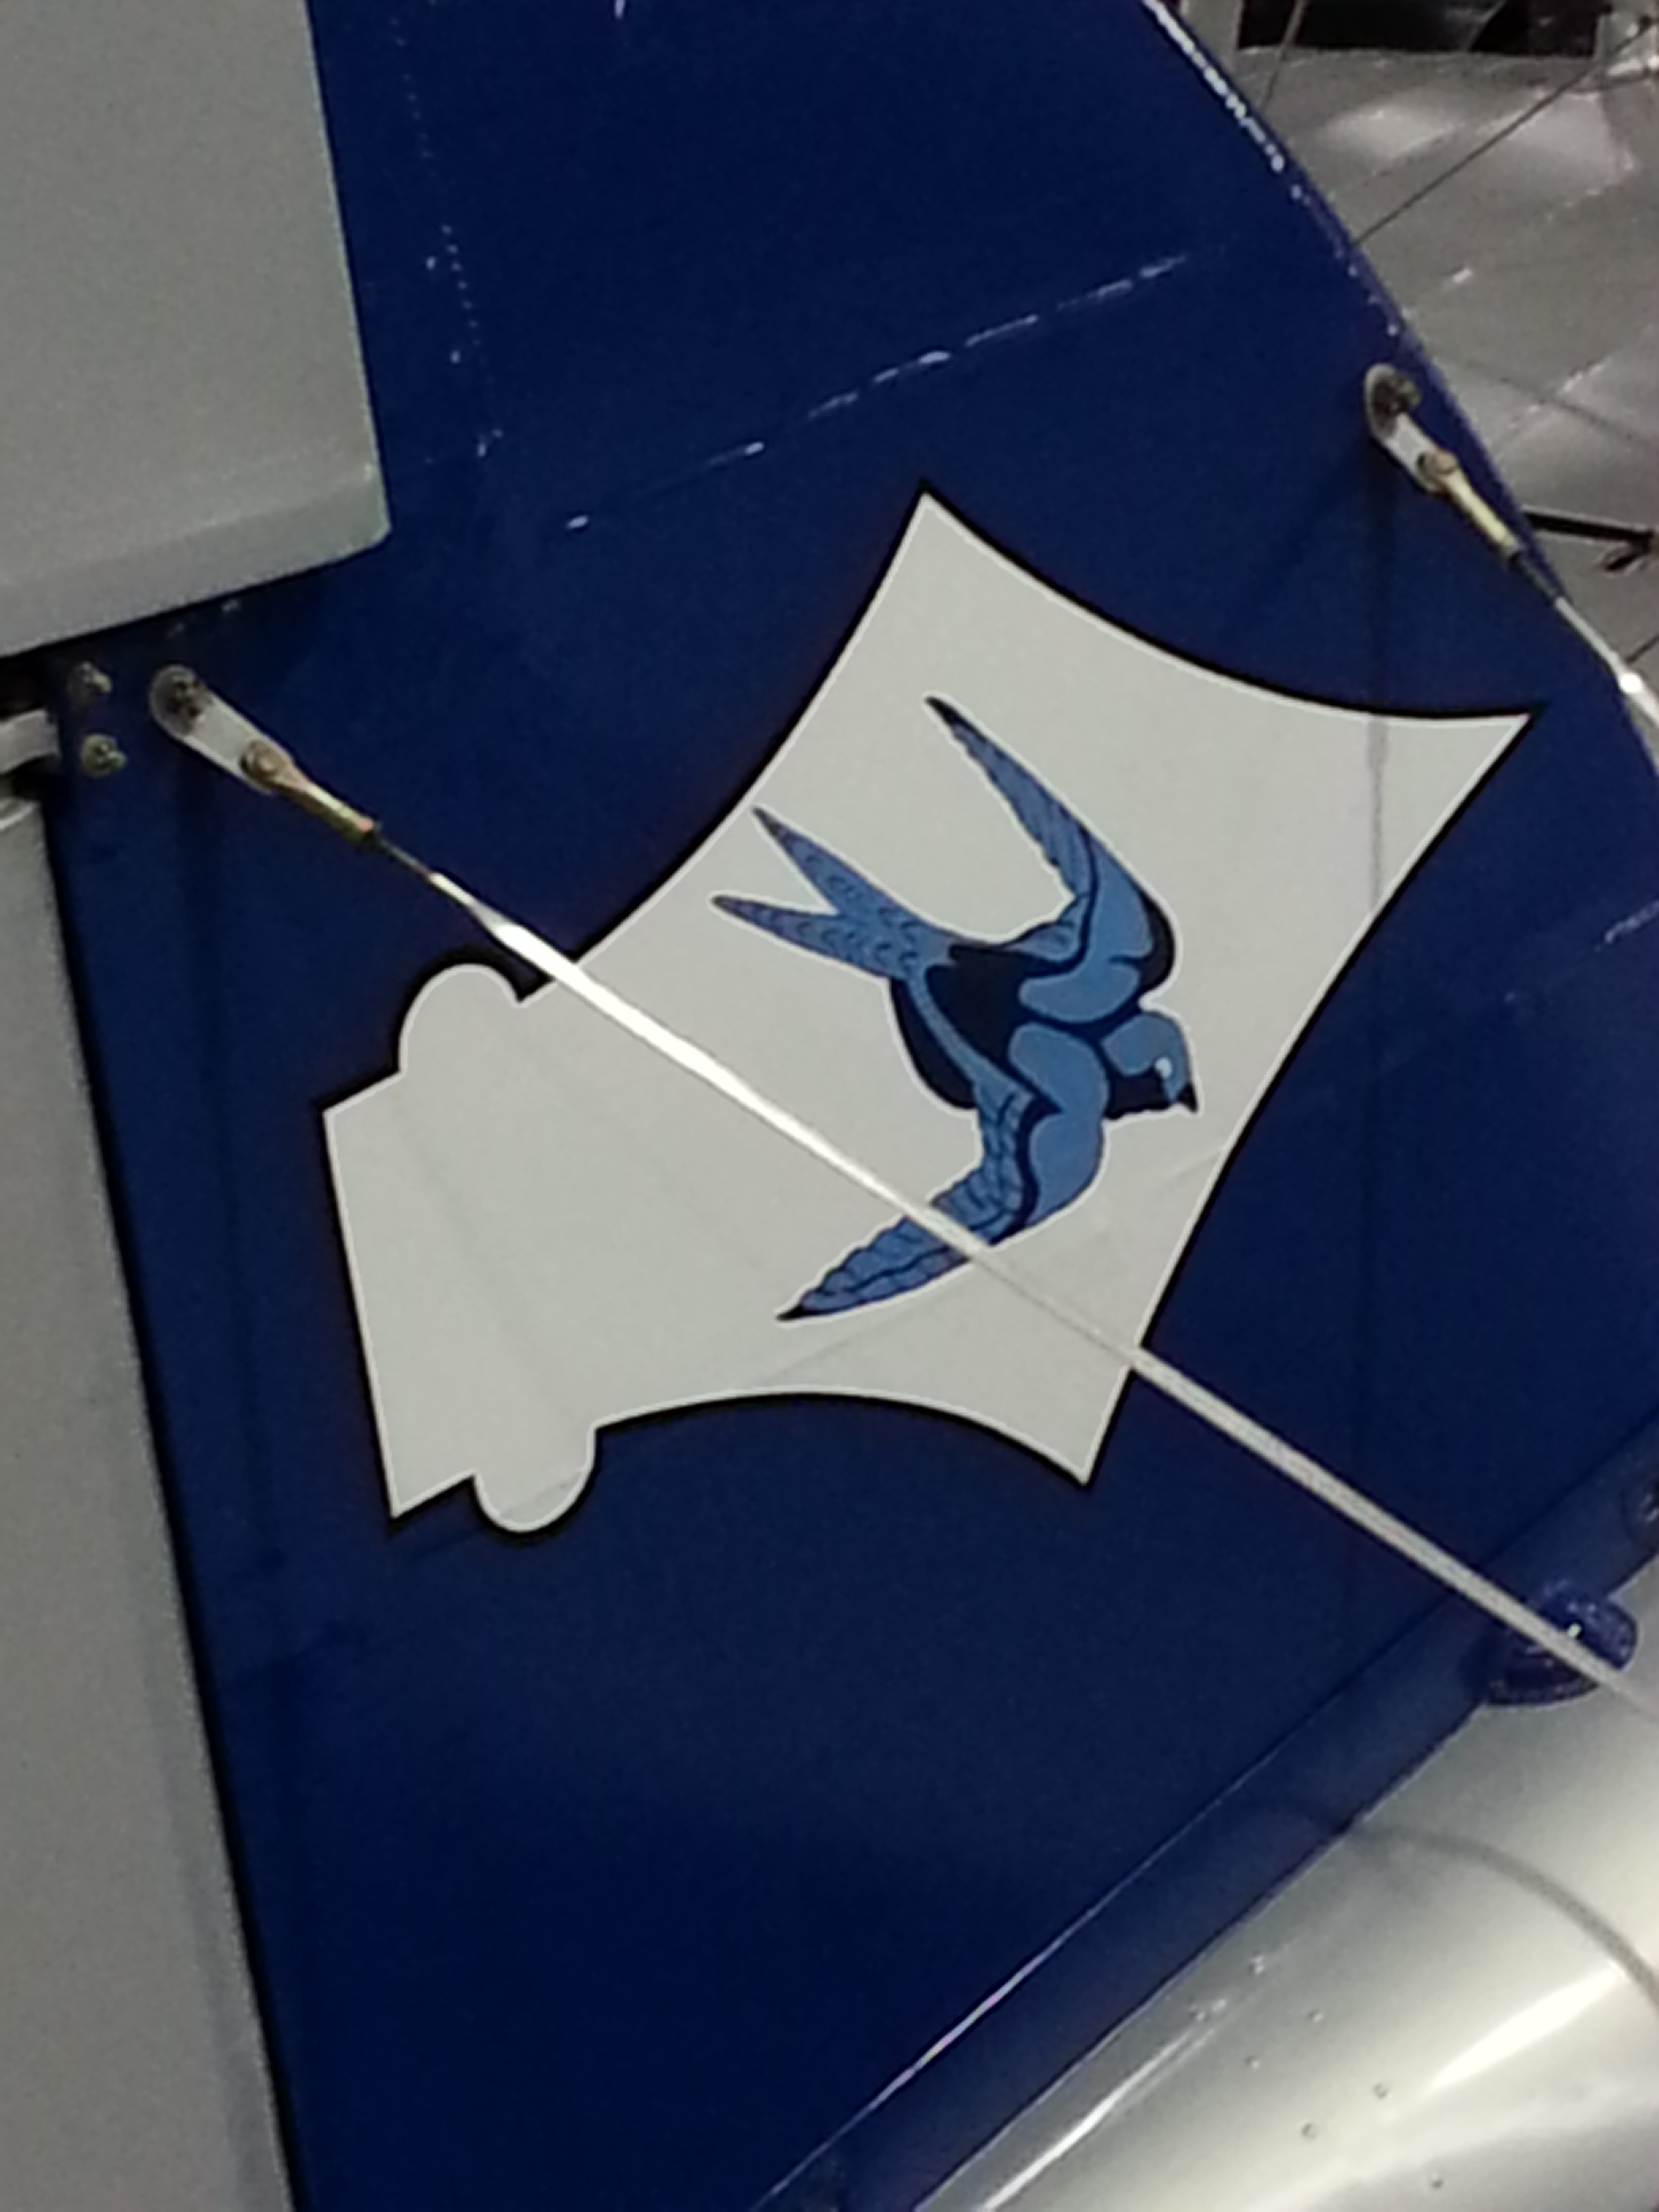
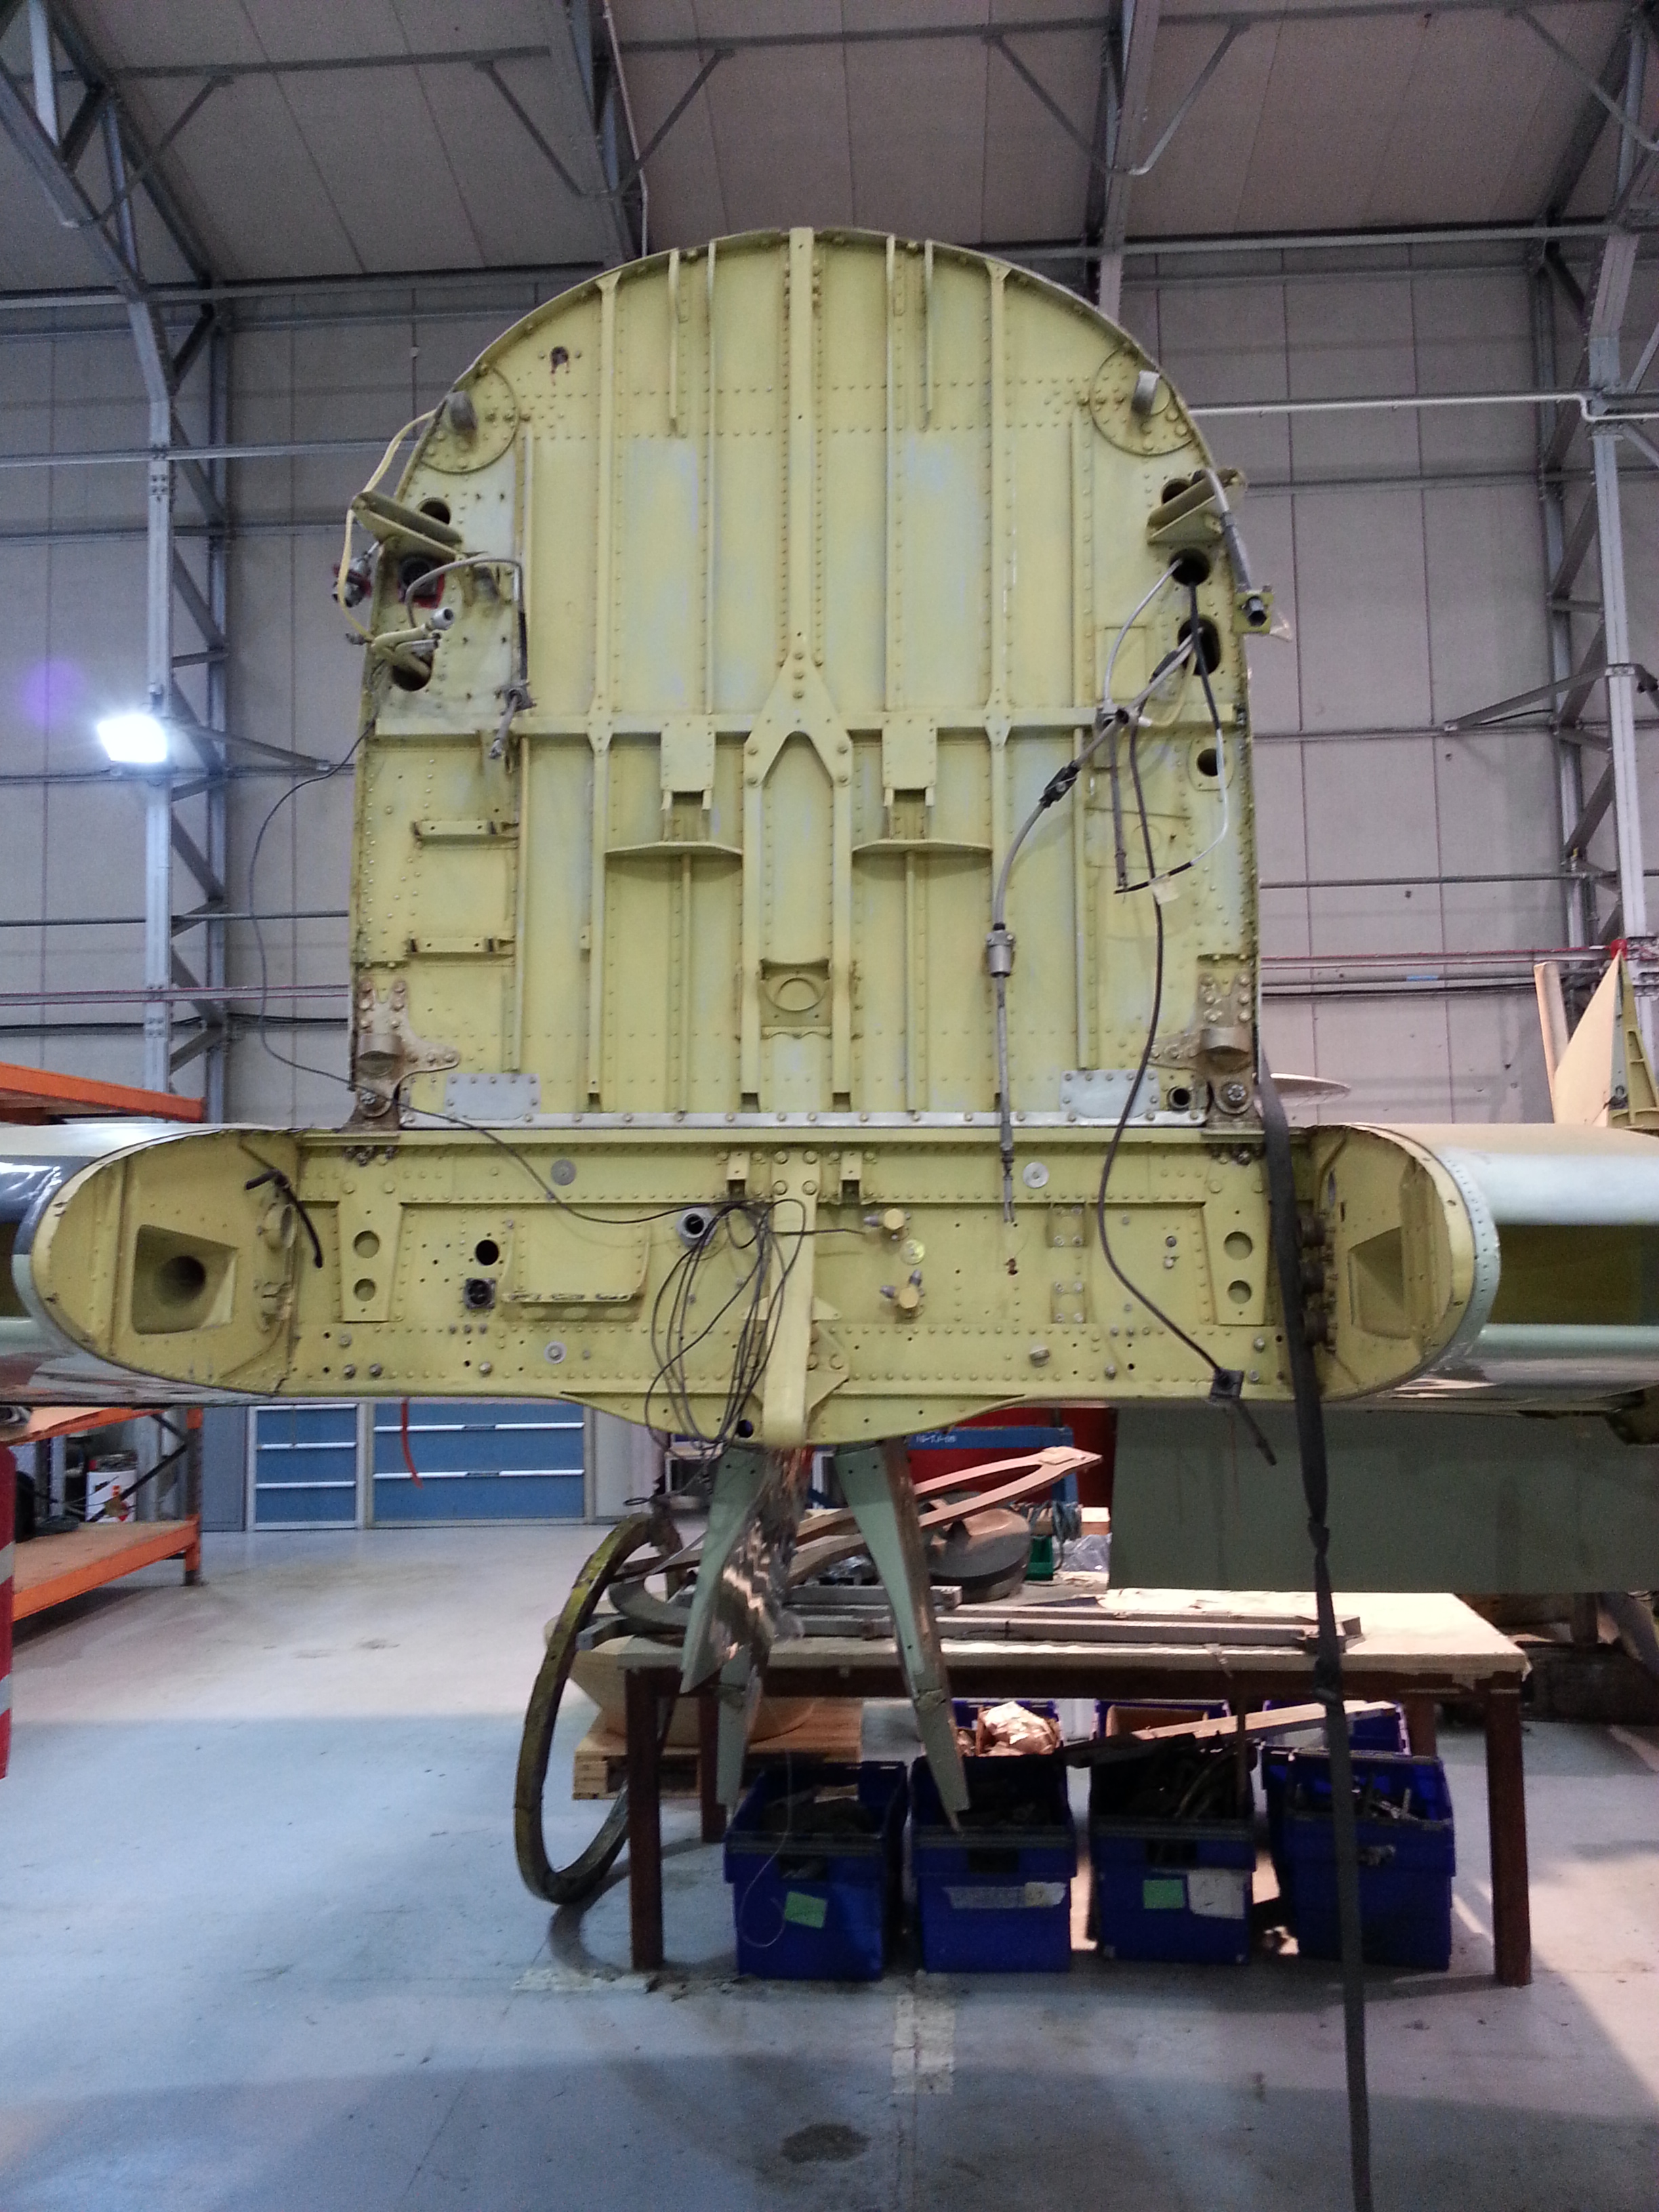
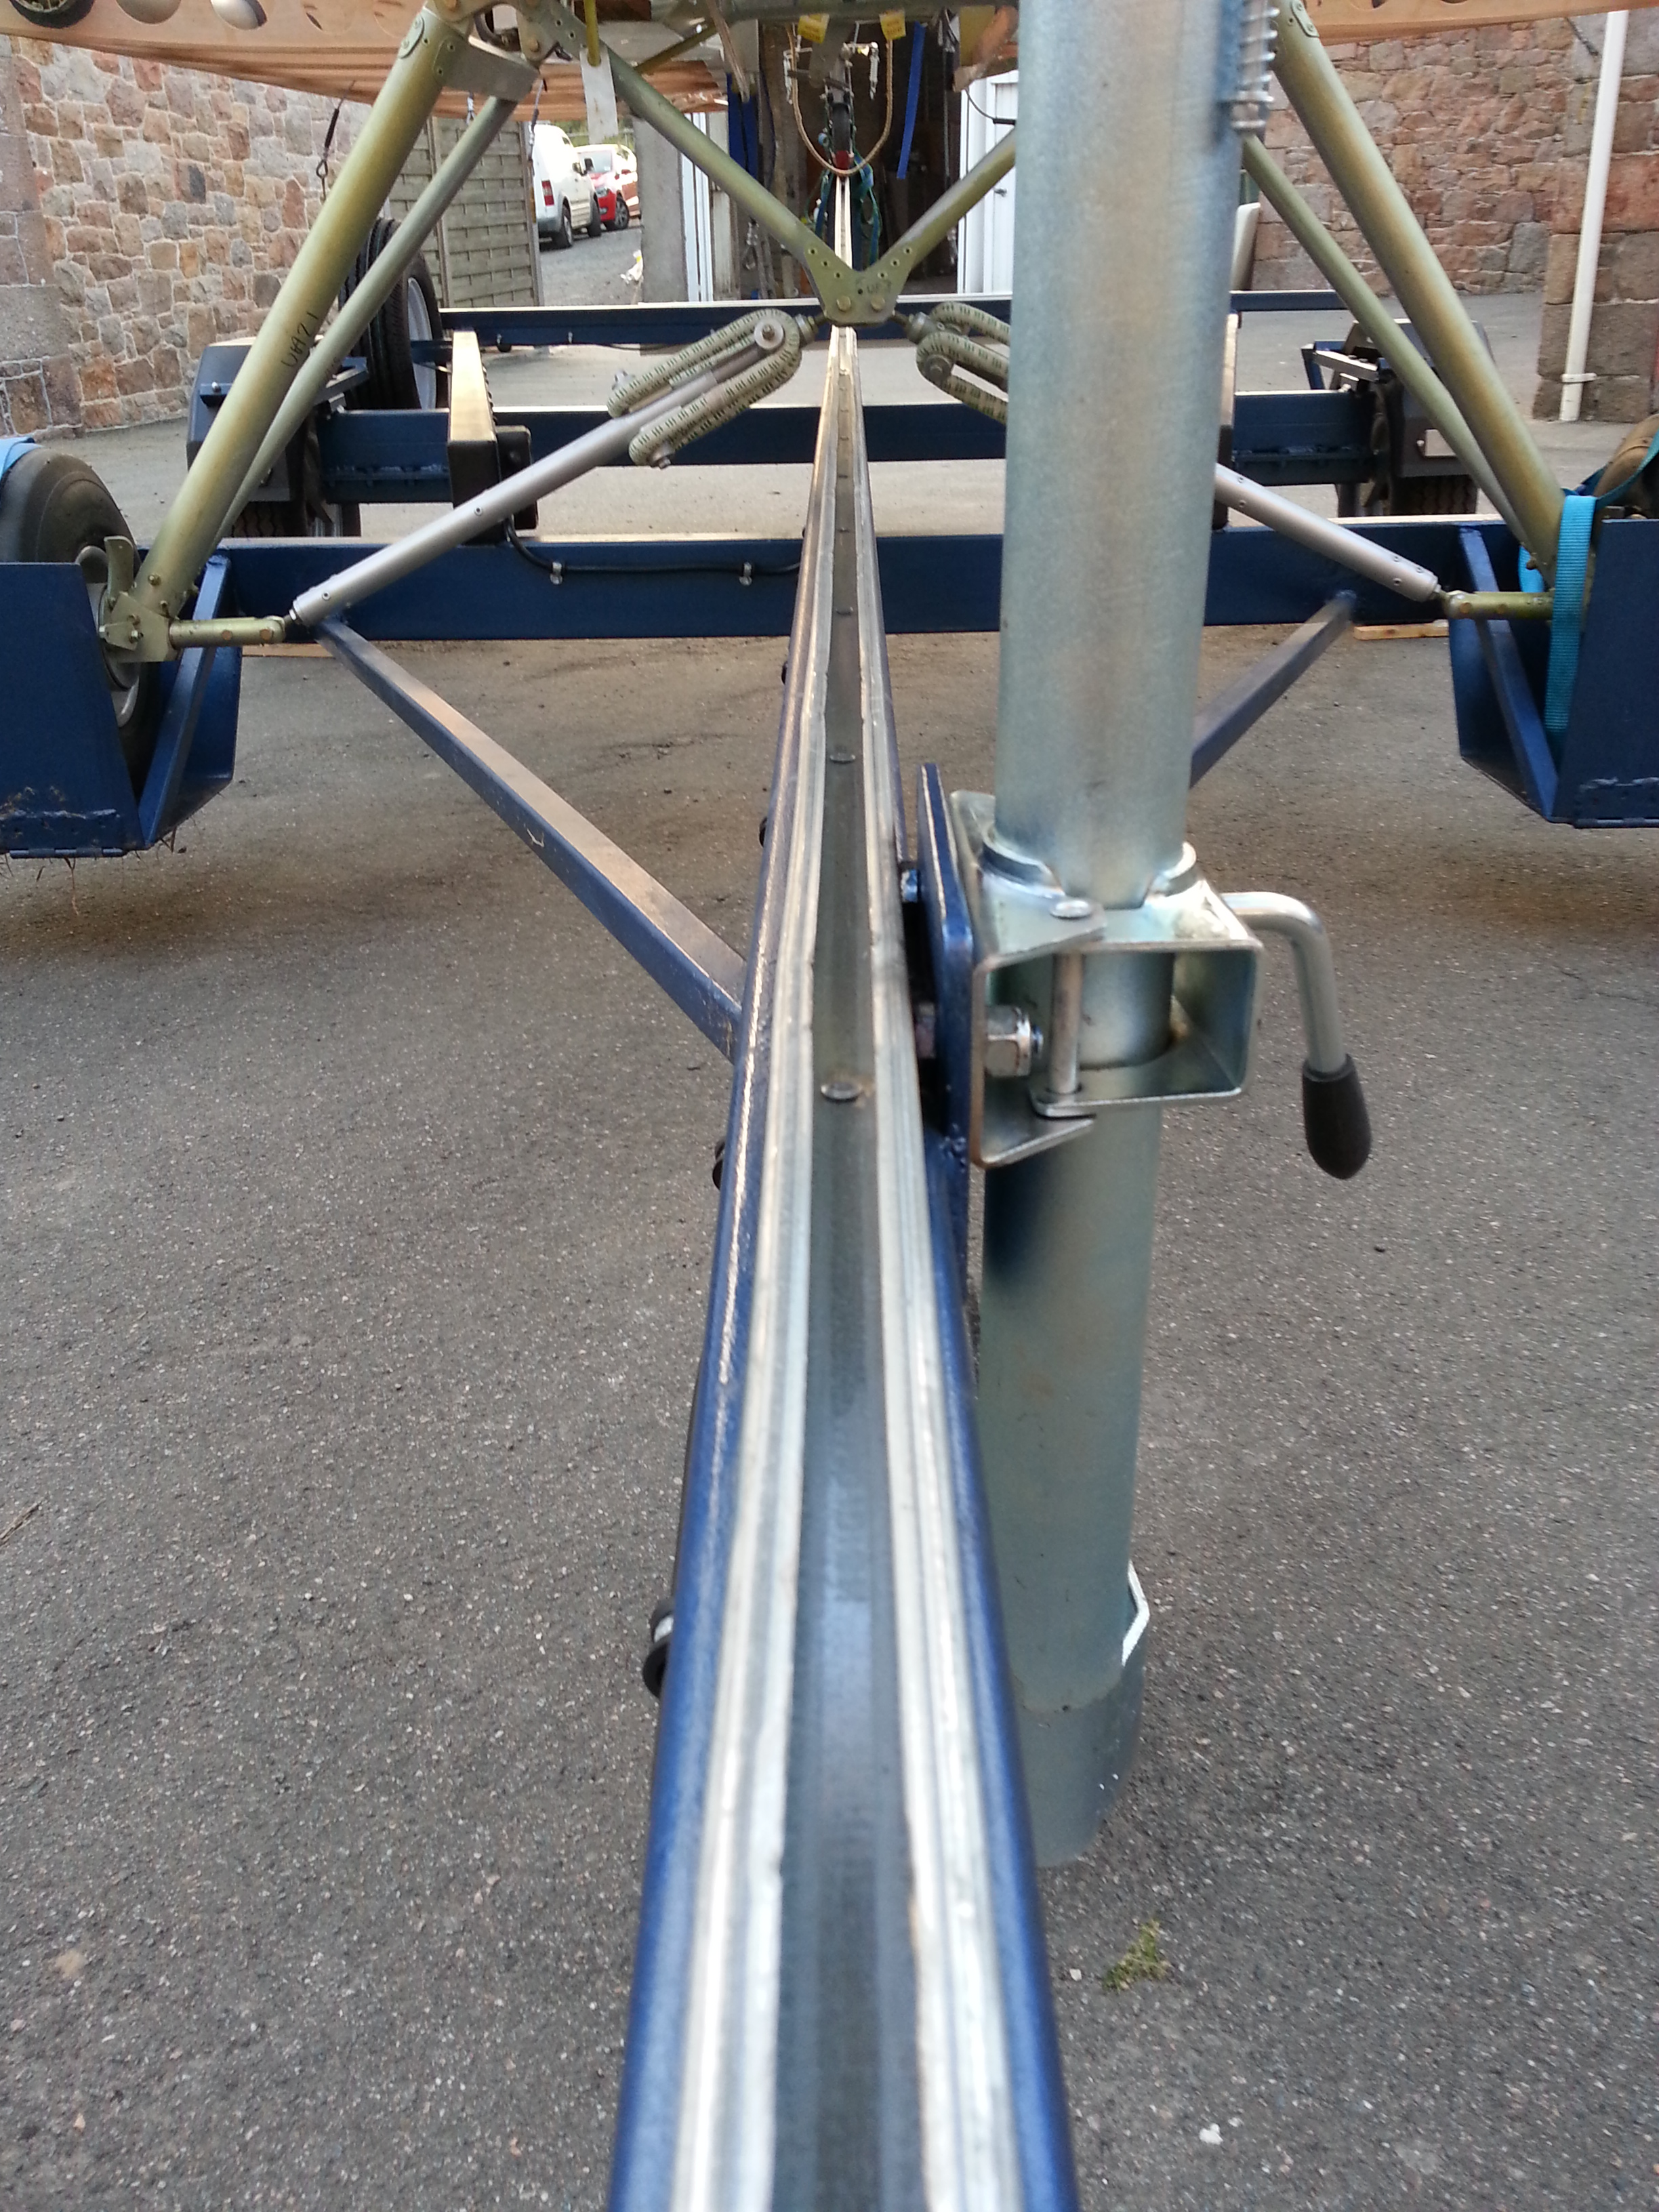
Look at the joints holding this fin on above

20140920_12425220140920_124203]

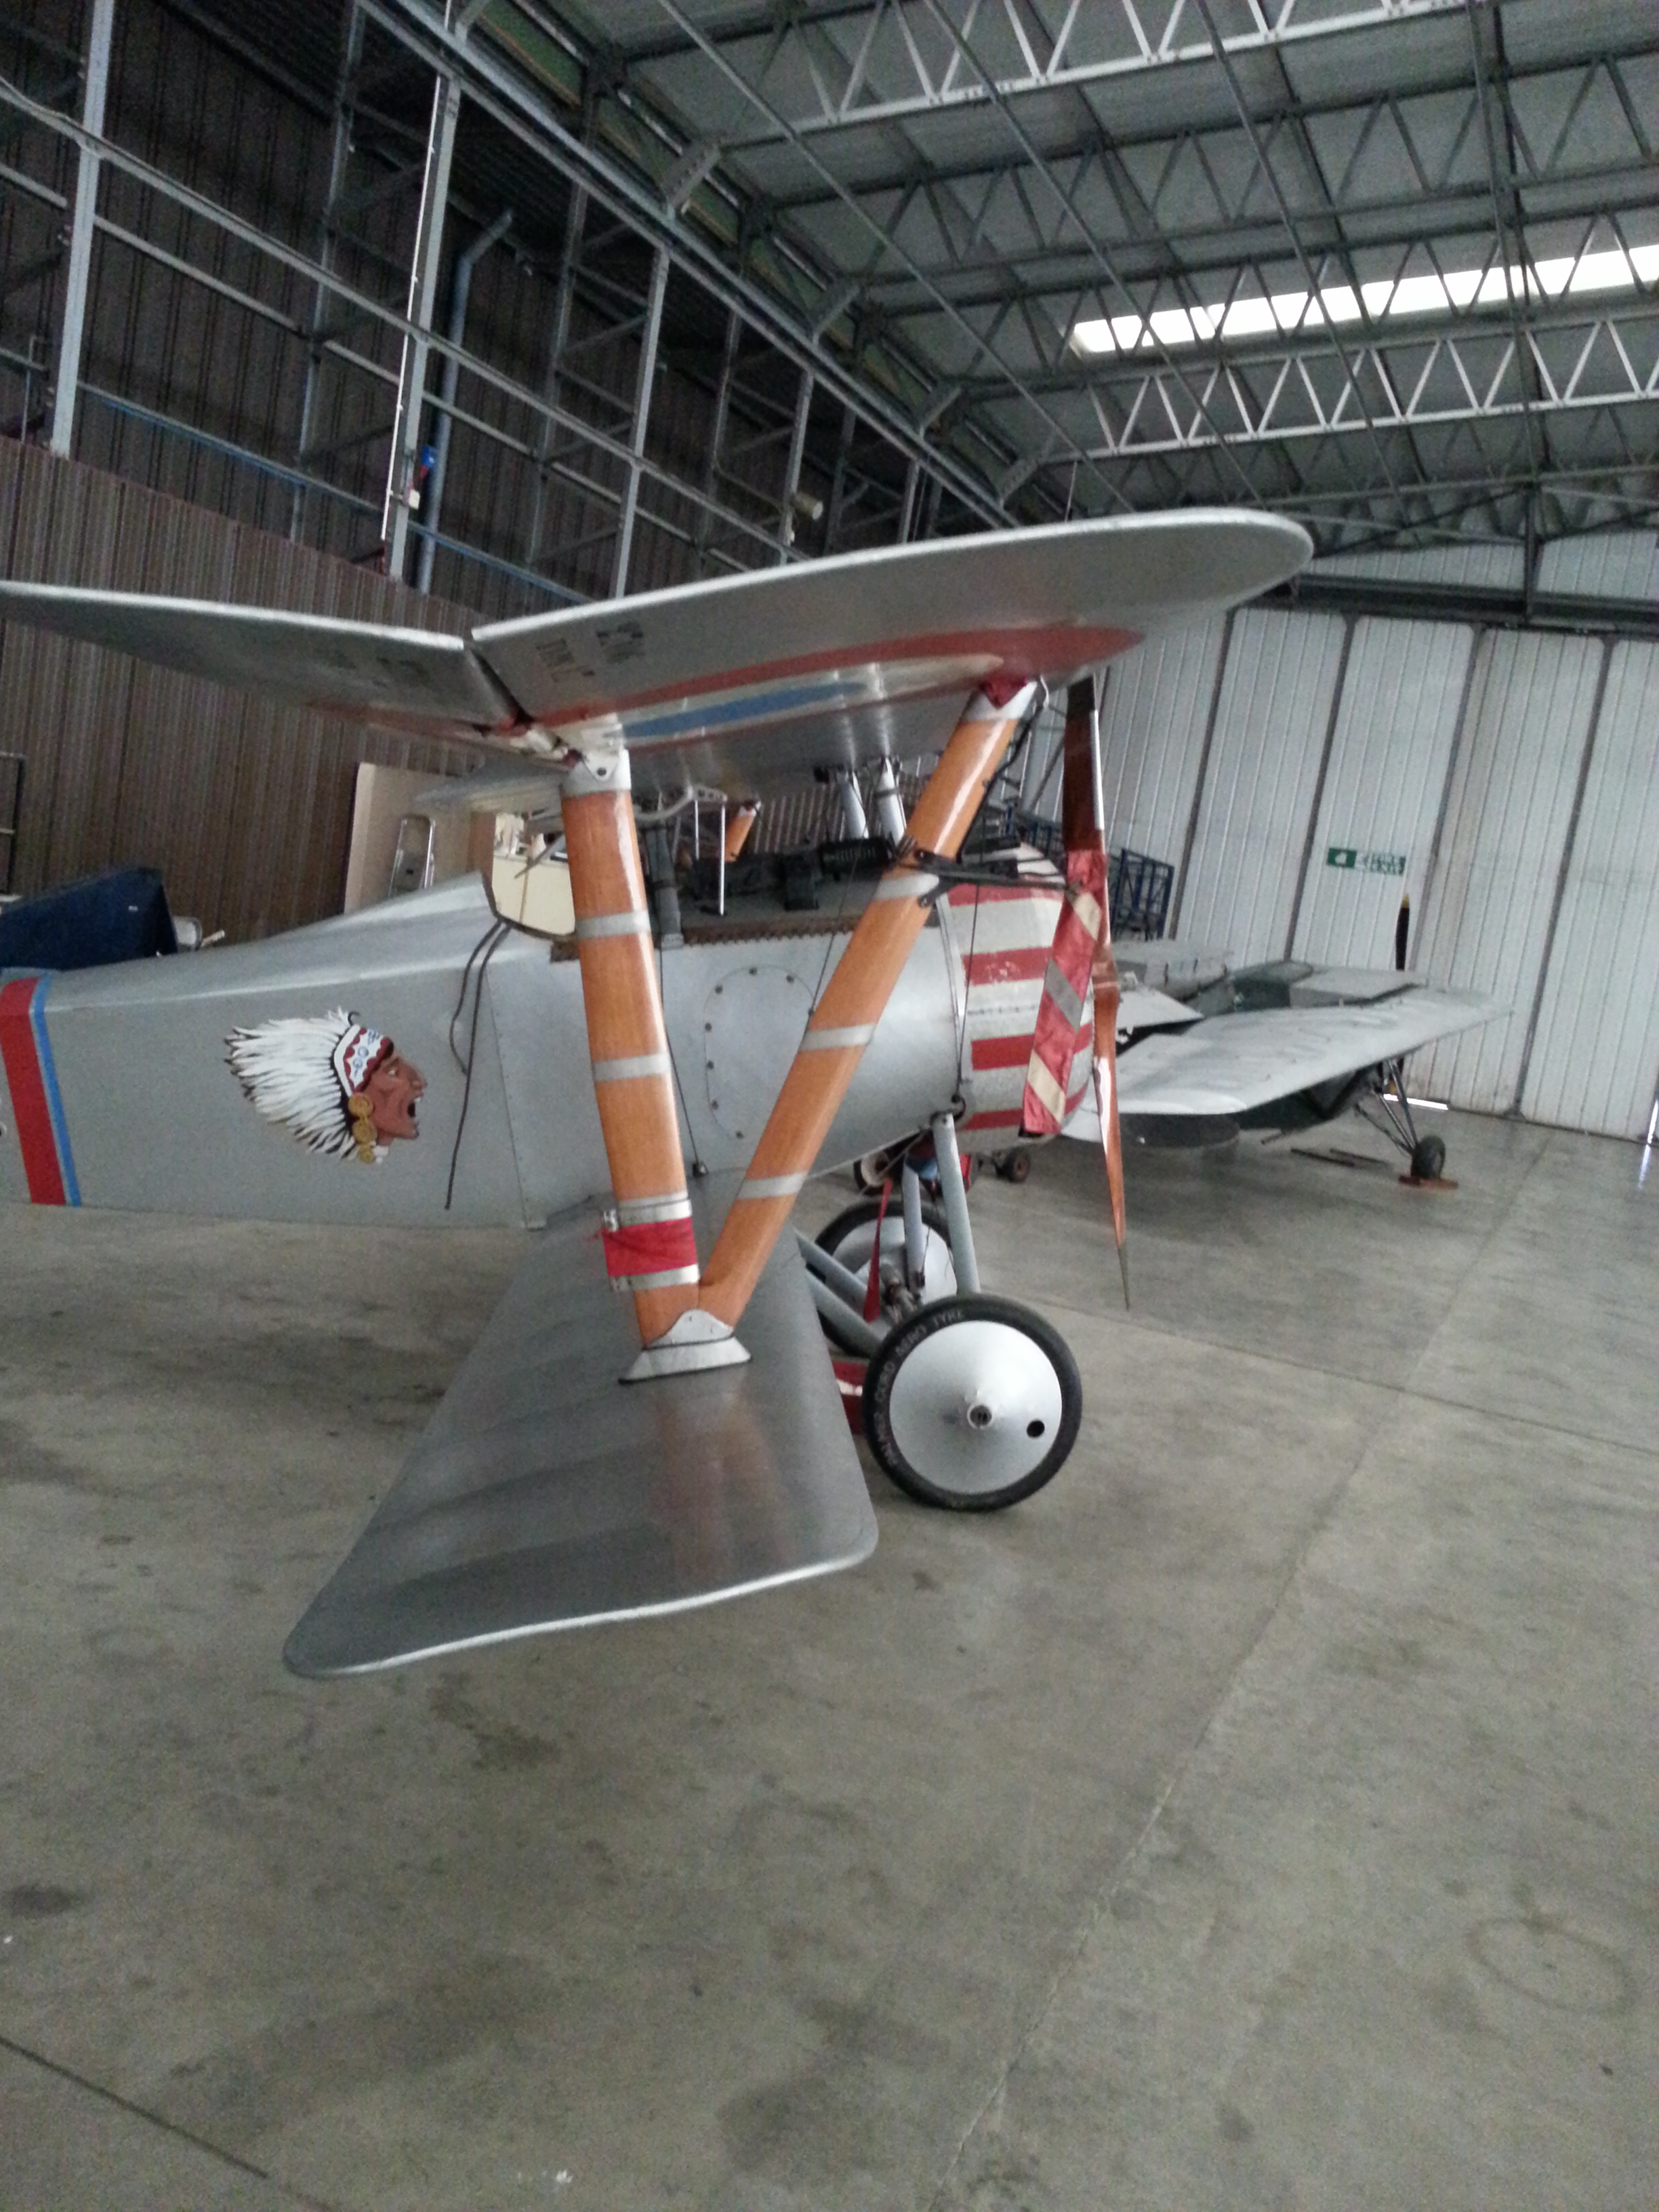
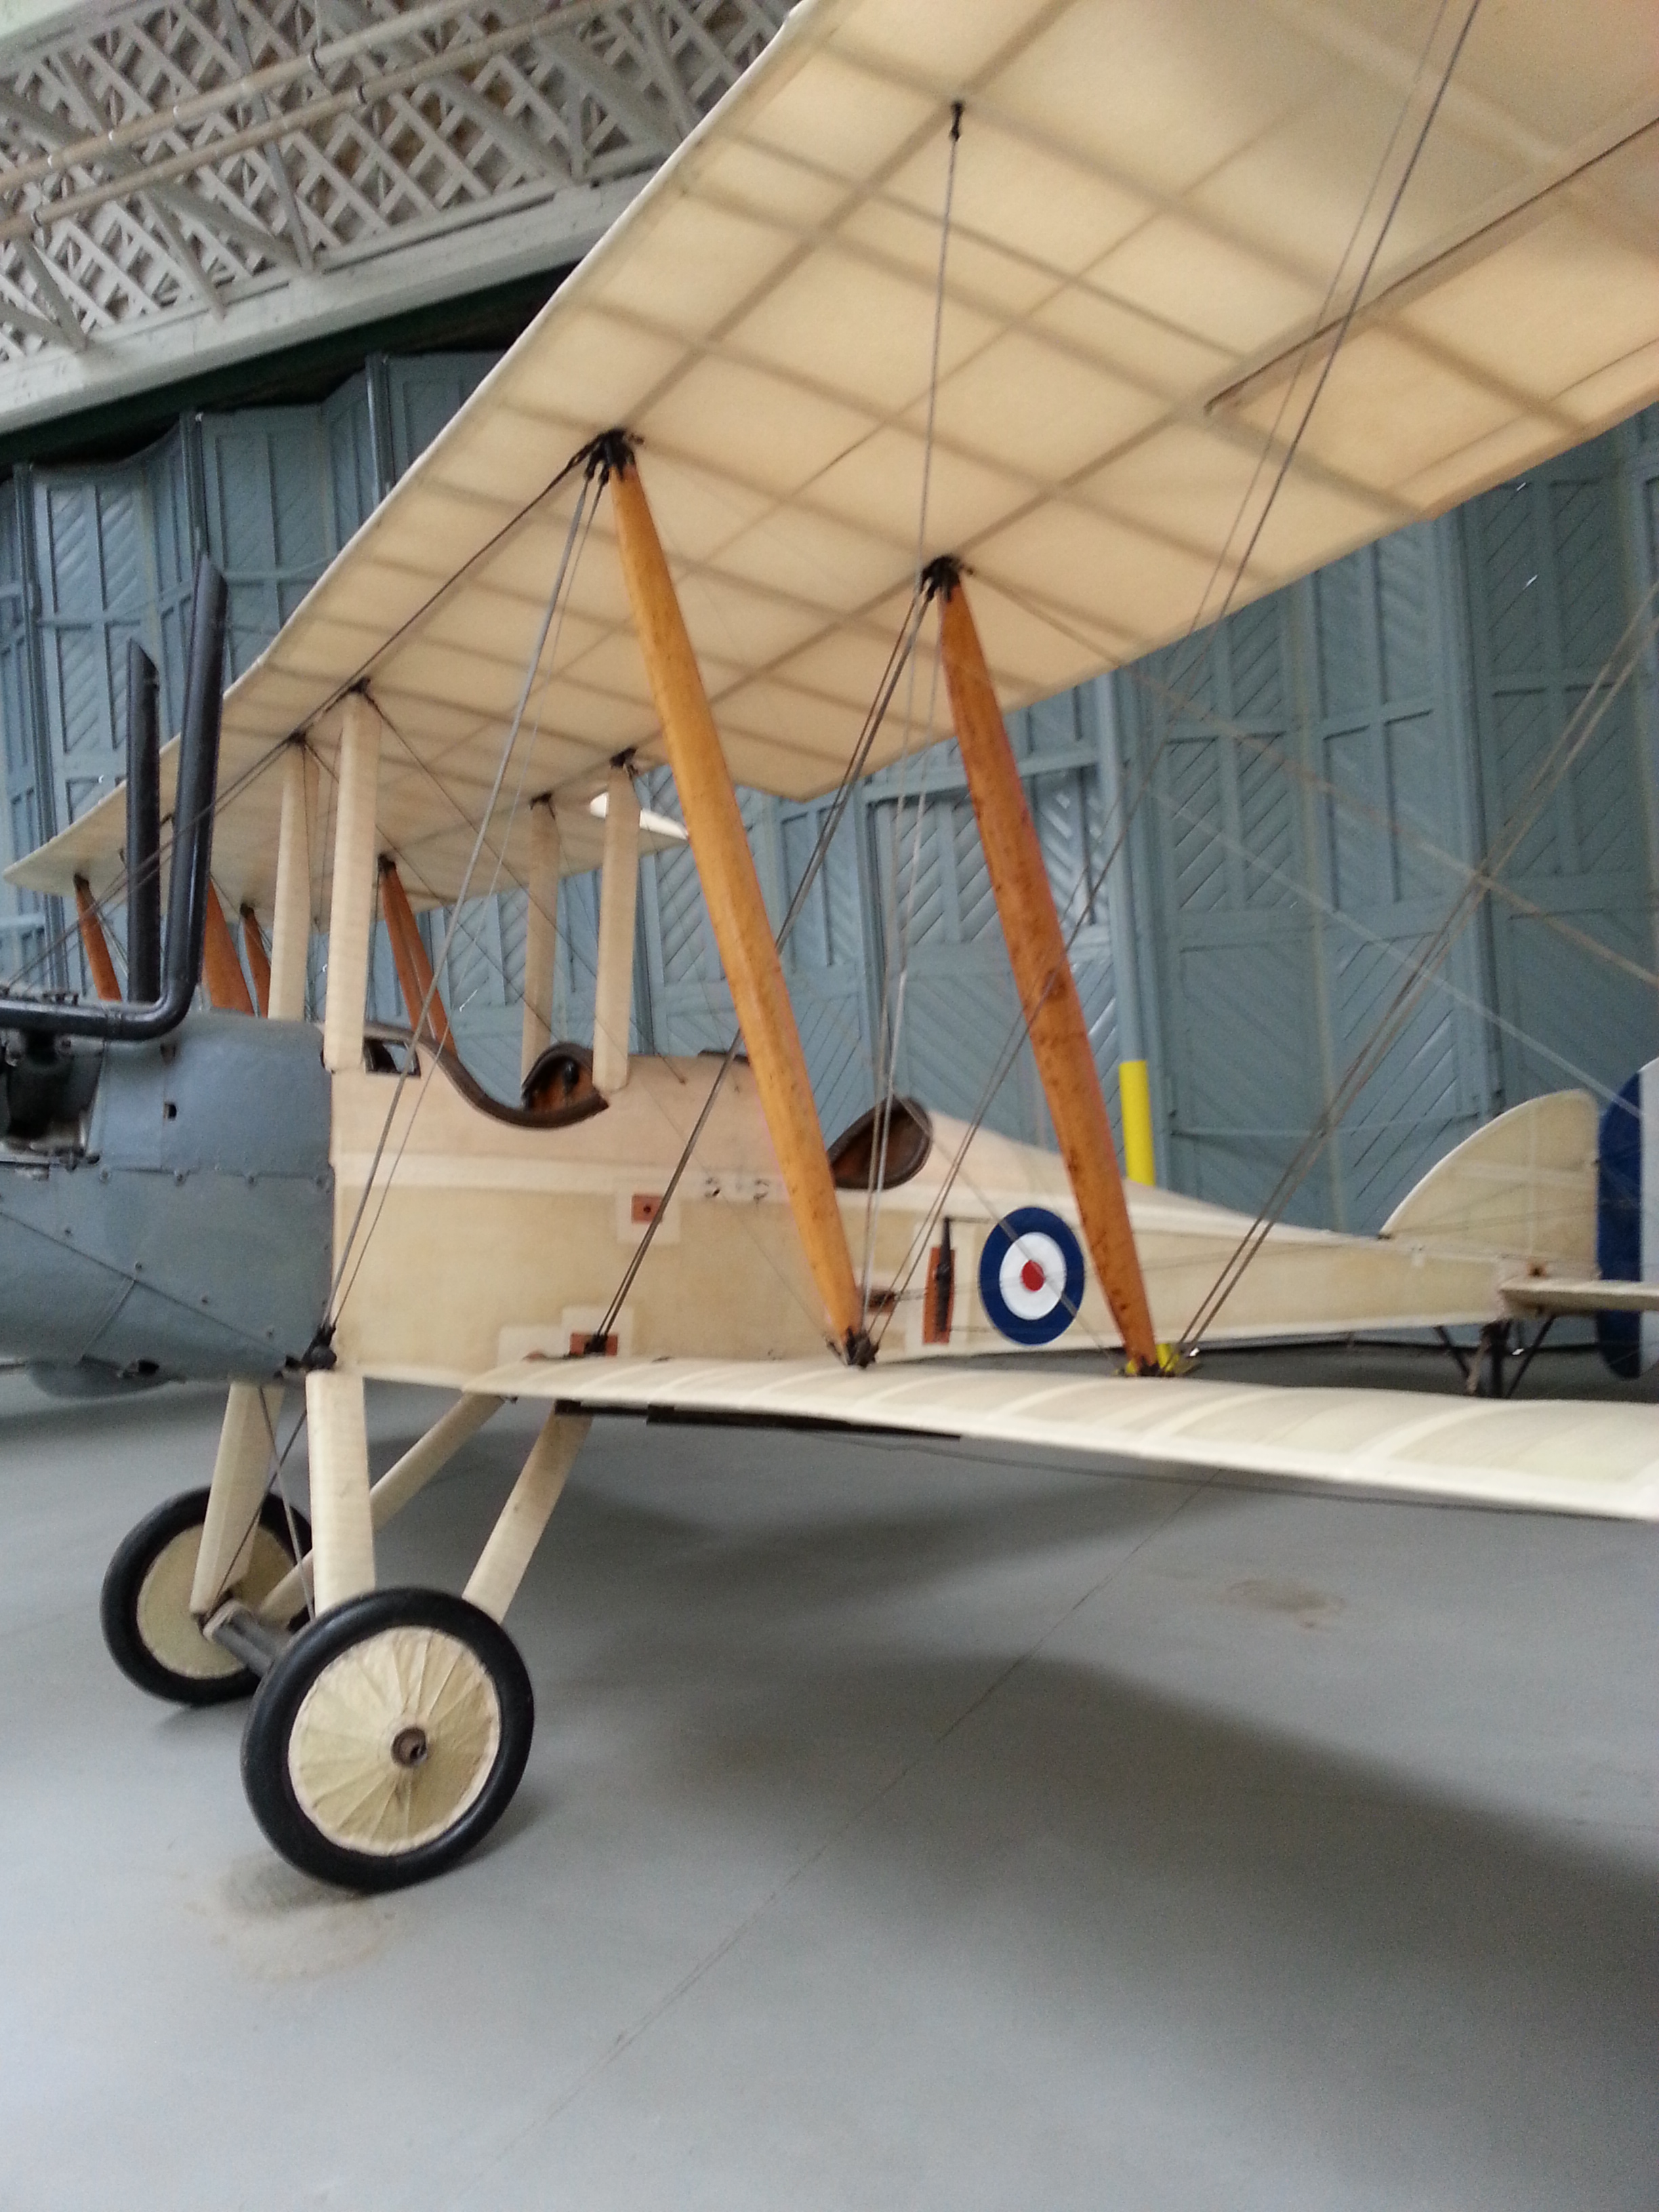
Nice 3 point cable support on cross wired Gladiator (I think ?)

20140920_124143 20140920_130030

Above – Steel braced with turnbuckles – makes it easier than washer packing !

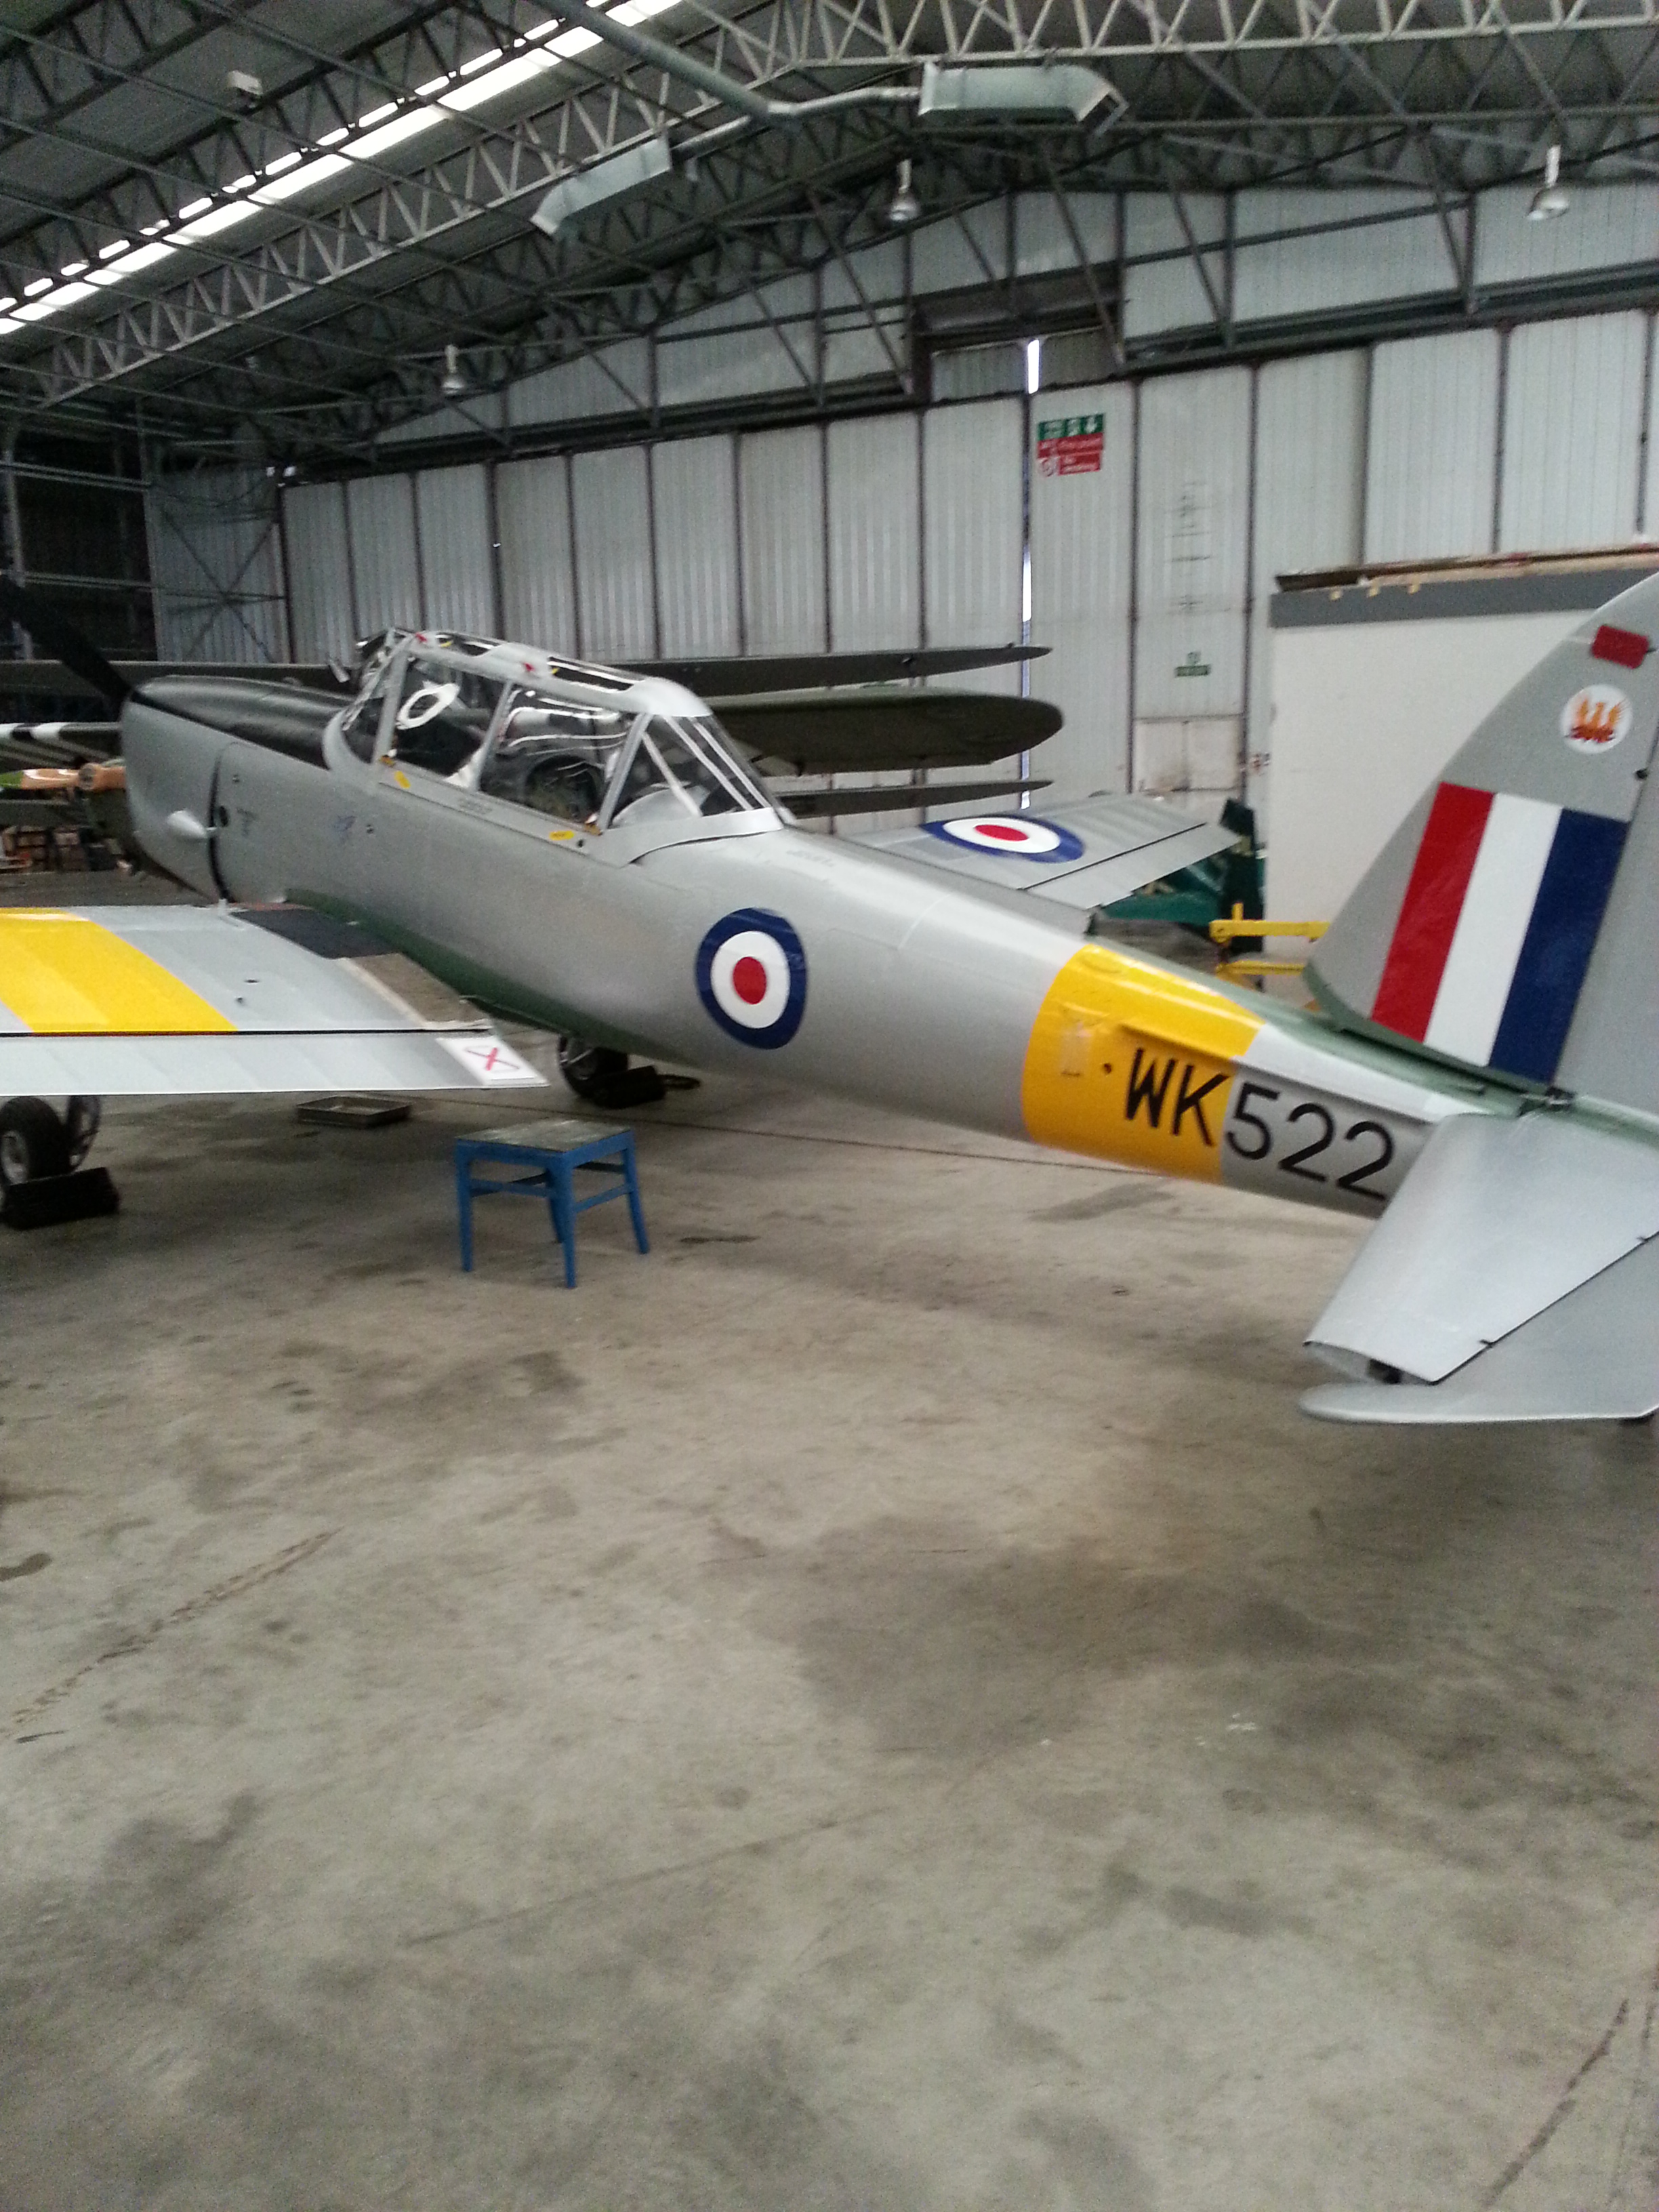
Above – Just like the Chipmunk I used to fly ! G-APLO

20140920_125919 20140920_125605

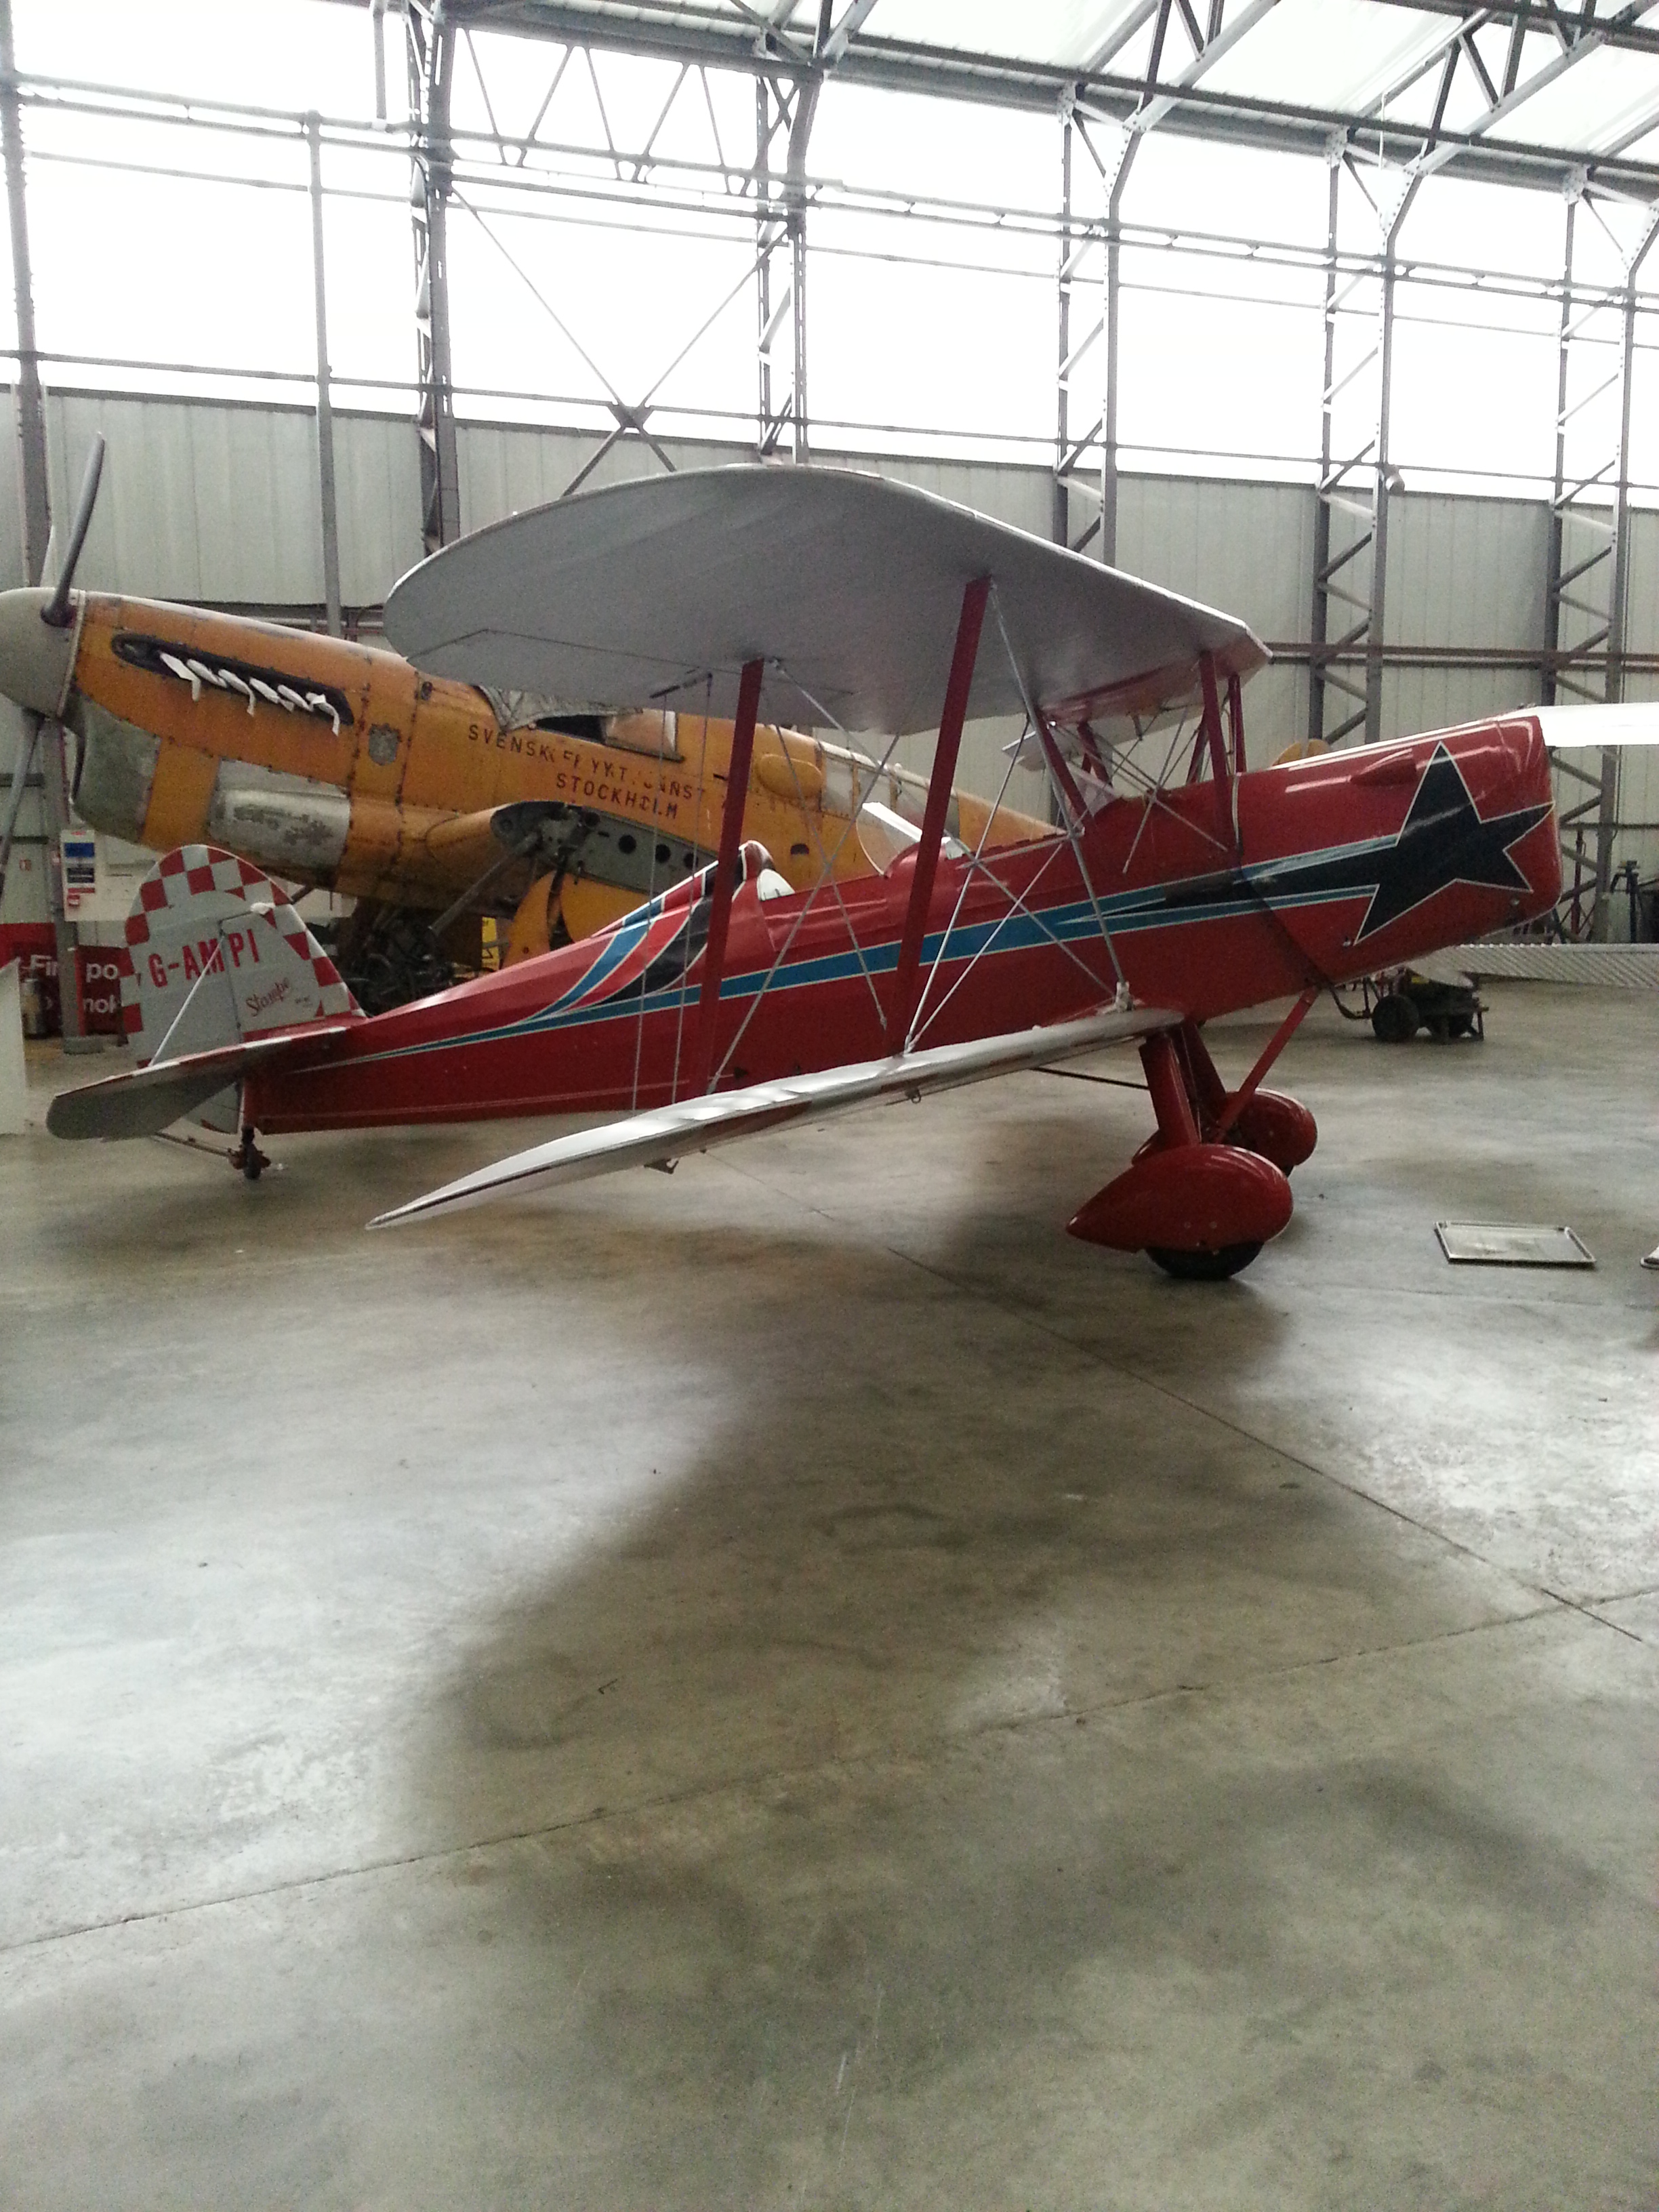
Above – so miss flying the old Stampe – this looked quite sporty and forgot how raked the wings were

Jersey resident – Martin Willings Fennec in the background

20140920_12531720140920_125249

Beautiful Puss Moth folding wings – with a 150 hp engine – swift !

20140920_125128 20140920_123553

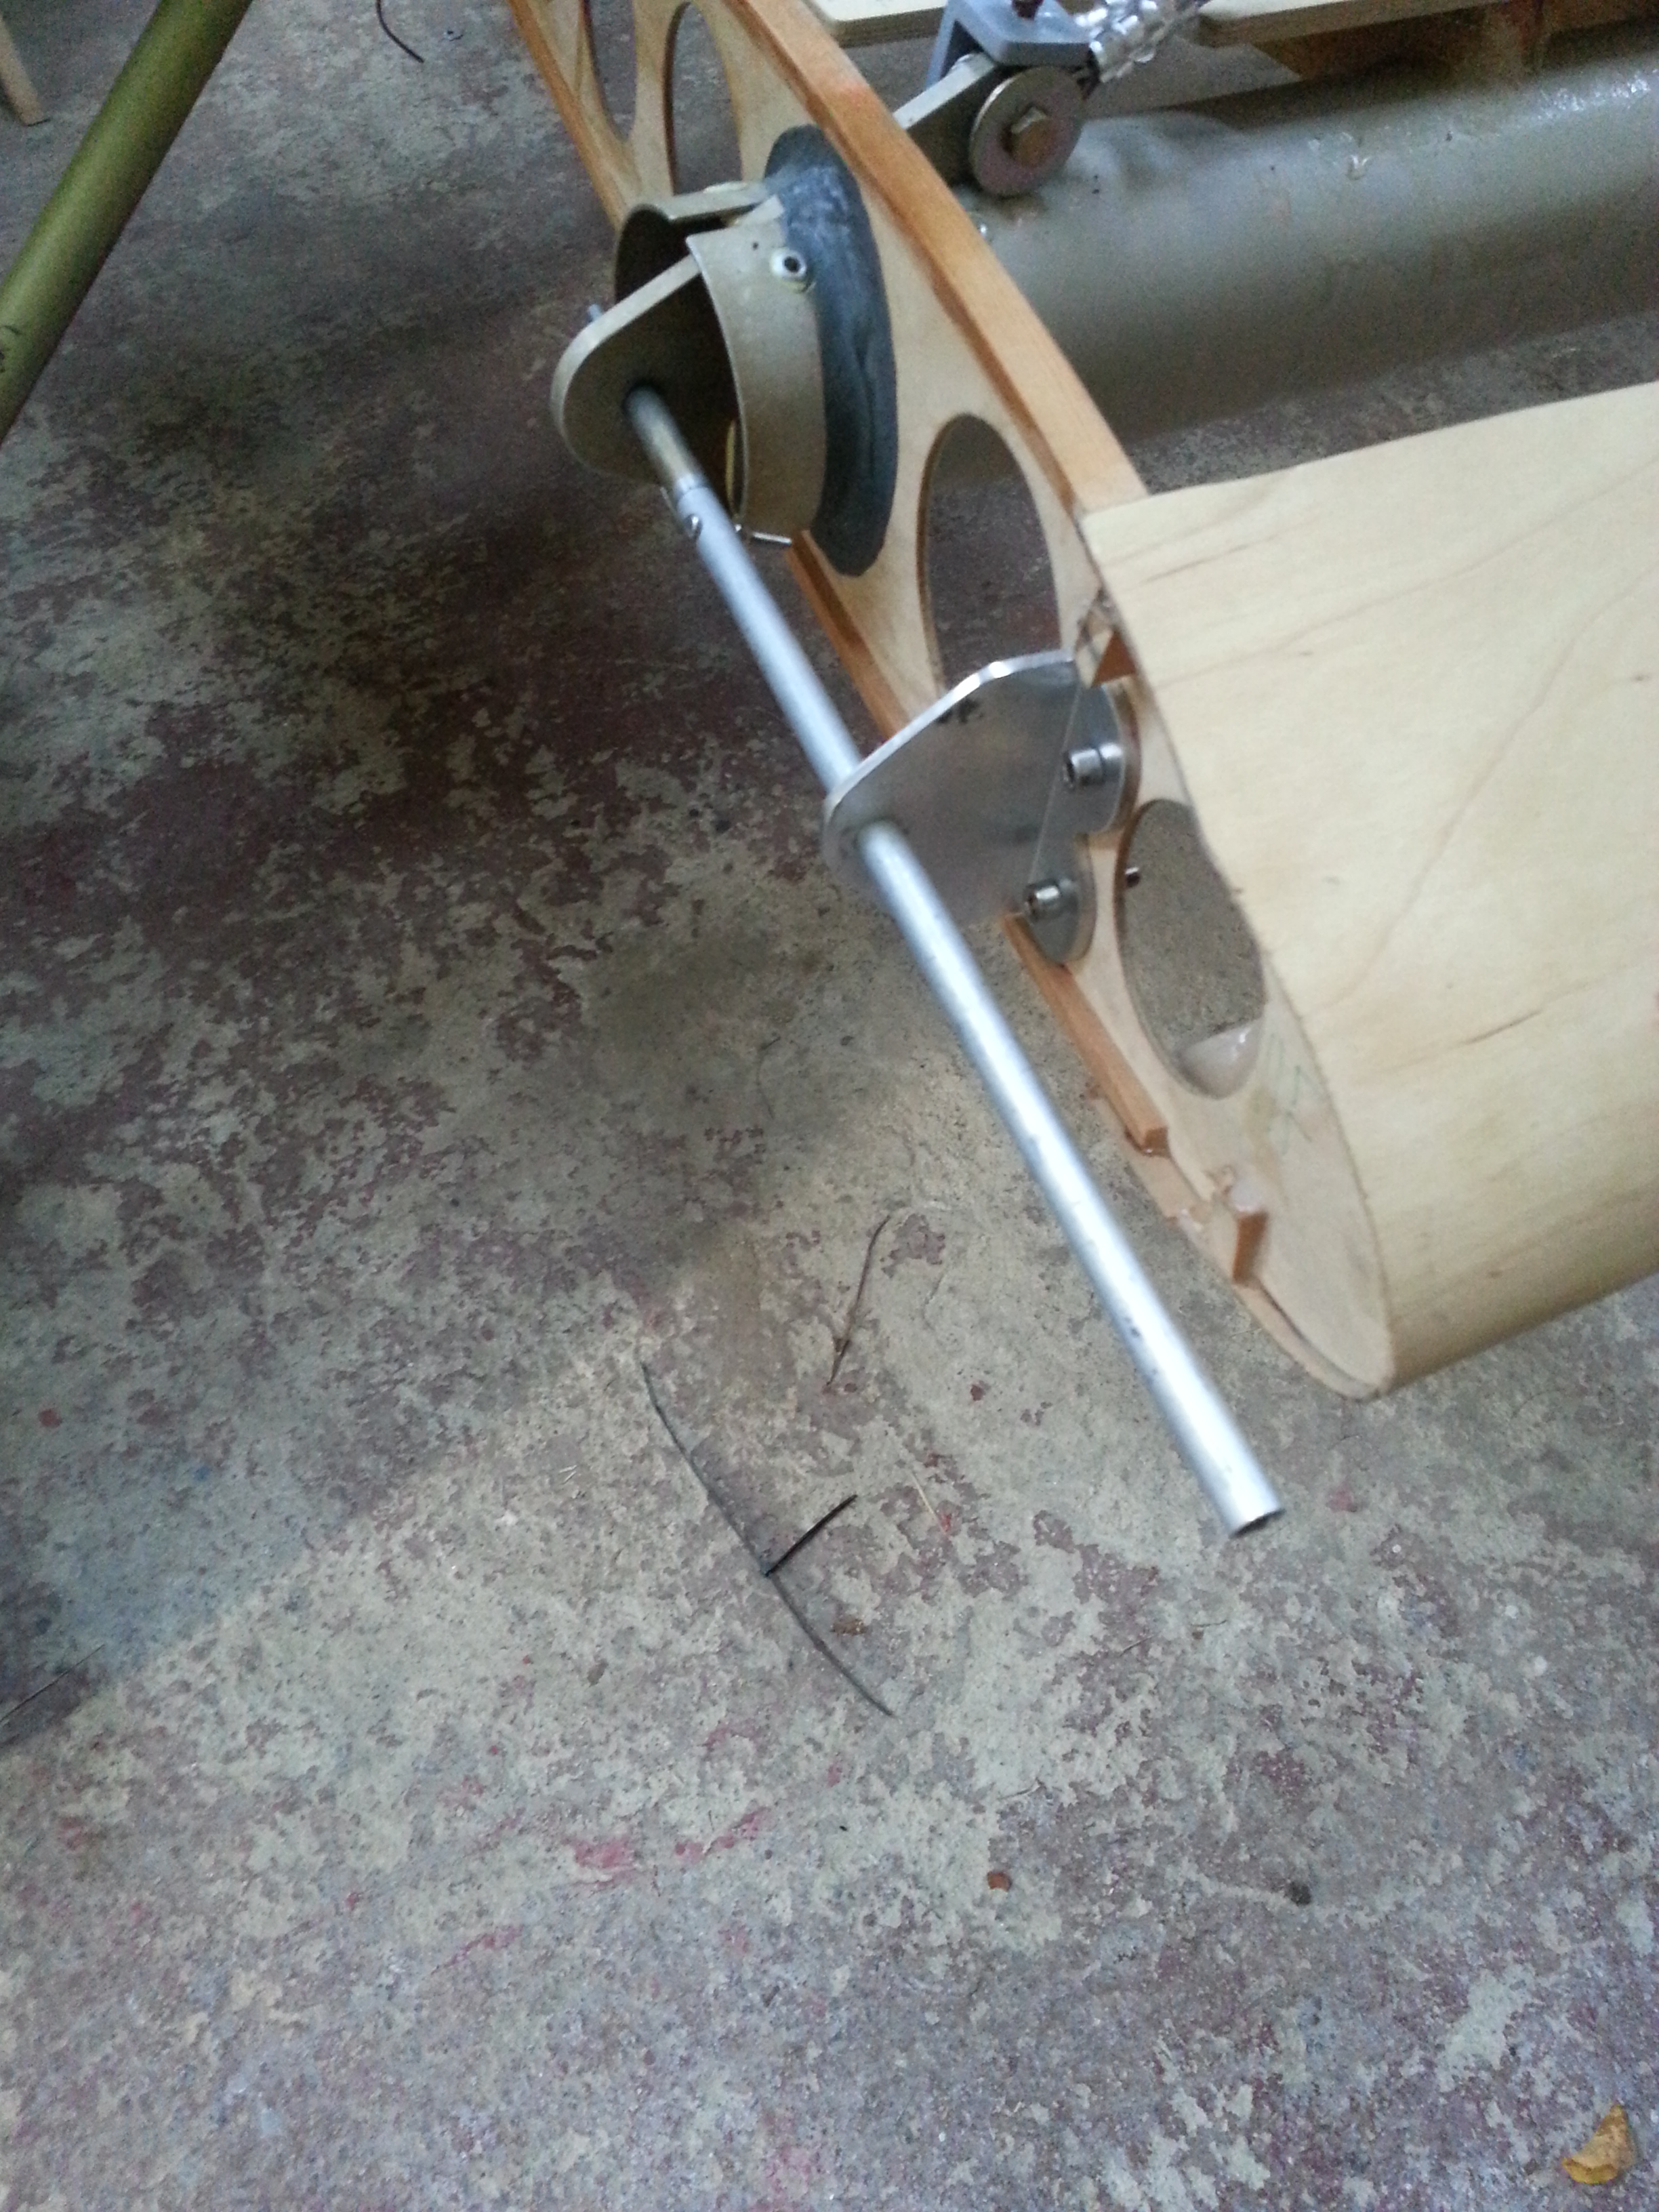
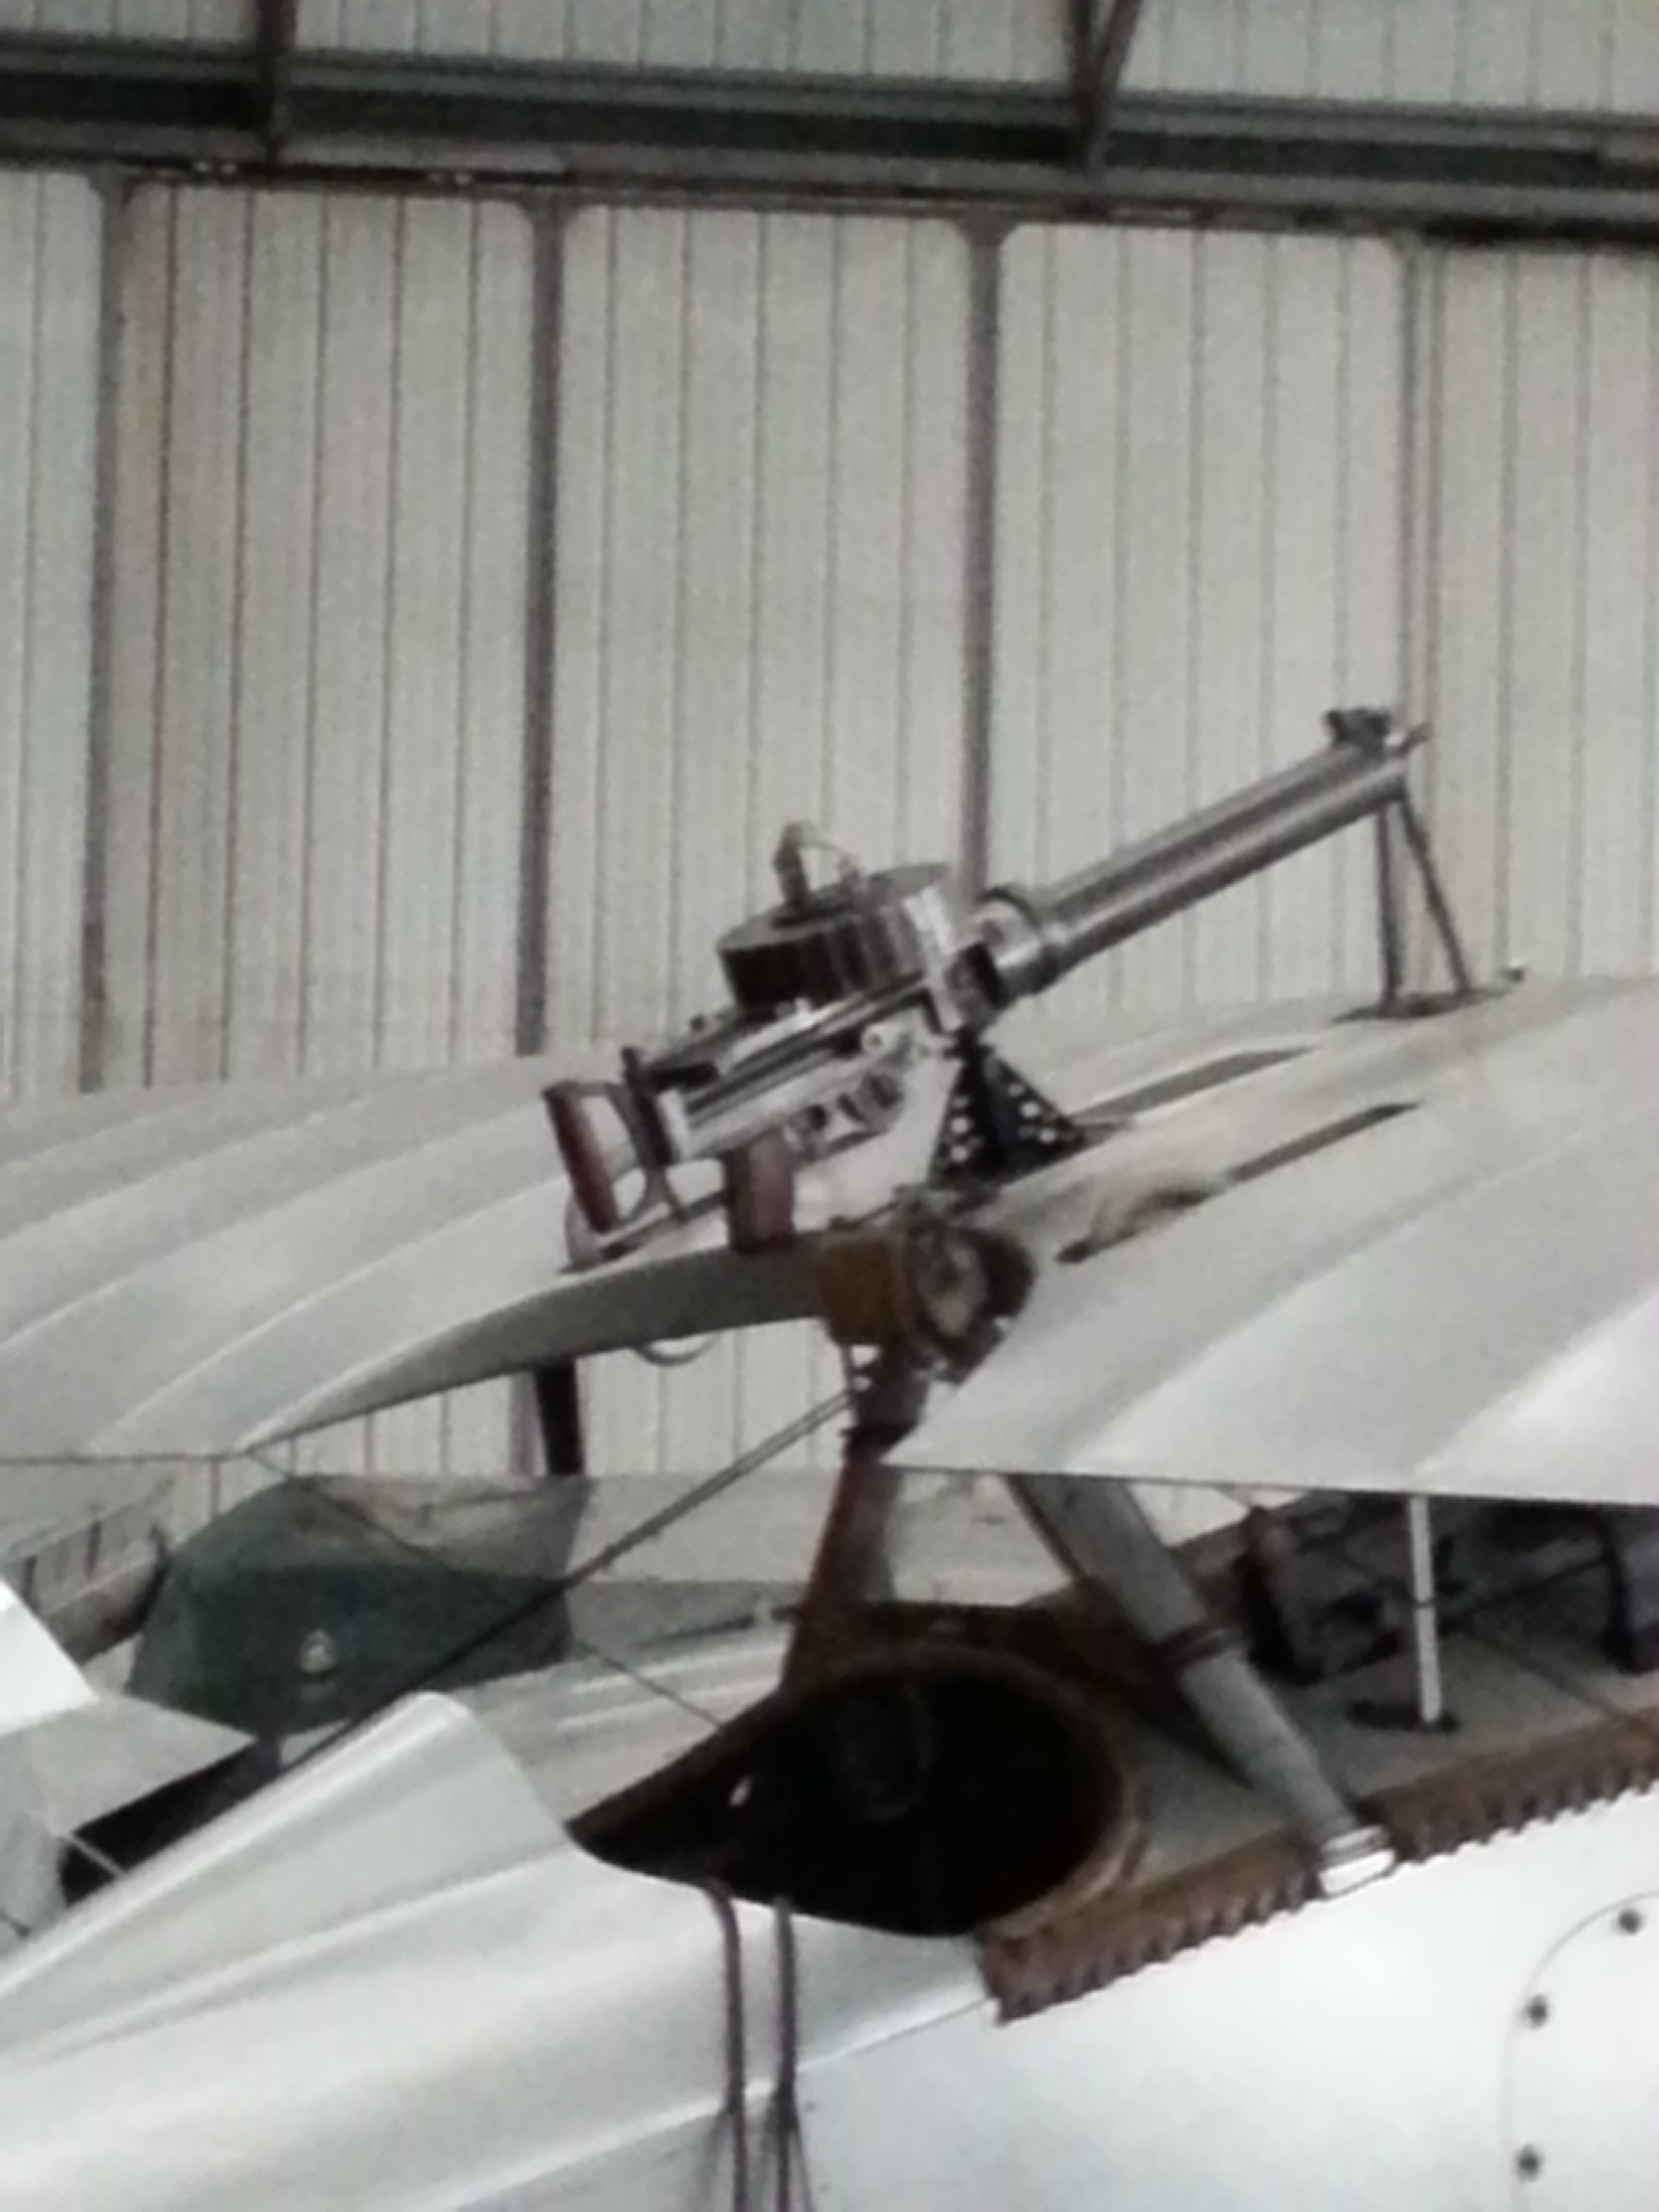
Above – Mocked up gun my boys say should be on the Sherwood !

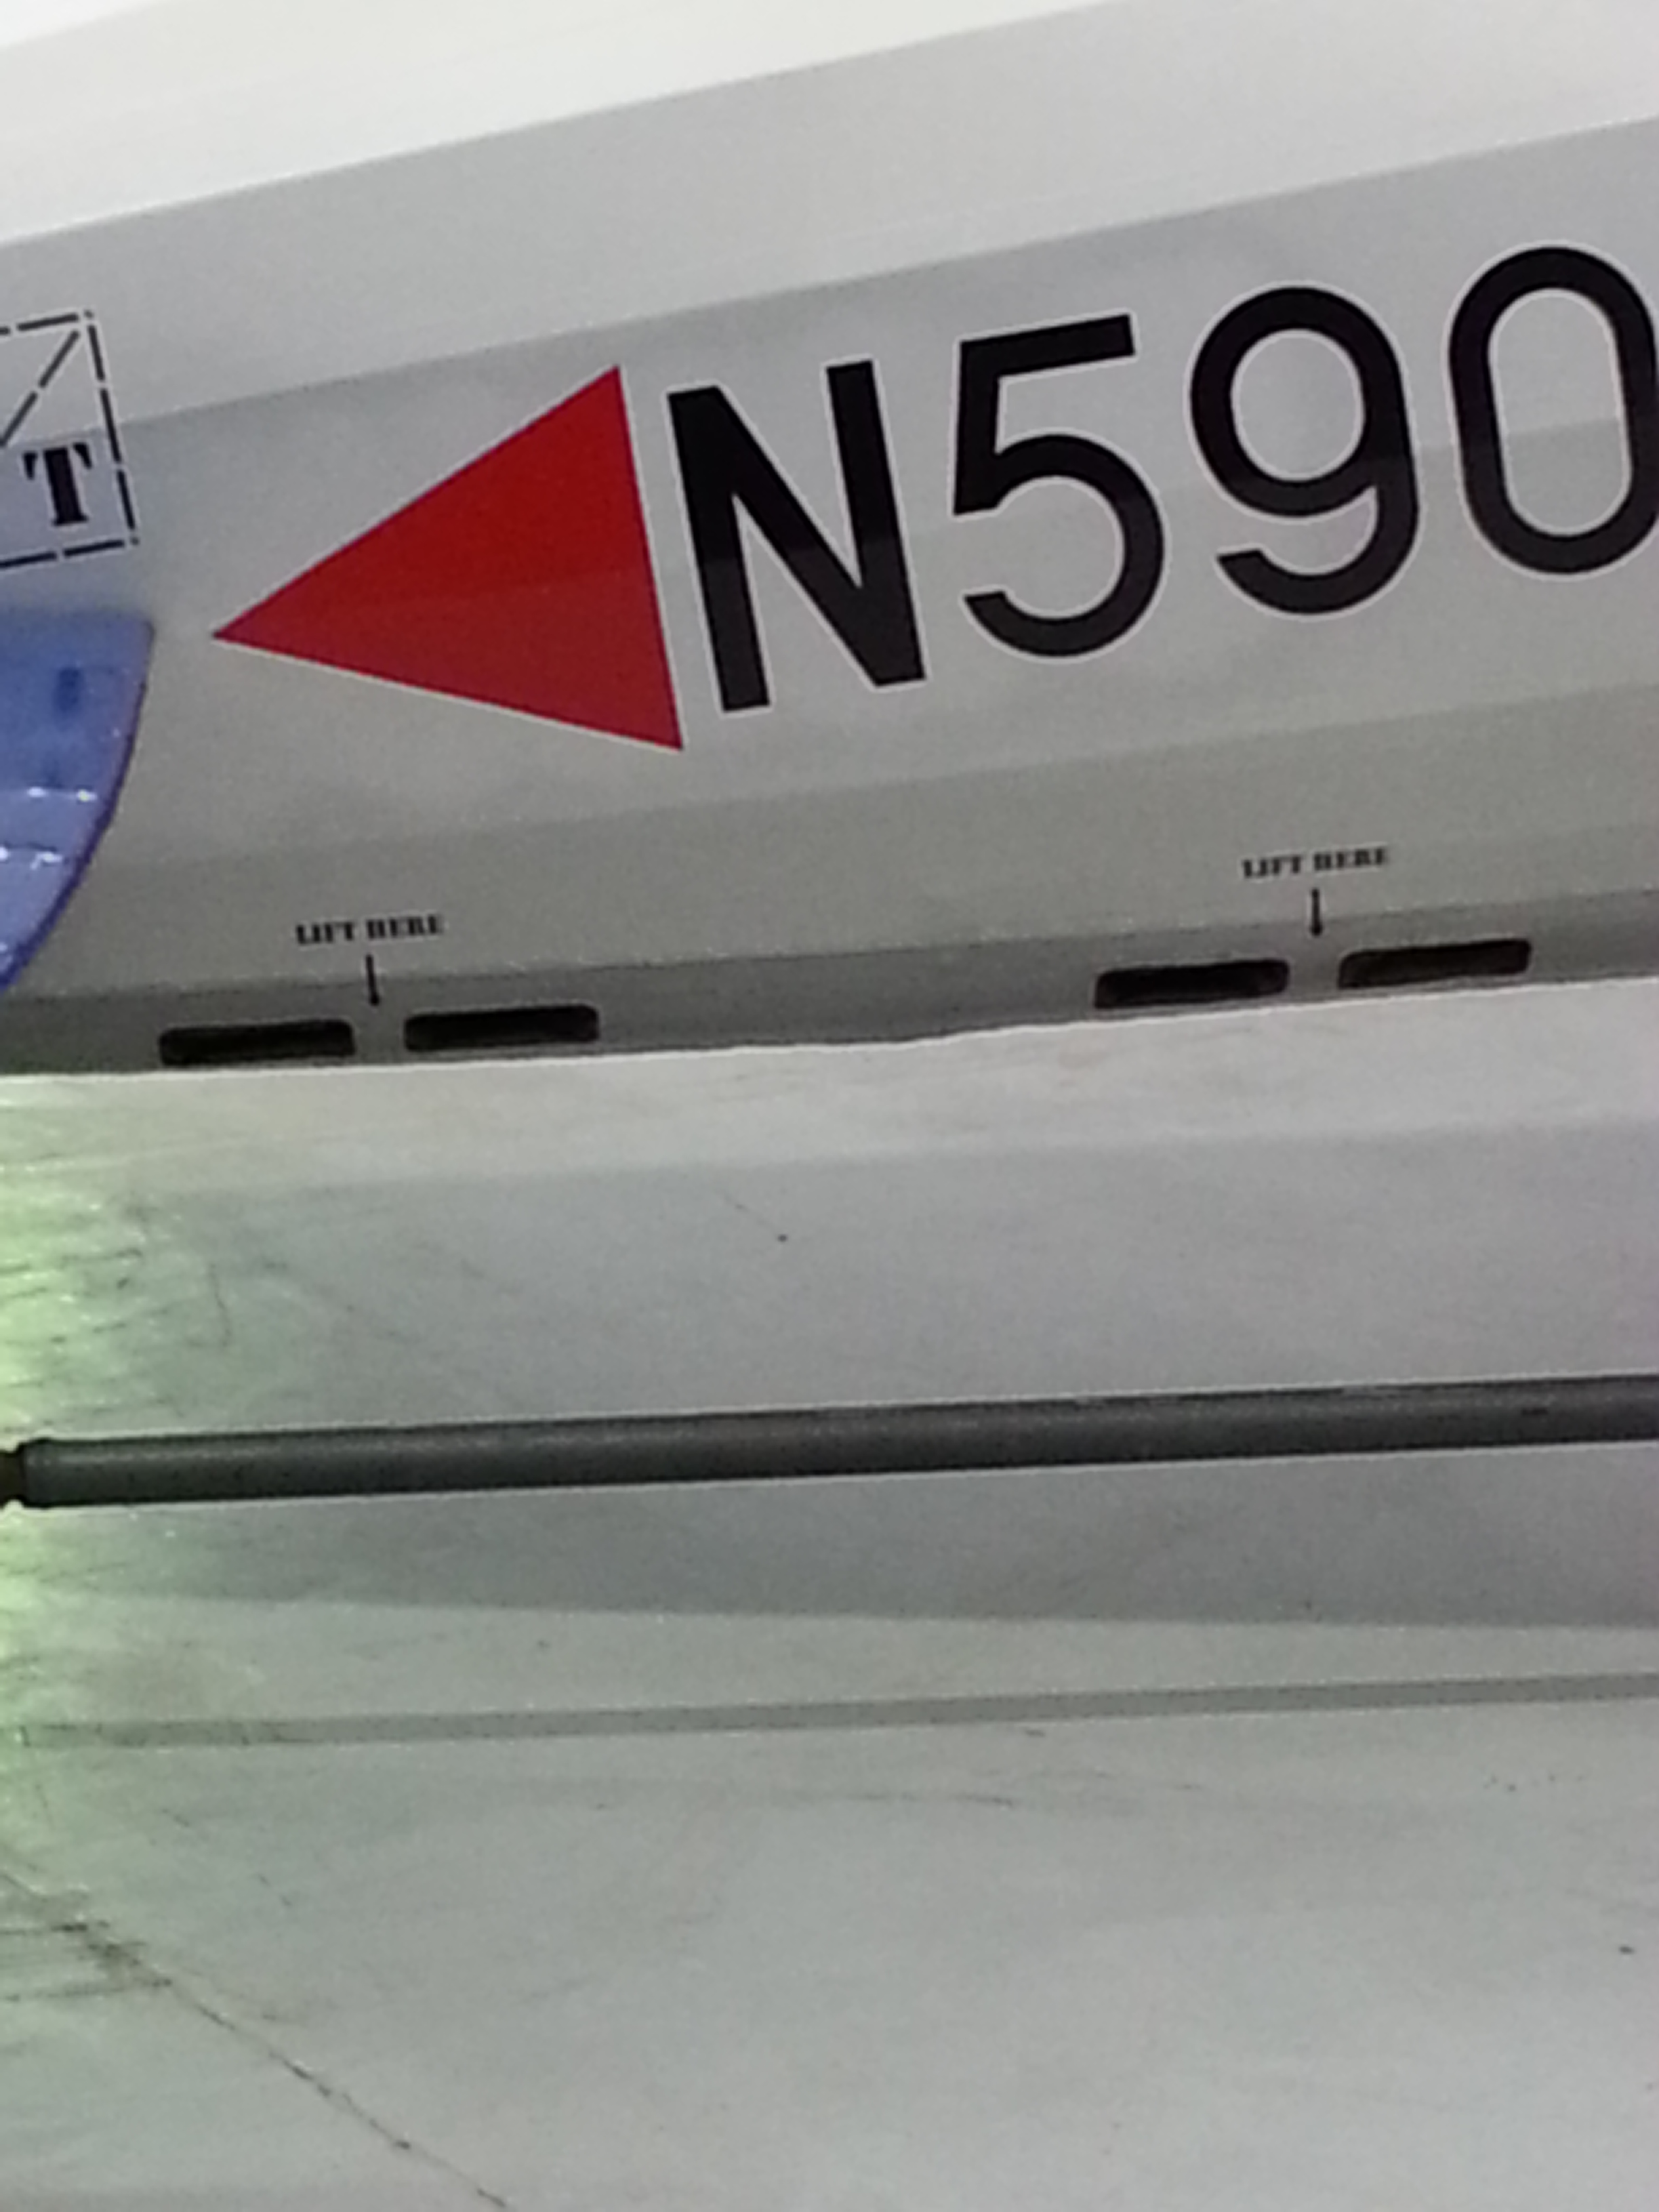
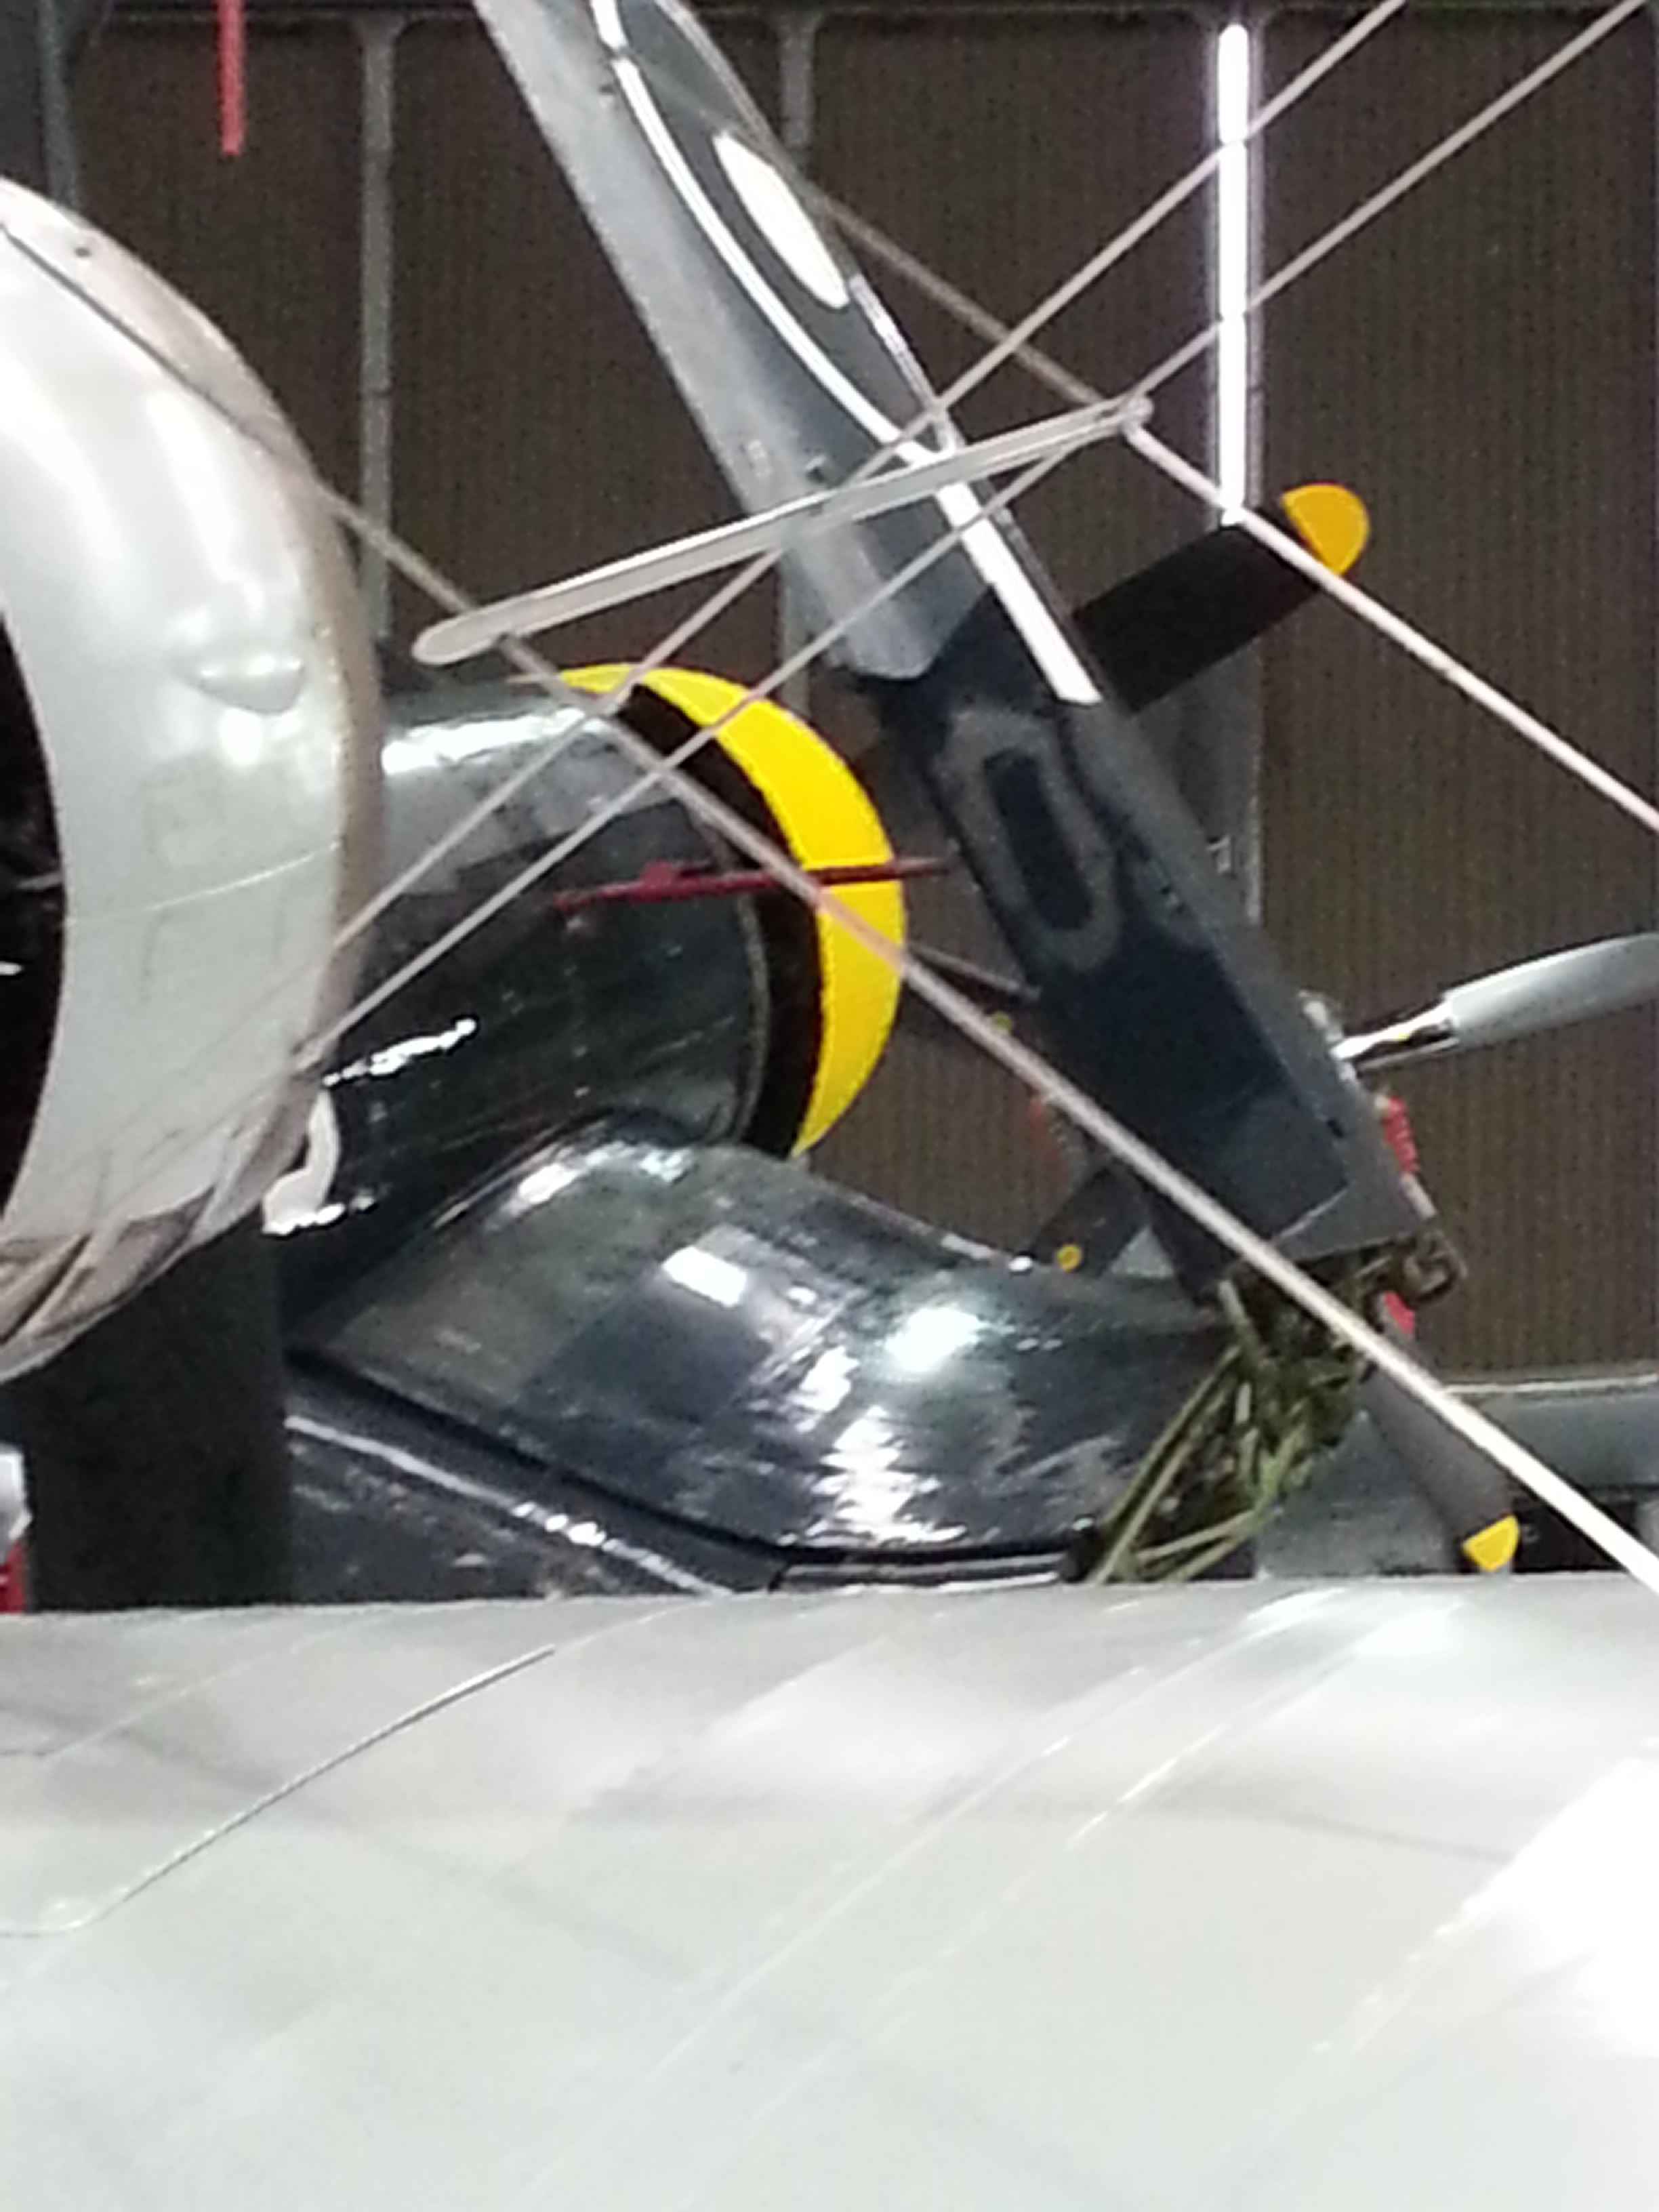
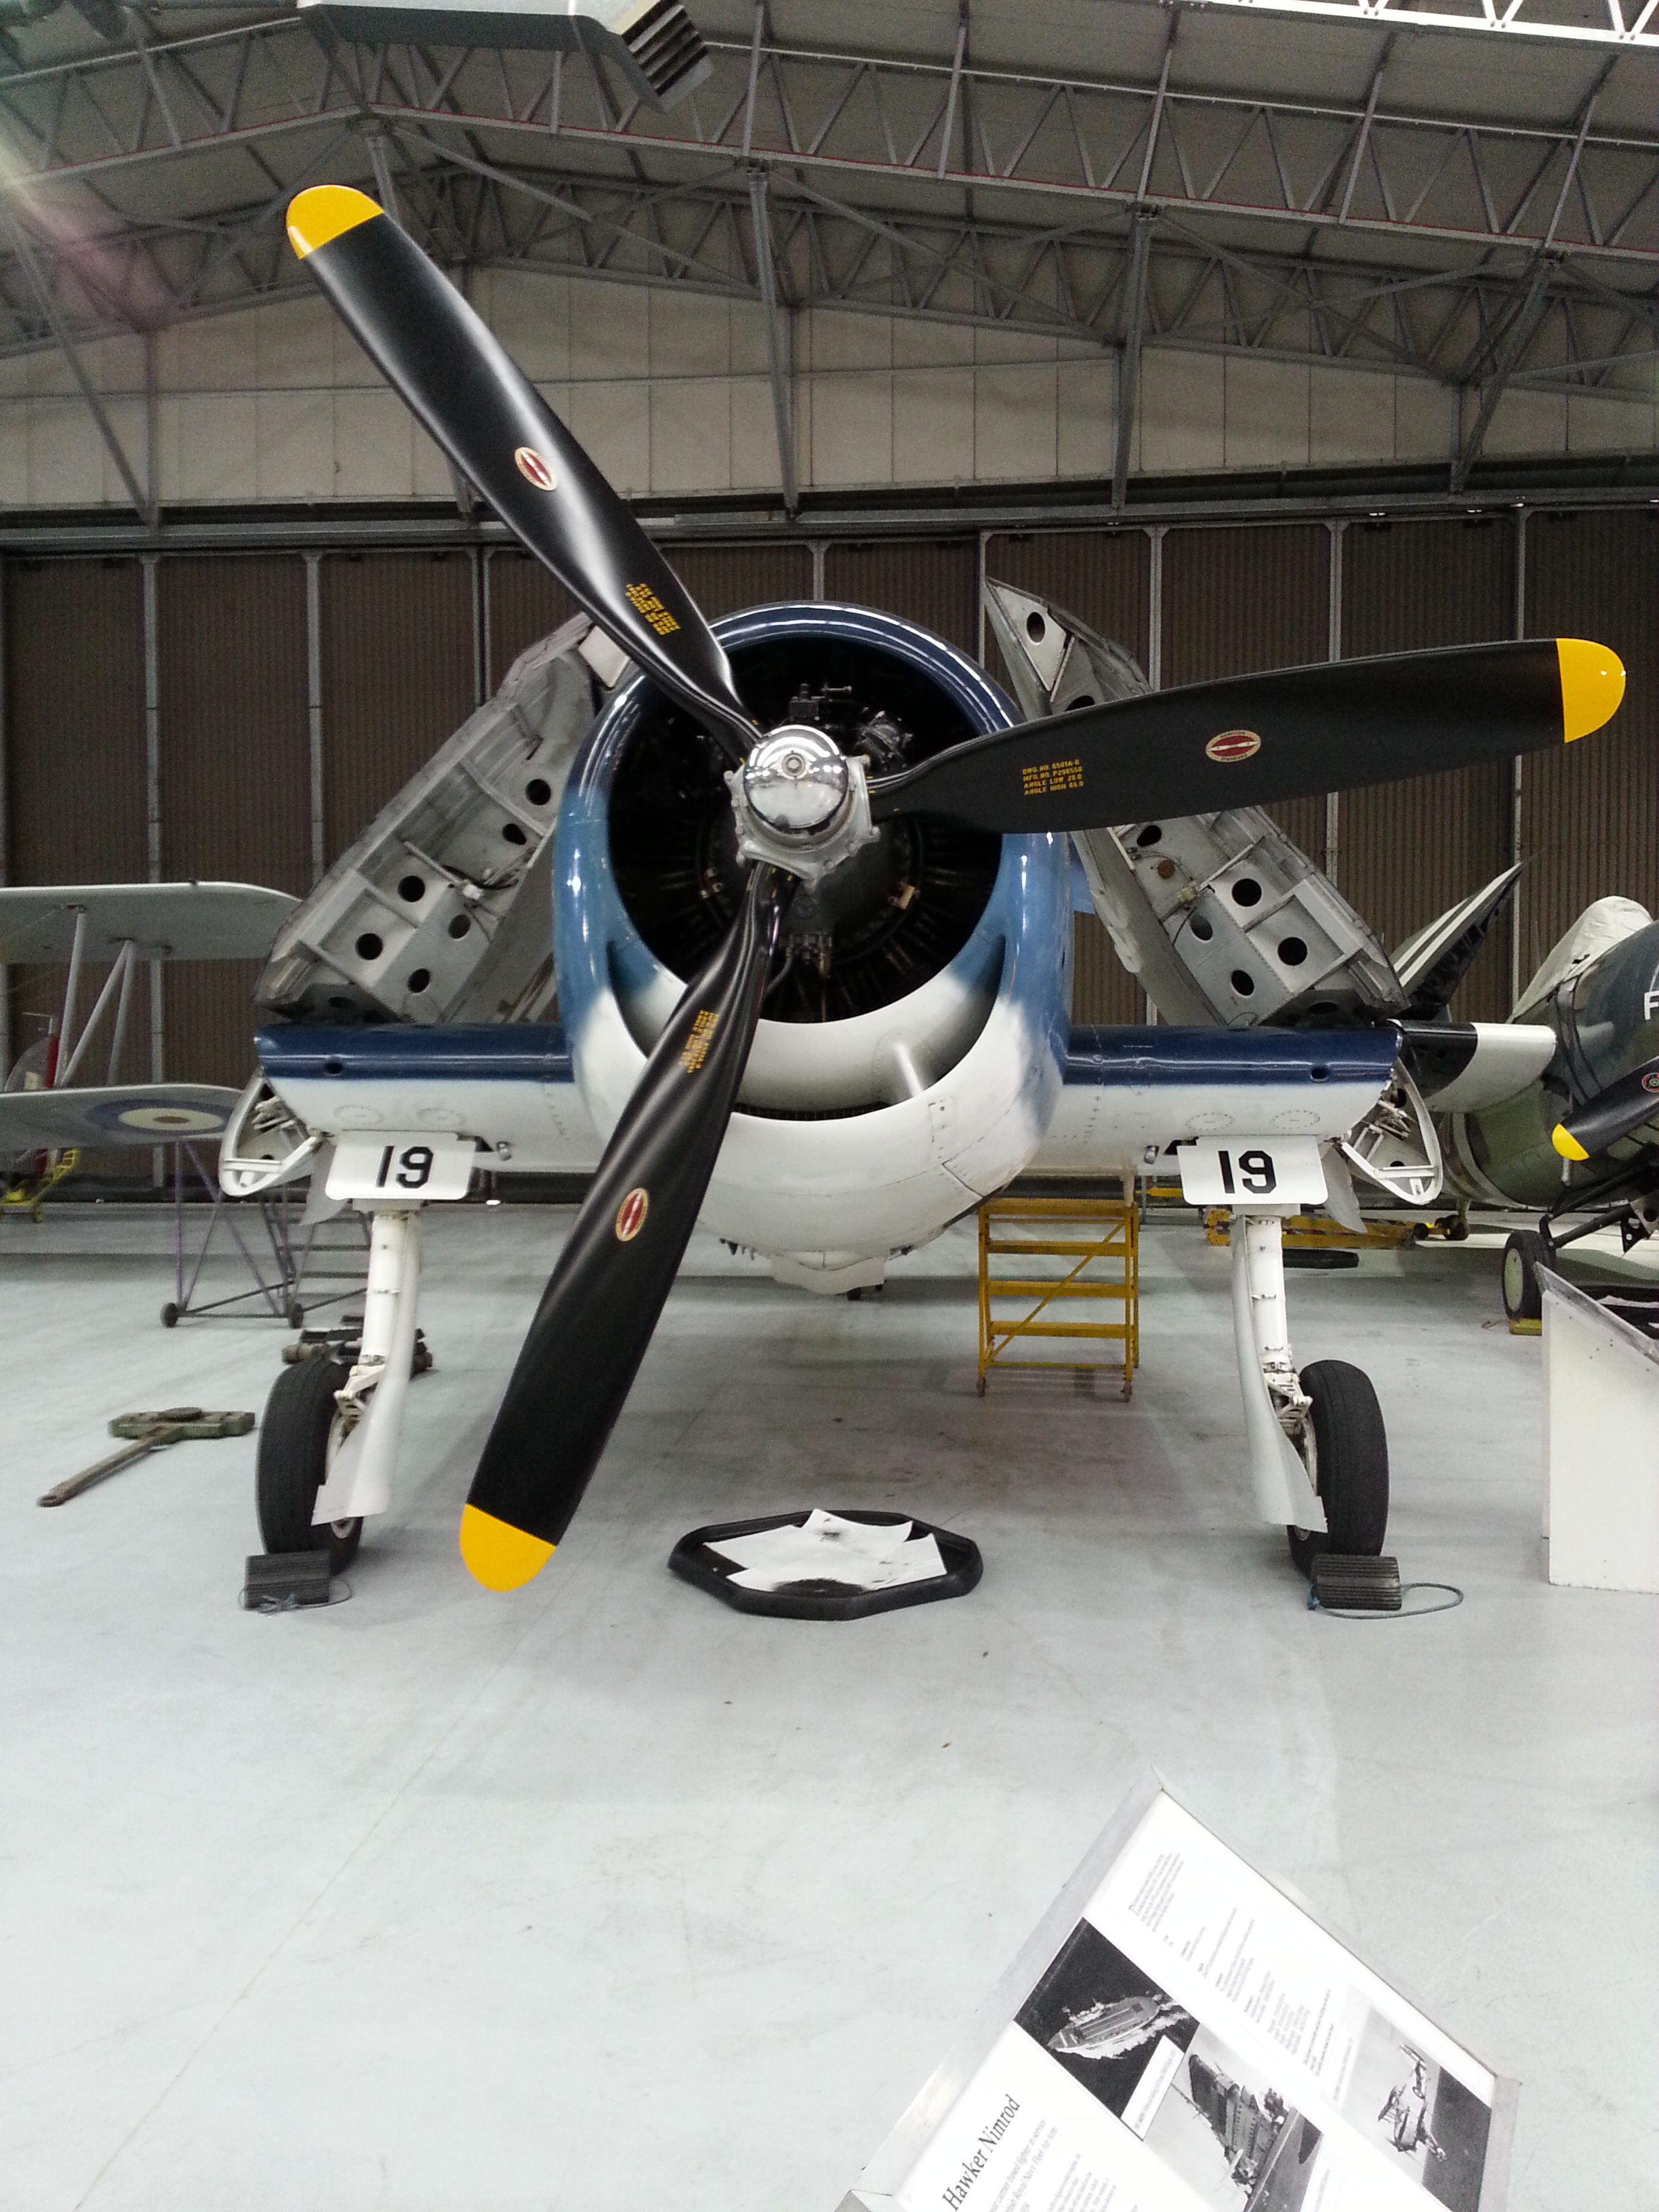
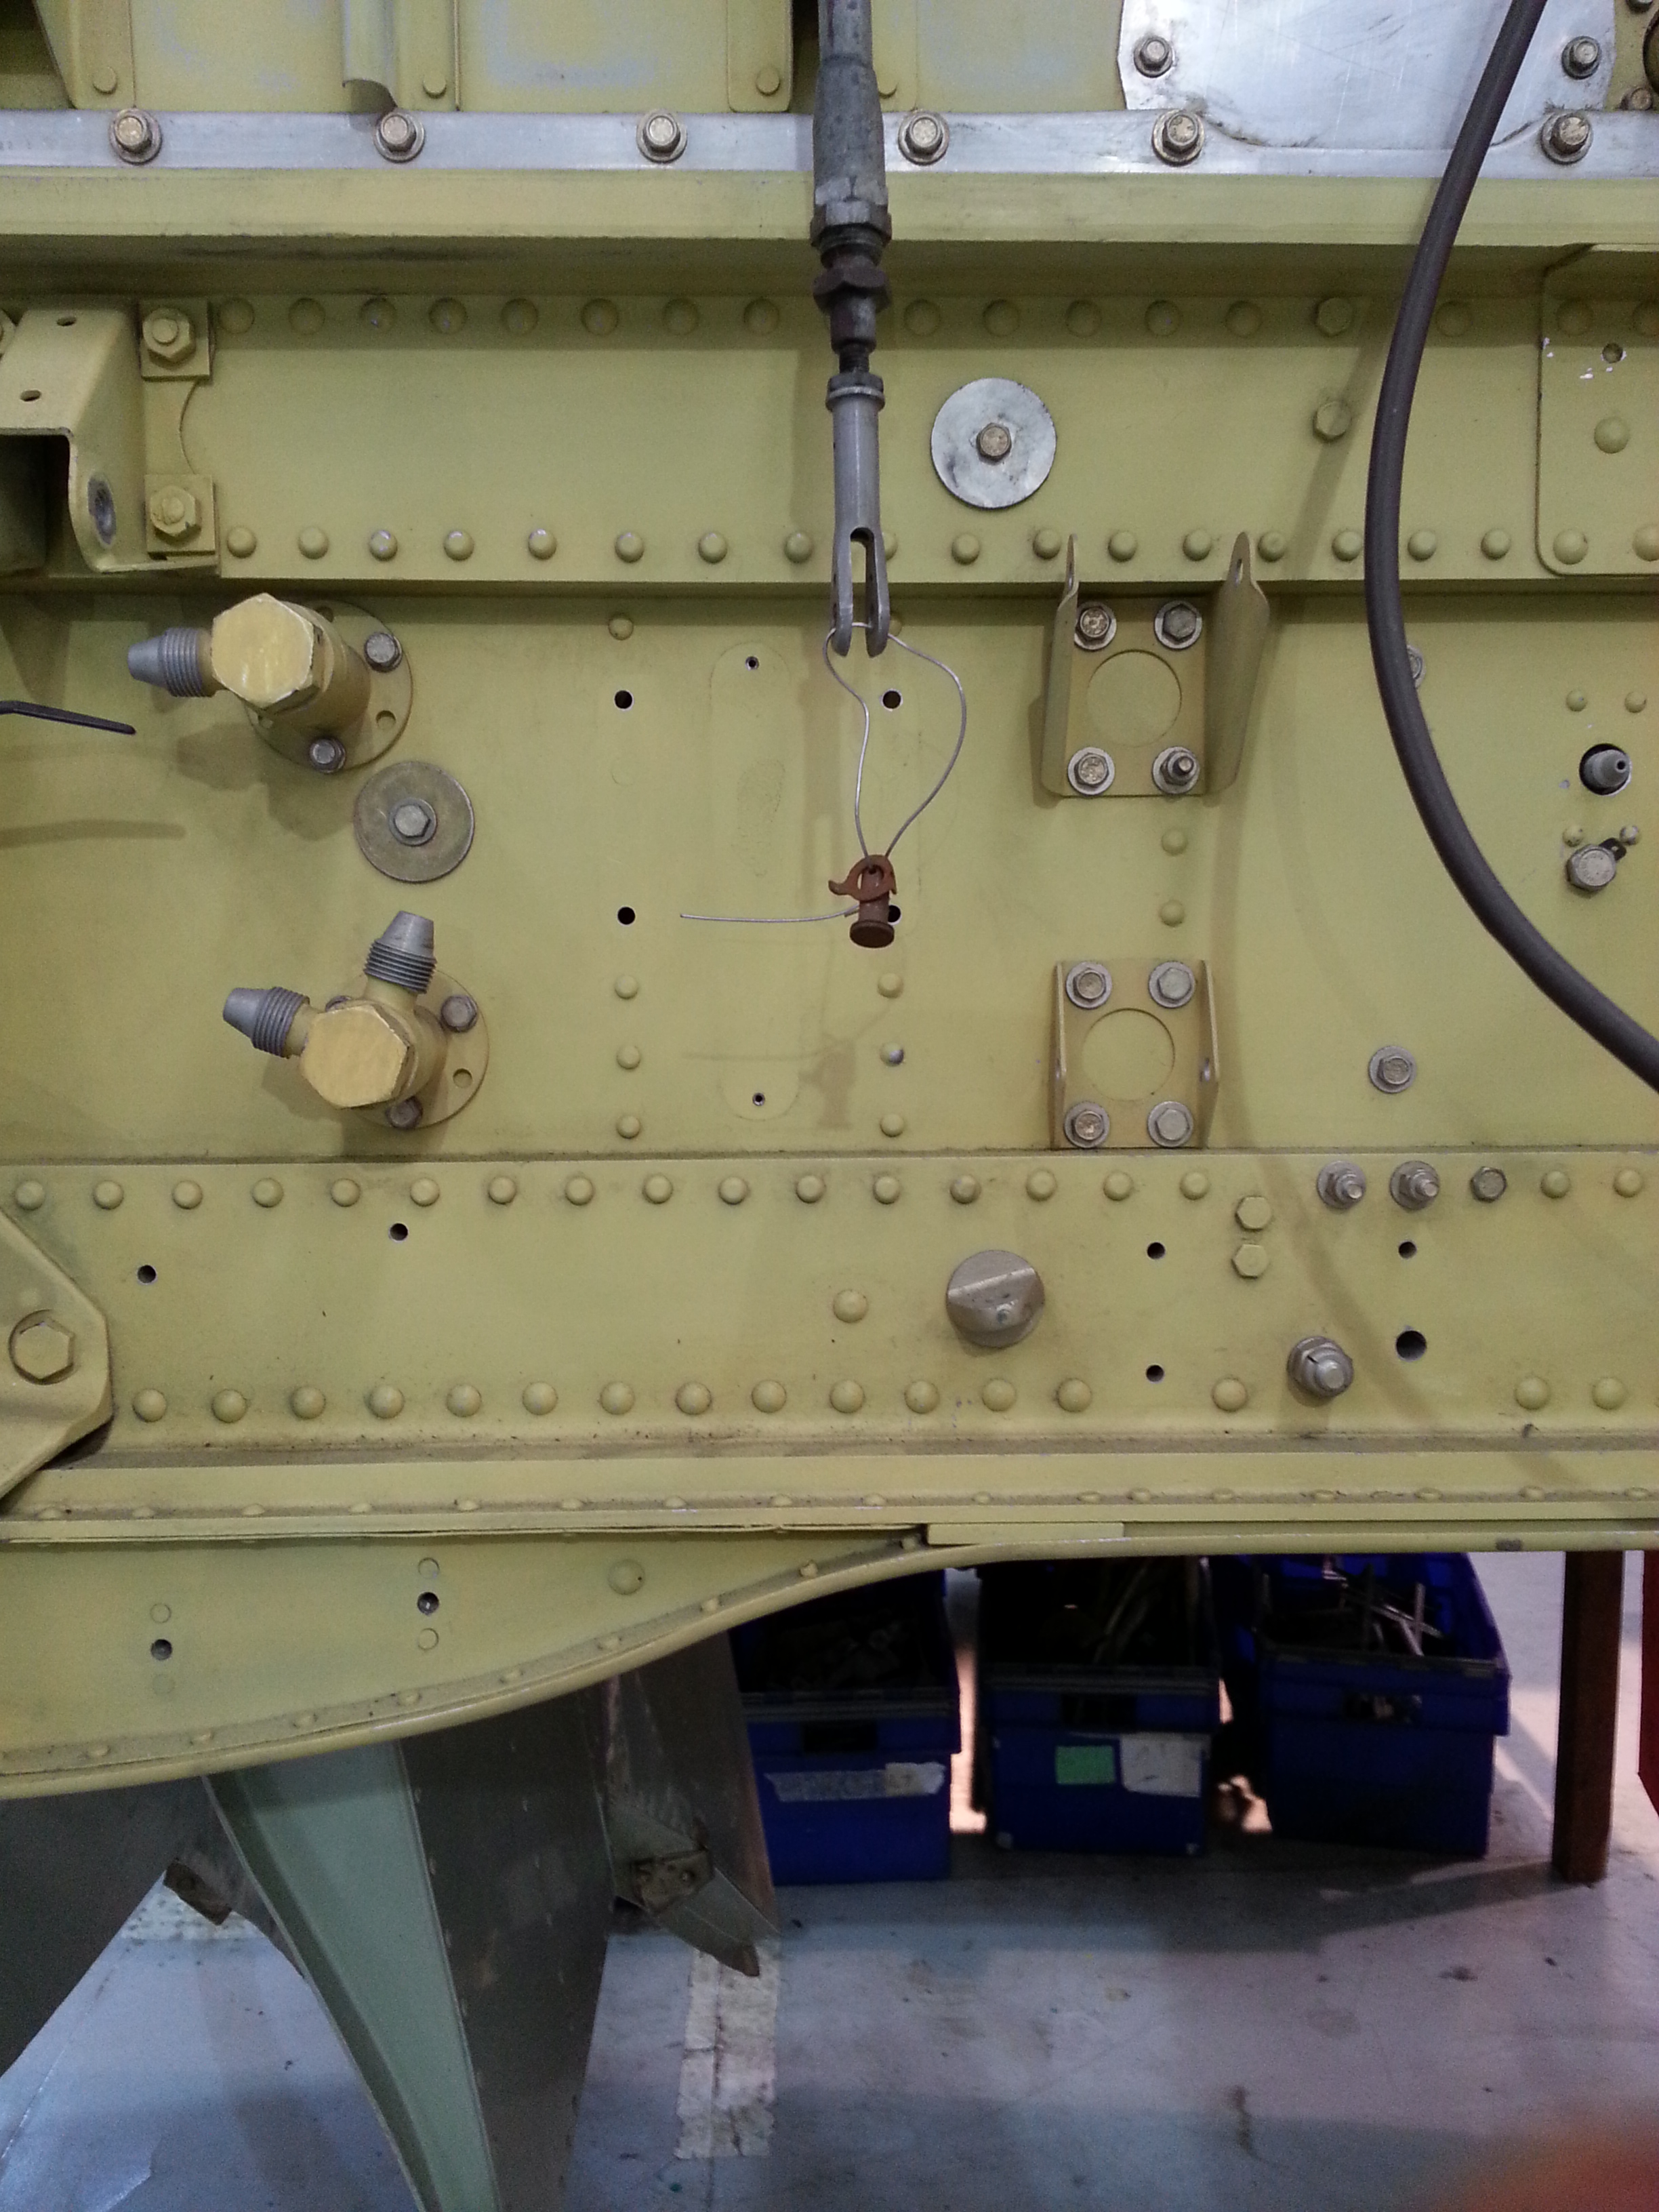
Above – Deck landing and 1″ dia bolts are all that support this folded wing !

20140920_123529 20140920_123748

Above – Sea Fury with all her bits around her … a bulkhead to die for

20140920_135131

You look at the rivets on the Sea Fury and can just wonder on the skills of manufacture … the wiring and bracing on the early models .. the folding wing mechanisms and bolts holding hugely heavy wings .. post Sherwood, I never look at ANY engineering in the same light ! It really does open your eyes !

Crack on …wing tips … and repairs

Knuckling down to completing bits ahead of next inspection ….

I have decided to keep the wingtips removable and so have made some ply gussets up so that I can mount small alloy brackets to secure the tips with steel self tappers

20140915_074249

Repairs started – Benjamin was over from the UK so he kindly got under the ‘plane and helped secure it for the startboard leg removal.

20140914_131302  20140914_131932


Looks even more bent when its been taken off ;-(

2nd person to sit in

Having had Sam and Will (two of my sons) do masses of work helping trailer the ‘plane down through the narrow lanes of Jersey – think Will loved the sense of power driving in the middle of the road headlights and 4 ways on pulling people over … Sam leaning out of the window giving me constant feedback on 2 feet, 2 feet, 1 foot, 1 foot, 1 foot, 6 inches … minus 2 … ie the distance from the kerb or overhanging bushes !!

Will then had a sit in her .. only the second person to sit in

20140910_125412

With the lowered dash its a bit like getting into an F1 car

Jersey Air Display – 2014 – The Highs, the lows …

Well, back from a fun packed hectic two days of displaying the build so far in her skeletal form. Day 1 saw her trailered up to the south side of the main Jersey apron and parked on the grass. 1,000’s of visitors all showing great interest in a plane, the like they had never seen before !

Then the two Lancasters arrived accompanied by a Spitfire 16 and a Hurricane and parked directly opposite the Sherwood. 10 Merlins sat there running down in unison .. what a sound !!

20140910_145303  20140910_145654  20140911_102227

At the end of the session the Airport Fire Service had to tow her airside so we parked her in the hanger at the Jersey Aero Club. They had kindly offered me space to shelter overnight before the display day on day 2 at the main front in St Helier. Even better, as the Spit and Hurricane had decided the overnight weather was so good I could take their reserved space in the hanger !

20140910_191652  20140910_190522

Day 2

Day 2 started well with the local fire crew arriving spot on time to trailer her back to an exit gate where I would be allowed to hitch up. Then disaster. Their truck and trailer combination hit a raised ramp at the gate and the combination of several tons of Fire Truck meeting a raised concrete lump WITH an iron bar set into the top crunched the right hand trailer wheel, this pulled down and dropped the whole aircraft and bent the lower undercarriage leg. Having got over the ‘crying’ I got down to the serious business of damage checking. It turns out the lower leg has creased (so is a write off) but the top part of that leg – the steel slider is fine along with the top bobbins etc. So it will be a new lower leg, a rubber stop point and lower bush.

20140911_092902

Emailed Paul at TLAC on Thursday night to share my grief …. and (my hero !) advised to take it off, send it in and he would see what he could do. I need to send it back anyway to take advantage of Paul’s special bungee stretch tool.

Panel – Test fit

Ray and Russell had been working away at my panel design and we had the removable centre section drilled out to take the small gauges from Winter plus the multi engine monitor.

20140909_205040  20140909_205116

Having test cleco’d into position I will look at the best places for warning lights and switches and fuses but looking to put lights along either the top or right hand side of the centre facing panel, leaving the angled left clear for radio and the angled right for perhaps a fuel gauge.

Trailer – Load test

Last night saw the first full load test of the trailer.

Mike had taken it away following final measurements of the planned dolly/track and worked wonders ! The track runs from one end to the other and the small cradle sits on a quad of bogey wheels. Mike had also sourced a ratchet web handle with a hook that slipped neatly into the base of the tailwheel cradle. It wound up with one finger .. very light and easy. The wheel flaps had also had slots cut and a welded u clamping piece on top. Also, with attention to detail, Mike had lowered the leading edge angled brackets as they were just touching the Sherwood undercarriage. Now we had lots of clearance.

20140909_193501  20140909_190343

The thing he couldn’t do offsite was set the wing support squares. These weld to the rear trailer bracket and will allow us to design soft support cradles for the wings to rest on when trailering.

Mike had also added a support wheel at the front to make it easier to man handle onto the towing vehicle.

20140909_190348  20140909_190357 20140909_190406

The final weld bits were put in place as darkness fell ! I managed a classic measure twice cut once … which, on reflection, should have been measure THREE times and cut once (not allowing for the depth of the transverse bracket we were mounting on). Mike, as always, came up with an instant solution and re-welded the pieces I had meticulously chopped off and asked me to re-measure and cut again ! (Patience of a Saint that guy !)

He even turned up with the tin of blue paint so not only was it welded on site but tapped (to remove the flux residue), brushed and then painted.

Any Sherwood builders out there who may need a trailer … I am sure Mike would be happy to oblige for a very good price !

Blog at WordPress.com.

Up ↑