
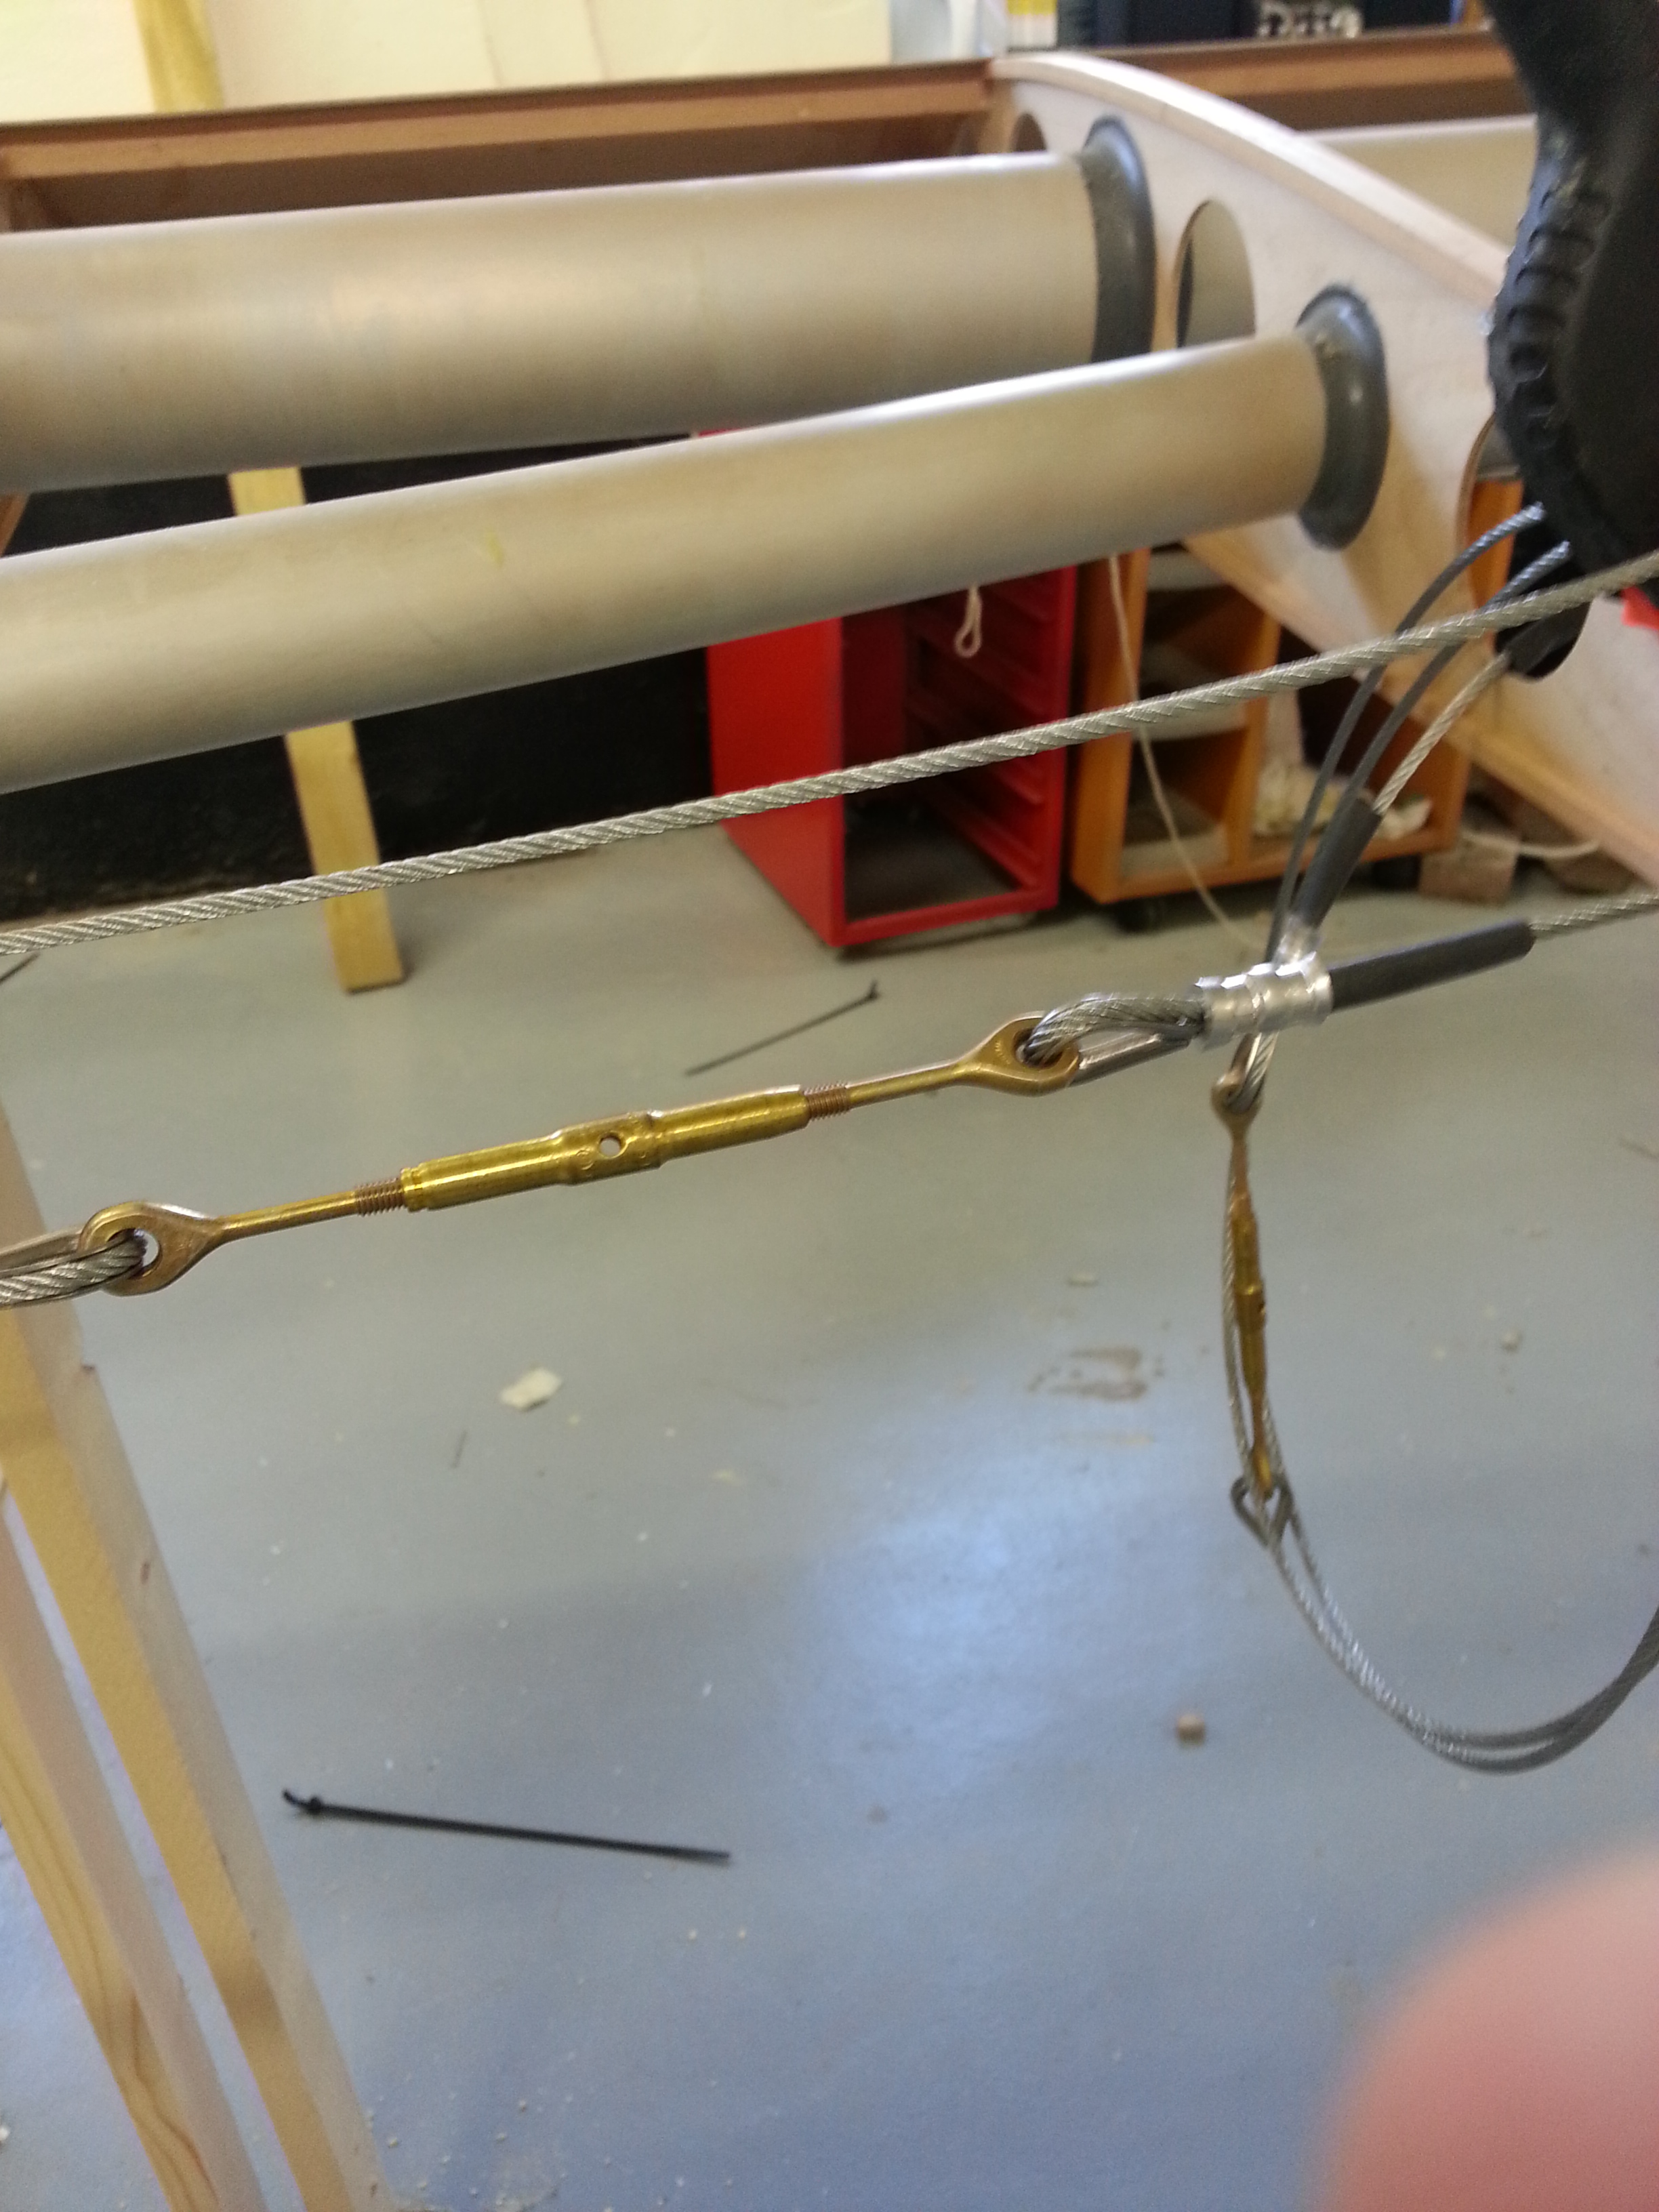
Now the wings are properly located with pins etc (and NOT going anywhere !) I can finish off the aileron connections. These are crimped in the normal way with Ferrules and Thimbles (slacken off the turnbuckles first to allow you to take up the slack).
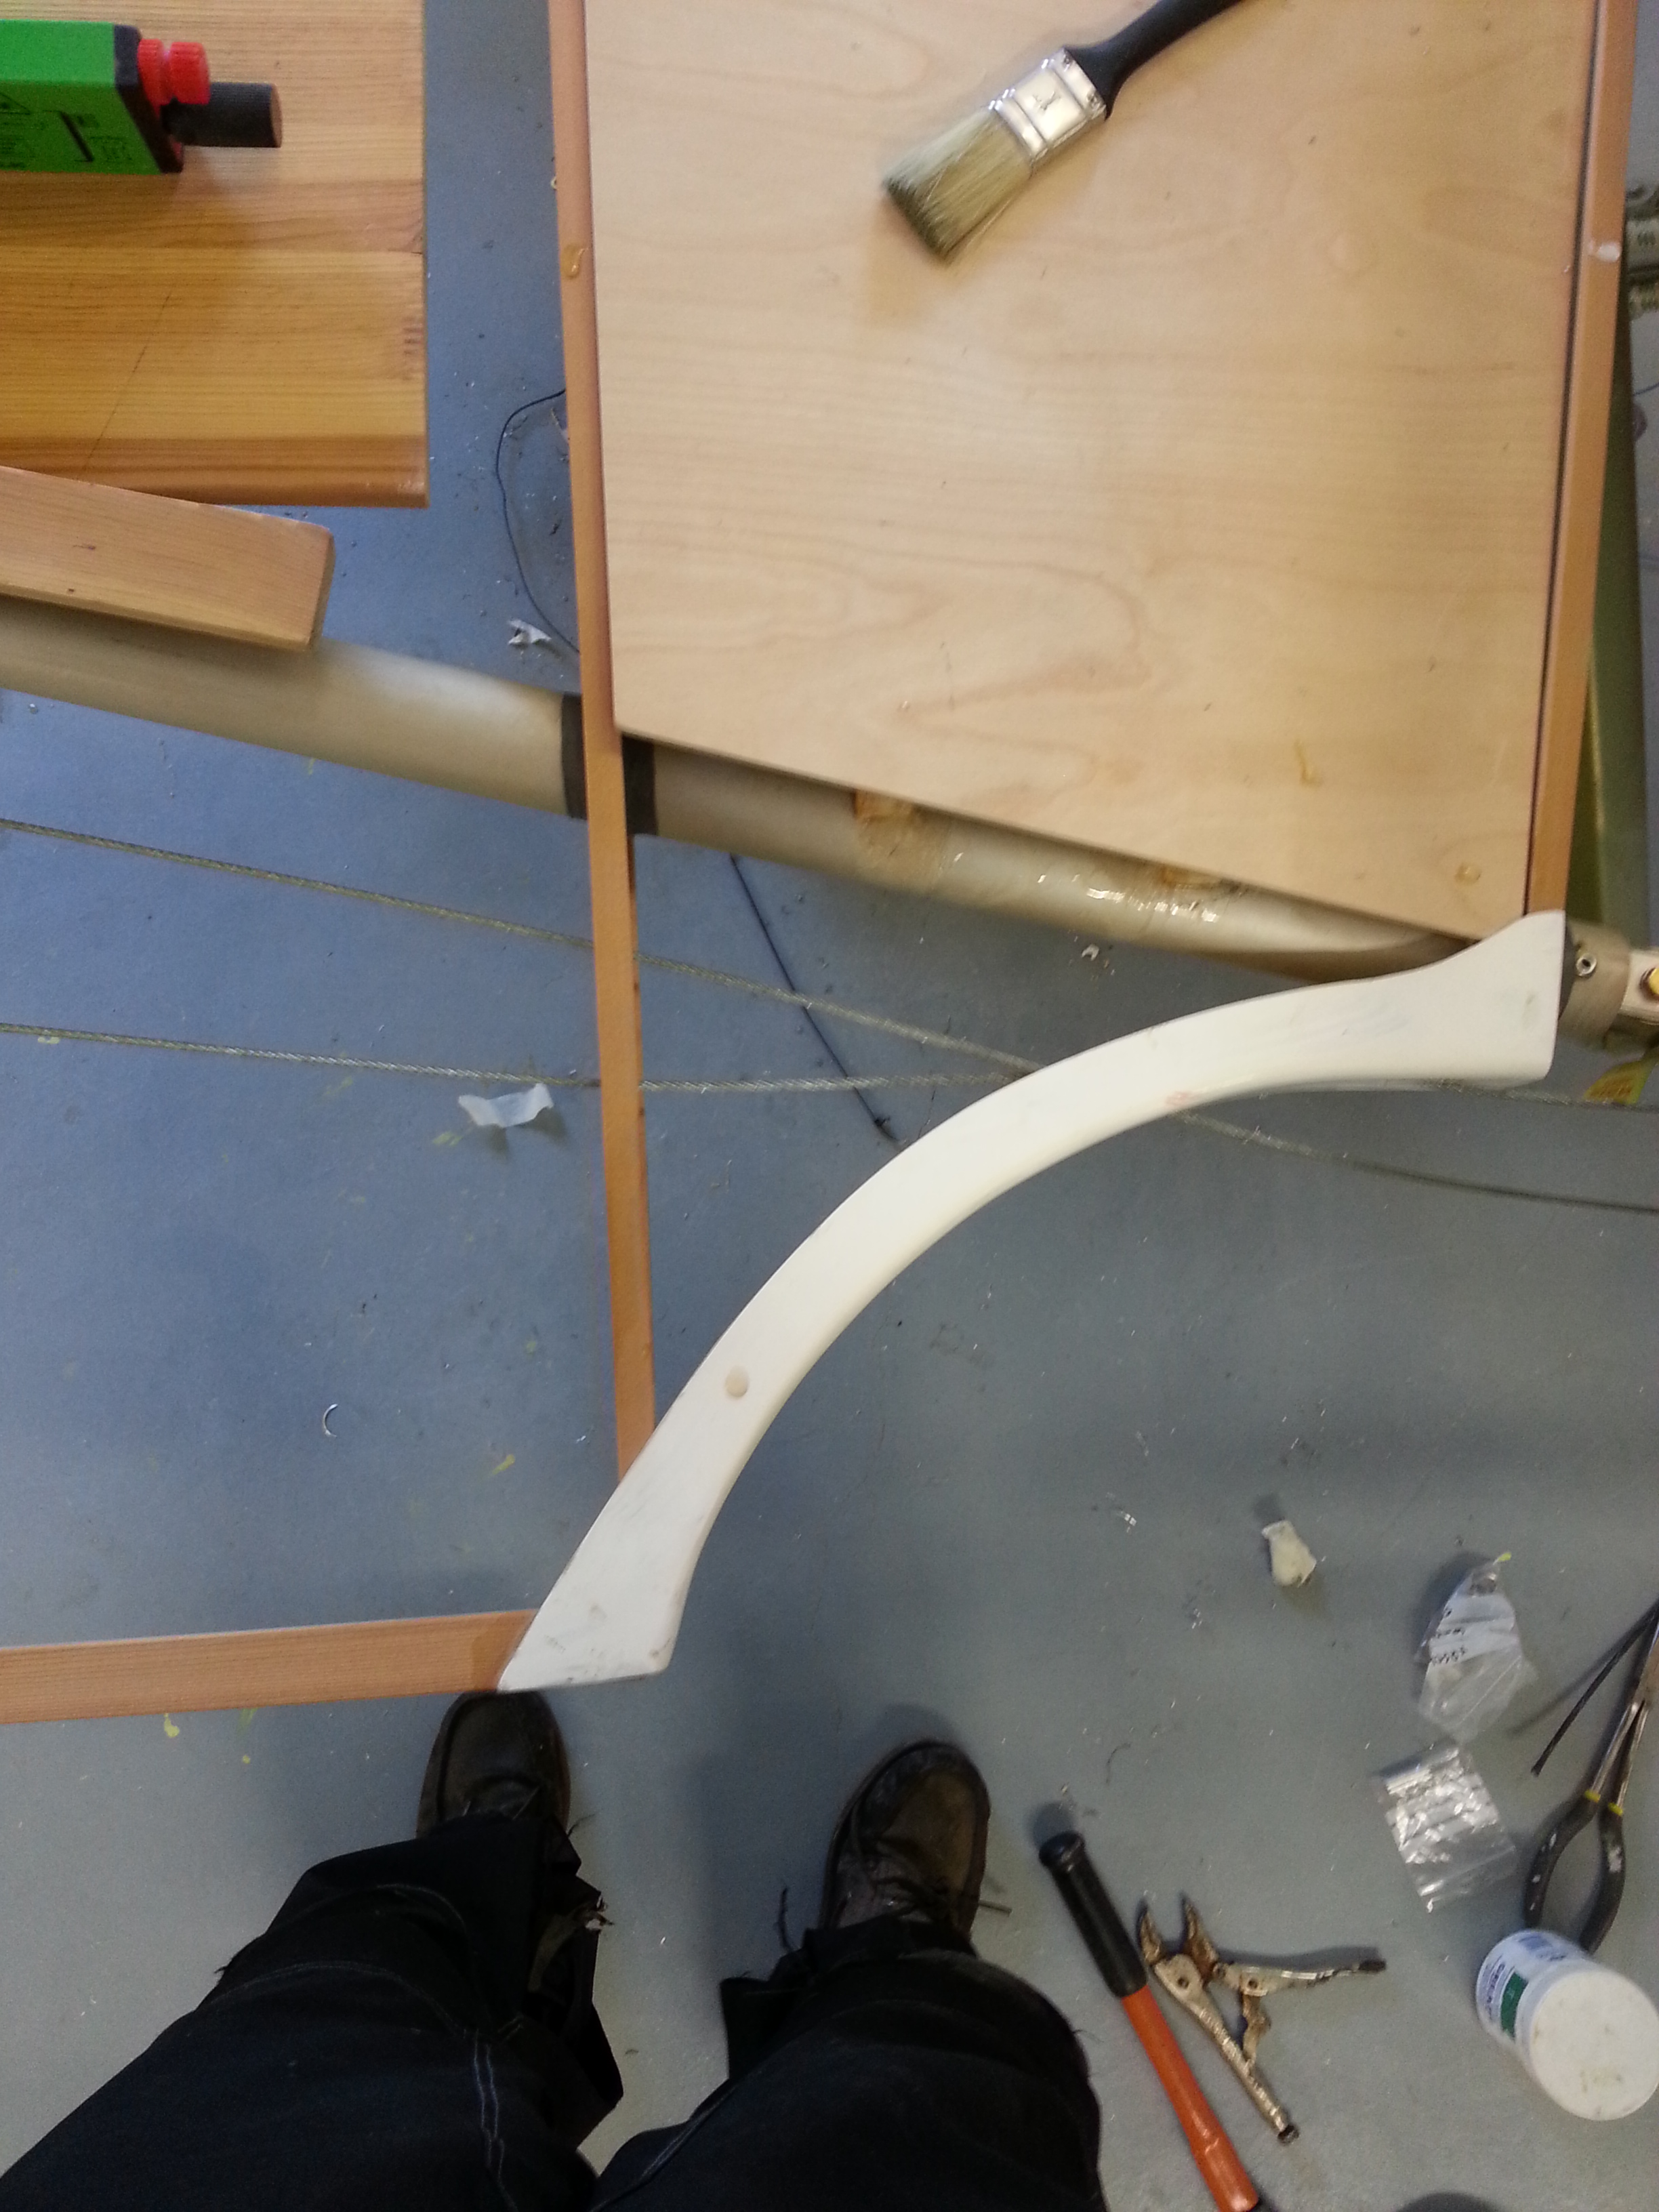
Then check the run lines … I have noticed I will need to slightly extend the rib lightening hole so that the cable doesn’t catch.
The primary connection runs through from the bellcrank to the lower arm on the bottom of the Control Column. These are pinned and washers ensure a smooth fitting.
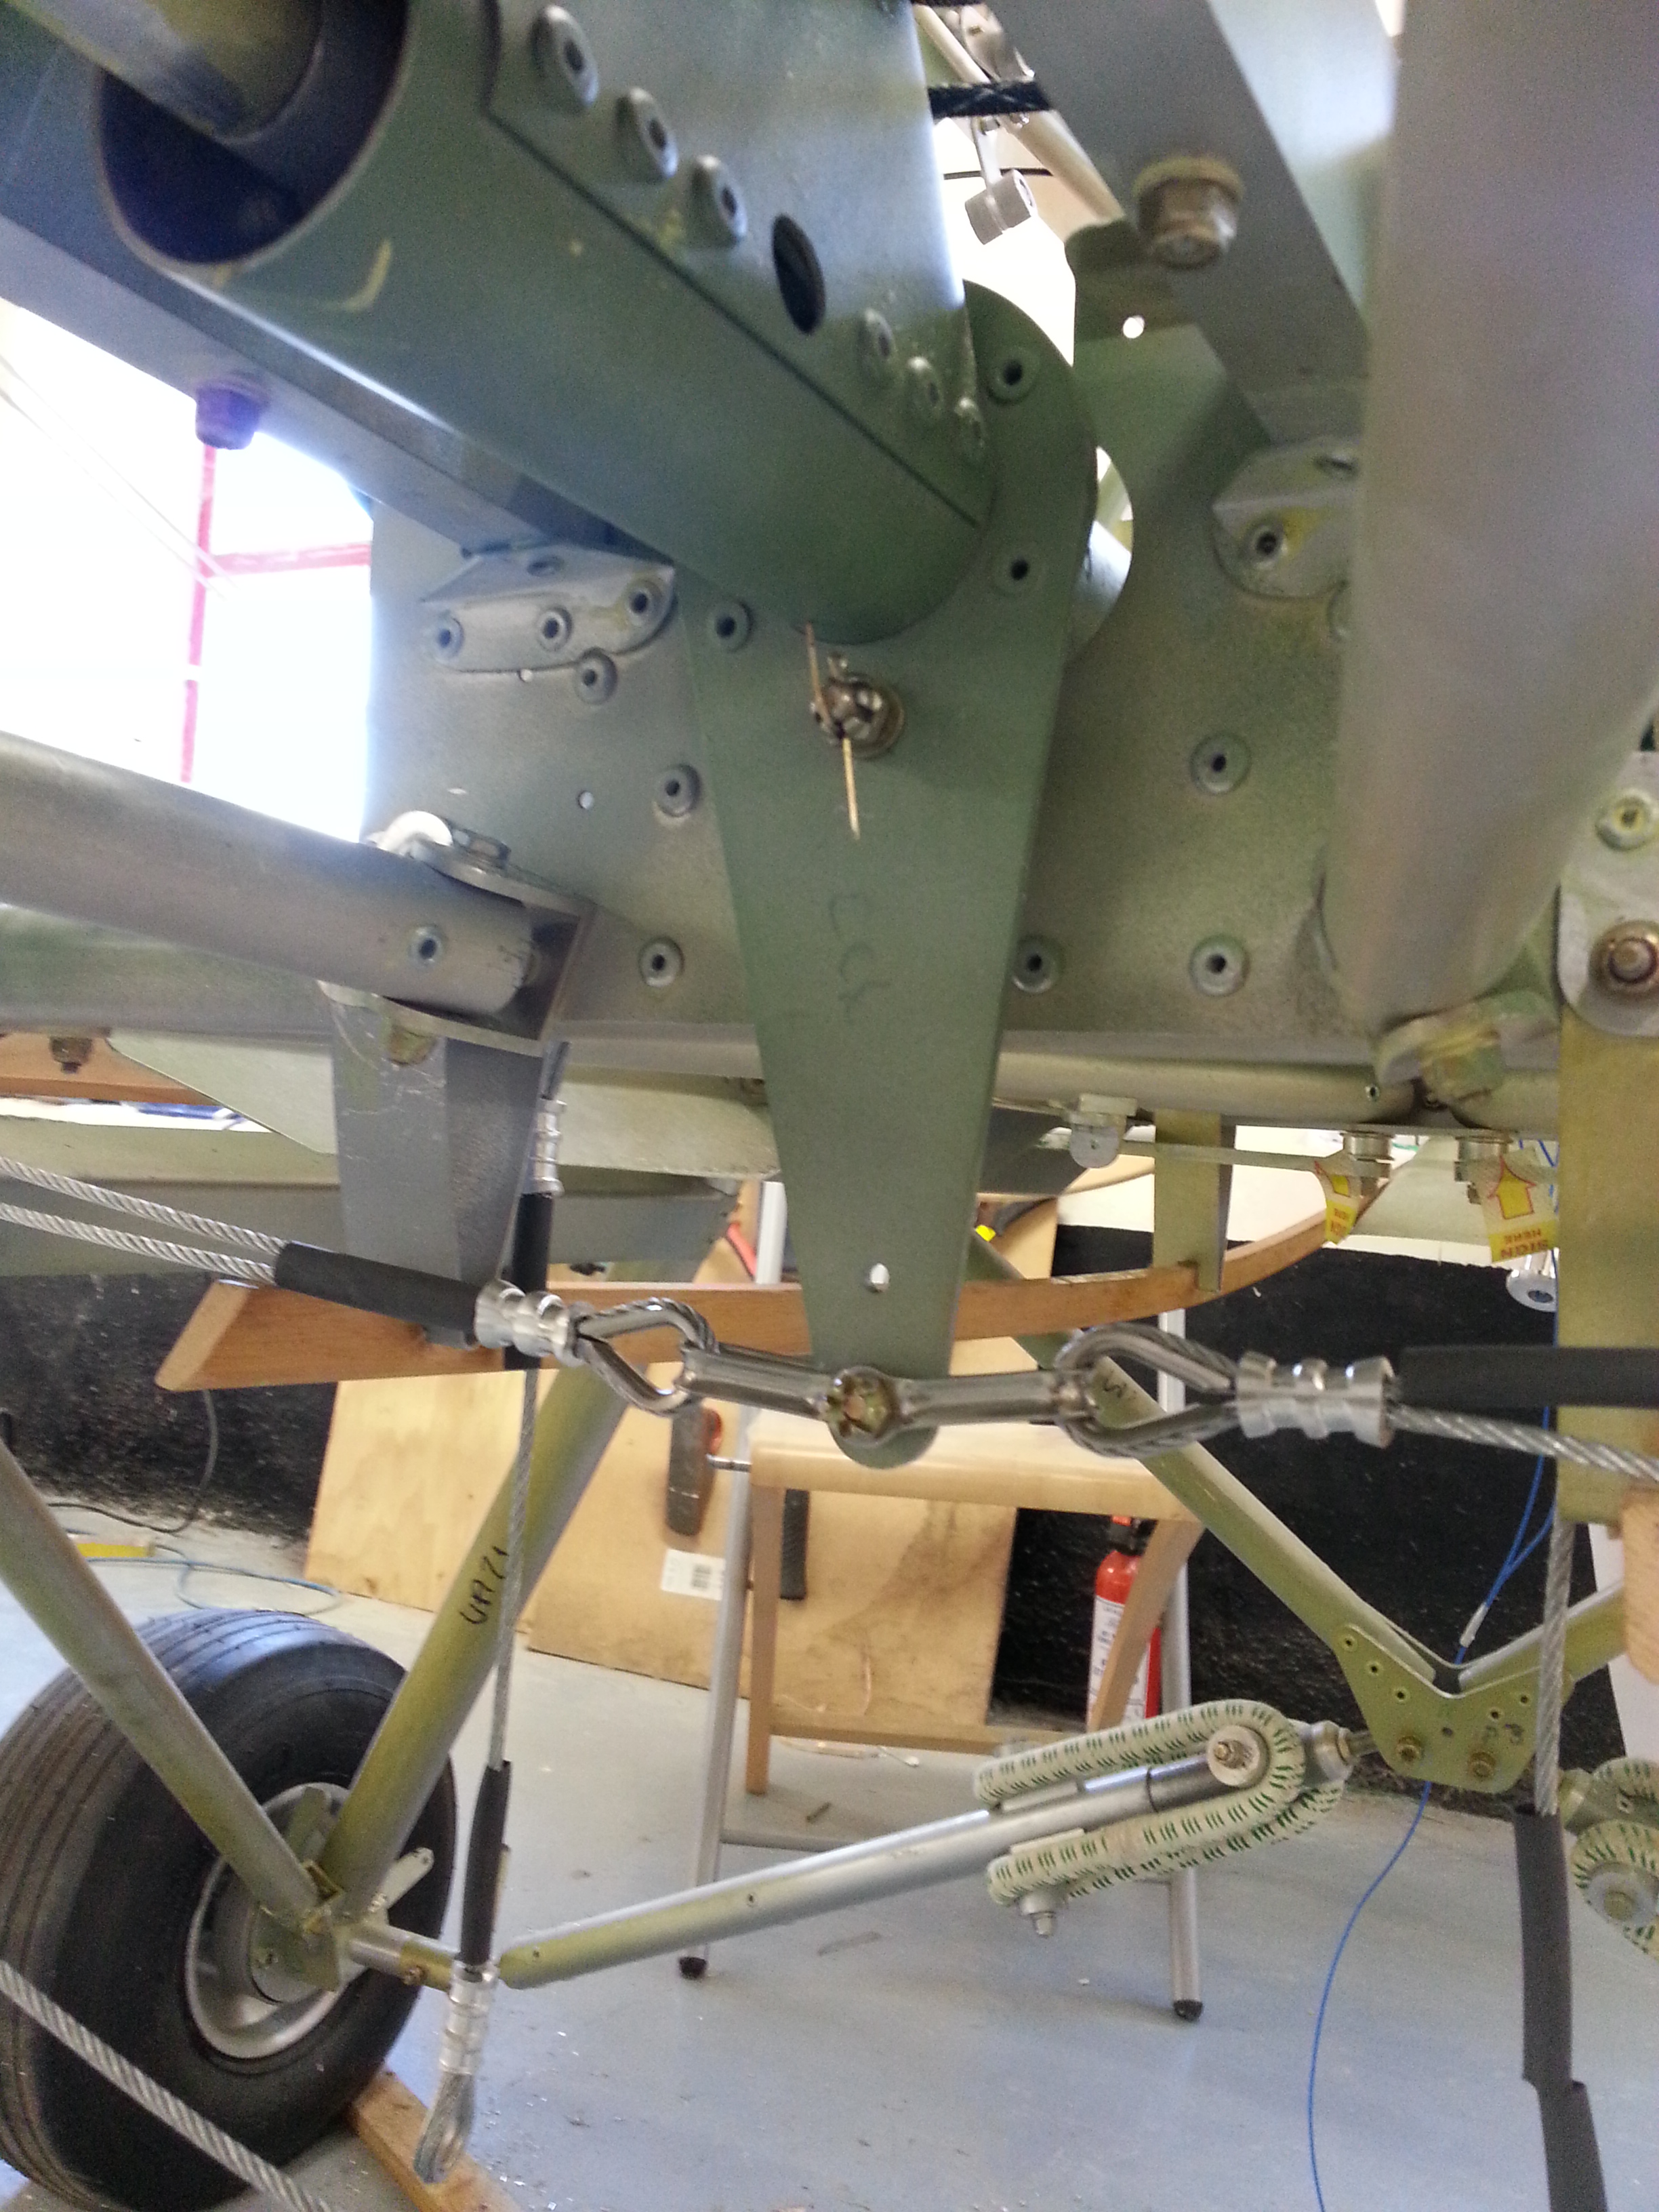
The next stage is the ‘Closed Loop’ cable which runs between both opposite bellcrank ends. This needs to run through cable guides (prepared ages ago !) that direct the cable across the body underside and ensure the run does not foul the other cables.

Leave a comment