
Many years ago … quite some time before I had finished the build I had the idealistic idea that I could try to spice up the display options by adding a smoke system. I researched the market and located a US form called smokin airplanes and ordered their smaller kit.
I plumbed some of the parts in during the latter parts of the build … aeroquip oil pipes and wires etc and potential pump mounts and fillers but … on approaching the LAA discovereed the challenges of adding to the existing certification … they needed paperwork and workings to demonstrate the whole fit could withstand 9G !
After a couple of attempts at submitting it was clear it was going to delay standard test flying certification .. so I stopped further work on it.
Now .. 2 years after test flying certification .. I’m looking at resurrecting the work.

NOTE .. the following is all to do a proof of concept fit on the ground and test run it terra firma prior to blowing the dust of my pre submission LAA MOD form
Tuesday 1st January -2019
Spent a ‘happy’ hour upside down in the front cockpit checking the items i put in 2 years ago that were all neatly cable tied off.
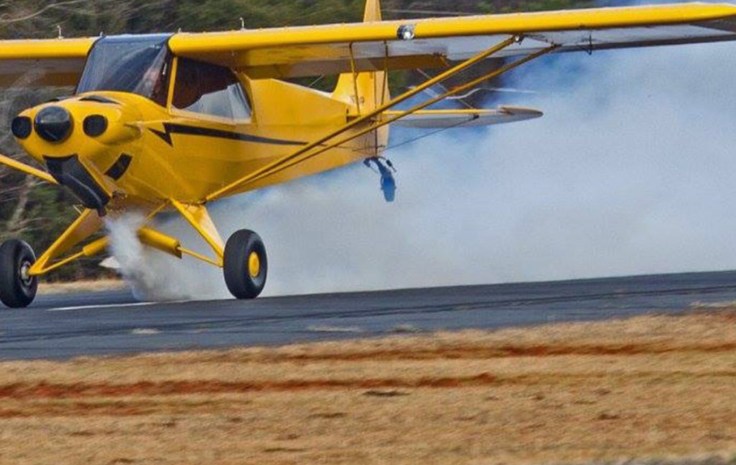
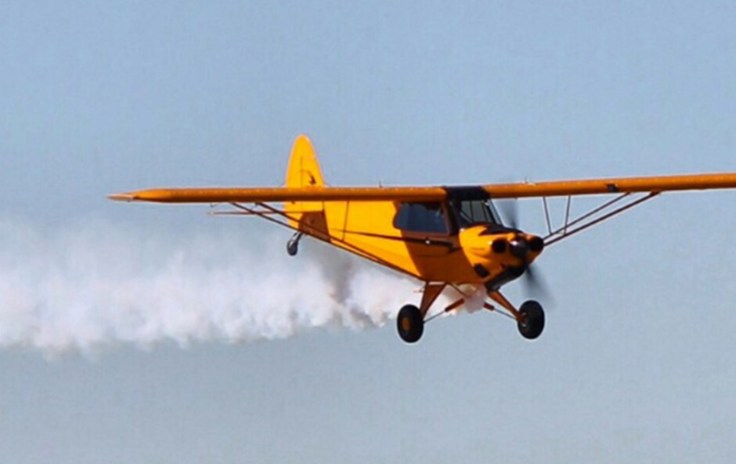
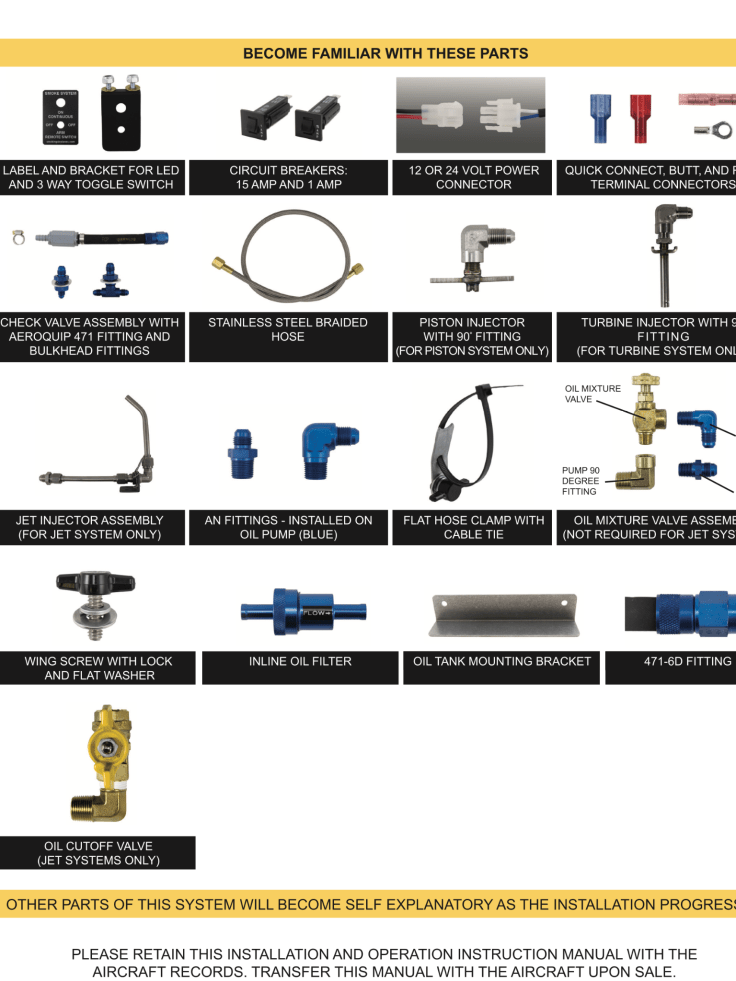
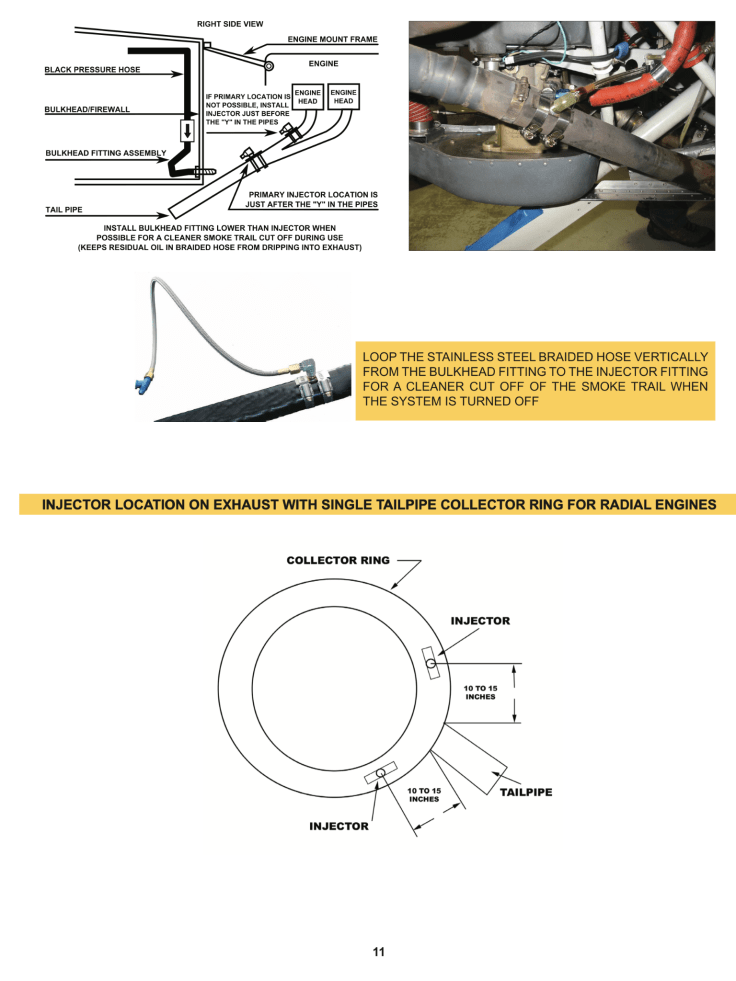
The initial bit is to connect the oil feeder pipe to the back of the beautifully blue anodised T bar on the bulkhead. I’ve gone for the smoke model that has 2 (atomiser) spray heads .. one for each exhaust. Smokin Airplanes specify a specific distance from the exhaust tail pipe for these to be mounted (10” from tail exit I seem to remember)
Once I knew it would hold up test flying I took most of the fittings out and capped the exhaust holes, that was 2 years ago.
To mount the oil reservoir /tank I had originally intended on making a small rear shelf to sit behind the pilot seat P1 – rear, and span the sides of the fuselage … secured with proper aviation bolts. There was also a rear fill easy access, including an overflow drain pipe that exited well clear of any part of the airframe underneath the pilot seat.
Now, 2 years on, I realise it would be miles easier to simply place the oil reservoir in the front seat position ie P2. The plan now is to put simple extenders on the existing seat bolts and have rivnuts on the end to allow an ‘over the top’ cradle to be manufactured and hold the plastic oil reservoir tank securely in position.
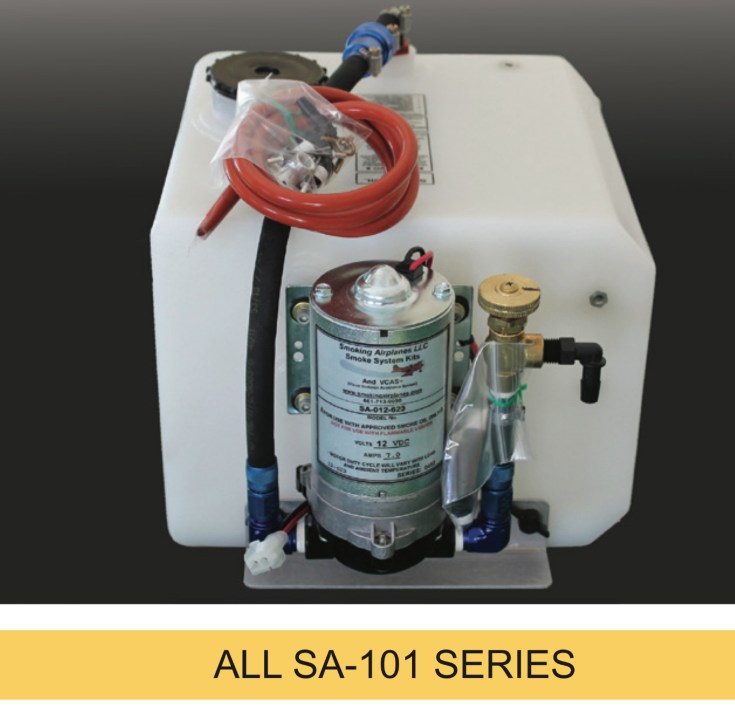
The oil tank I bought is one of the smallest and measures 28cm wide by 28 cm deep and approx 28cm high – which includes the top mounted filler nozzle. The (not insignificant) pump adds around 10cm to the dimension .. be it side, end or top mounted.
The pump looks like it’s built to power a small airliner ! Def quality stuff but pretty heavy … another reason for re-locating this to the front seat location where weight will not be a problem. Also as a full oil tank runs down there will be zero effect on the C of G as the whole tank and pump pretty much sit on the main spar position.
I plan to make a support (spider) cradle to give me 4 solid fixing points for the oil tank/pump combination and then run a temp electrical test connect to trial it.
The electrics are largely provided with a nice mini panel, arm switch and light indicator .. the aim being, that once selected .. the system is ‘armed’ and then a short presss of a red ‘press and hold’ button and the oil would pump…
The installation guide provided by Smokin Airplanes is super clear and they are really helpful and respond very quickly to any queries via email

….to be continued ….

Leave a comment