
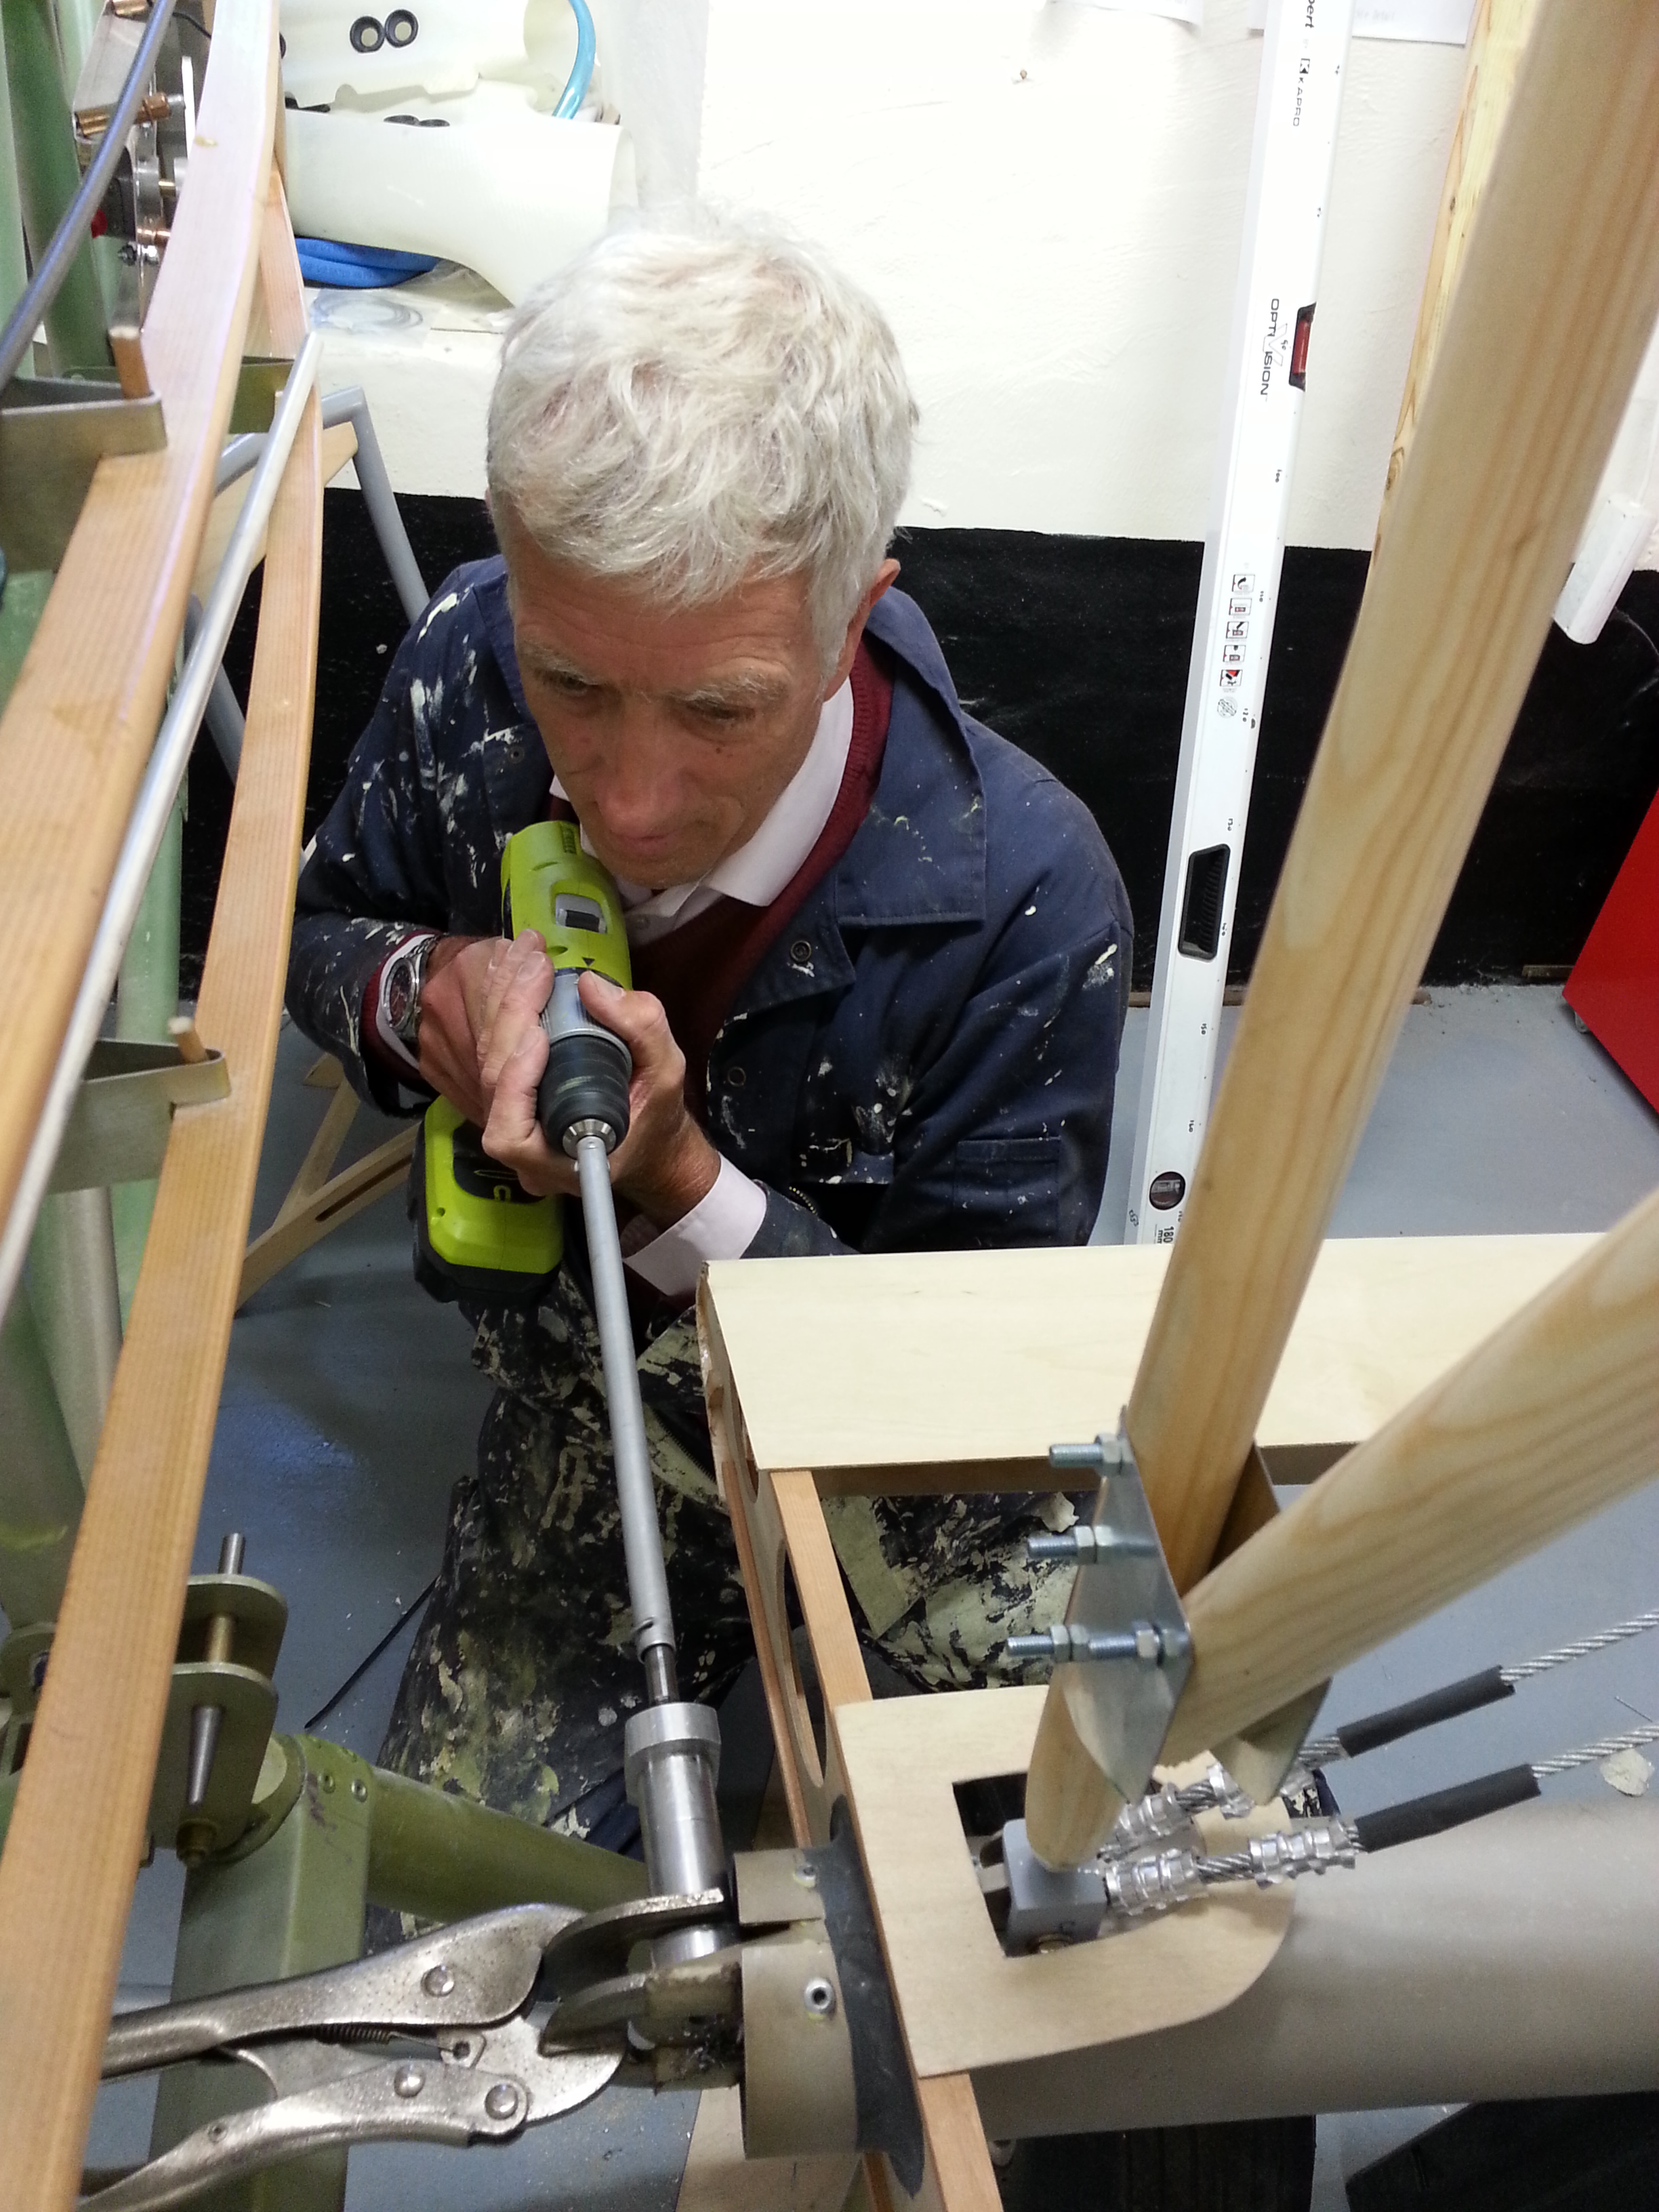
Last night was an epic move forward … completed the starboard wing mount drilling for both upper and lower …
Definitely a two person job this one …. so, with the expert eye of my trusted engineer Mike Fleming we separated the wings from the body, trestle them up and then got to work on the top cabane rear joint. Mike had made a small boss matching the internal dimension of the TLAC one but with a very slim facing edge so that it could fit against the cabane end rib and completed trailing edge.
This was drilled through using the same techniques as the previous section on Wing mounts 1
Accessing the front lower spar joint required the leading edge to be pretty much cut to the finished edge. This was done using a fine tooth hacksaw to leave a very fine edge. Having picked up the aluminium root covering at the weekend from TLAC’s open day I now have a better idea of the finish line of the wing root.
We took some time to offer the TLAC boss tapered edge up to the spar turning it through successive 90 degrees to show that it was most definitely lined up correctly well before drilling. If you have it 90 degrees incorrectly aligned you can see the inserted drill bit angle would mean your wing peg bolt would come out at a complete skew to the rib – so it does make sense to picture the ‘run line’

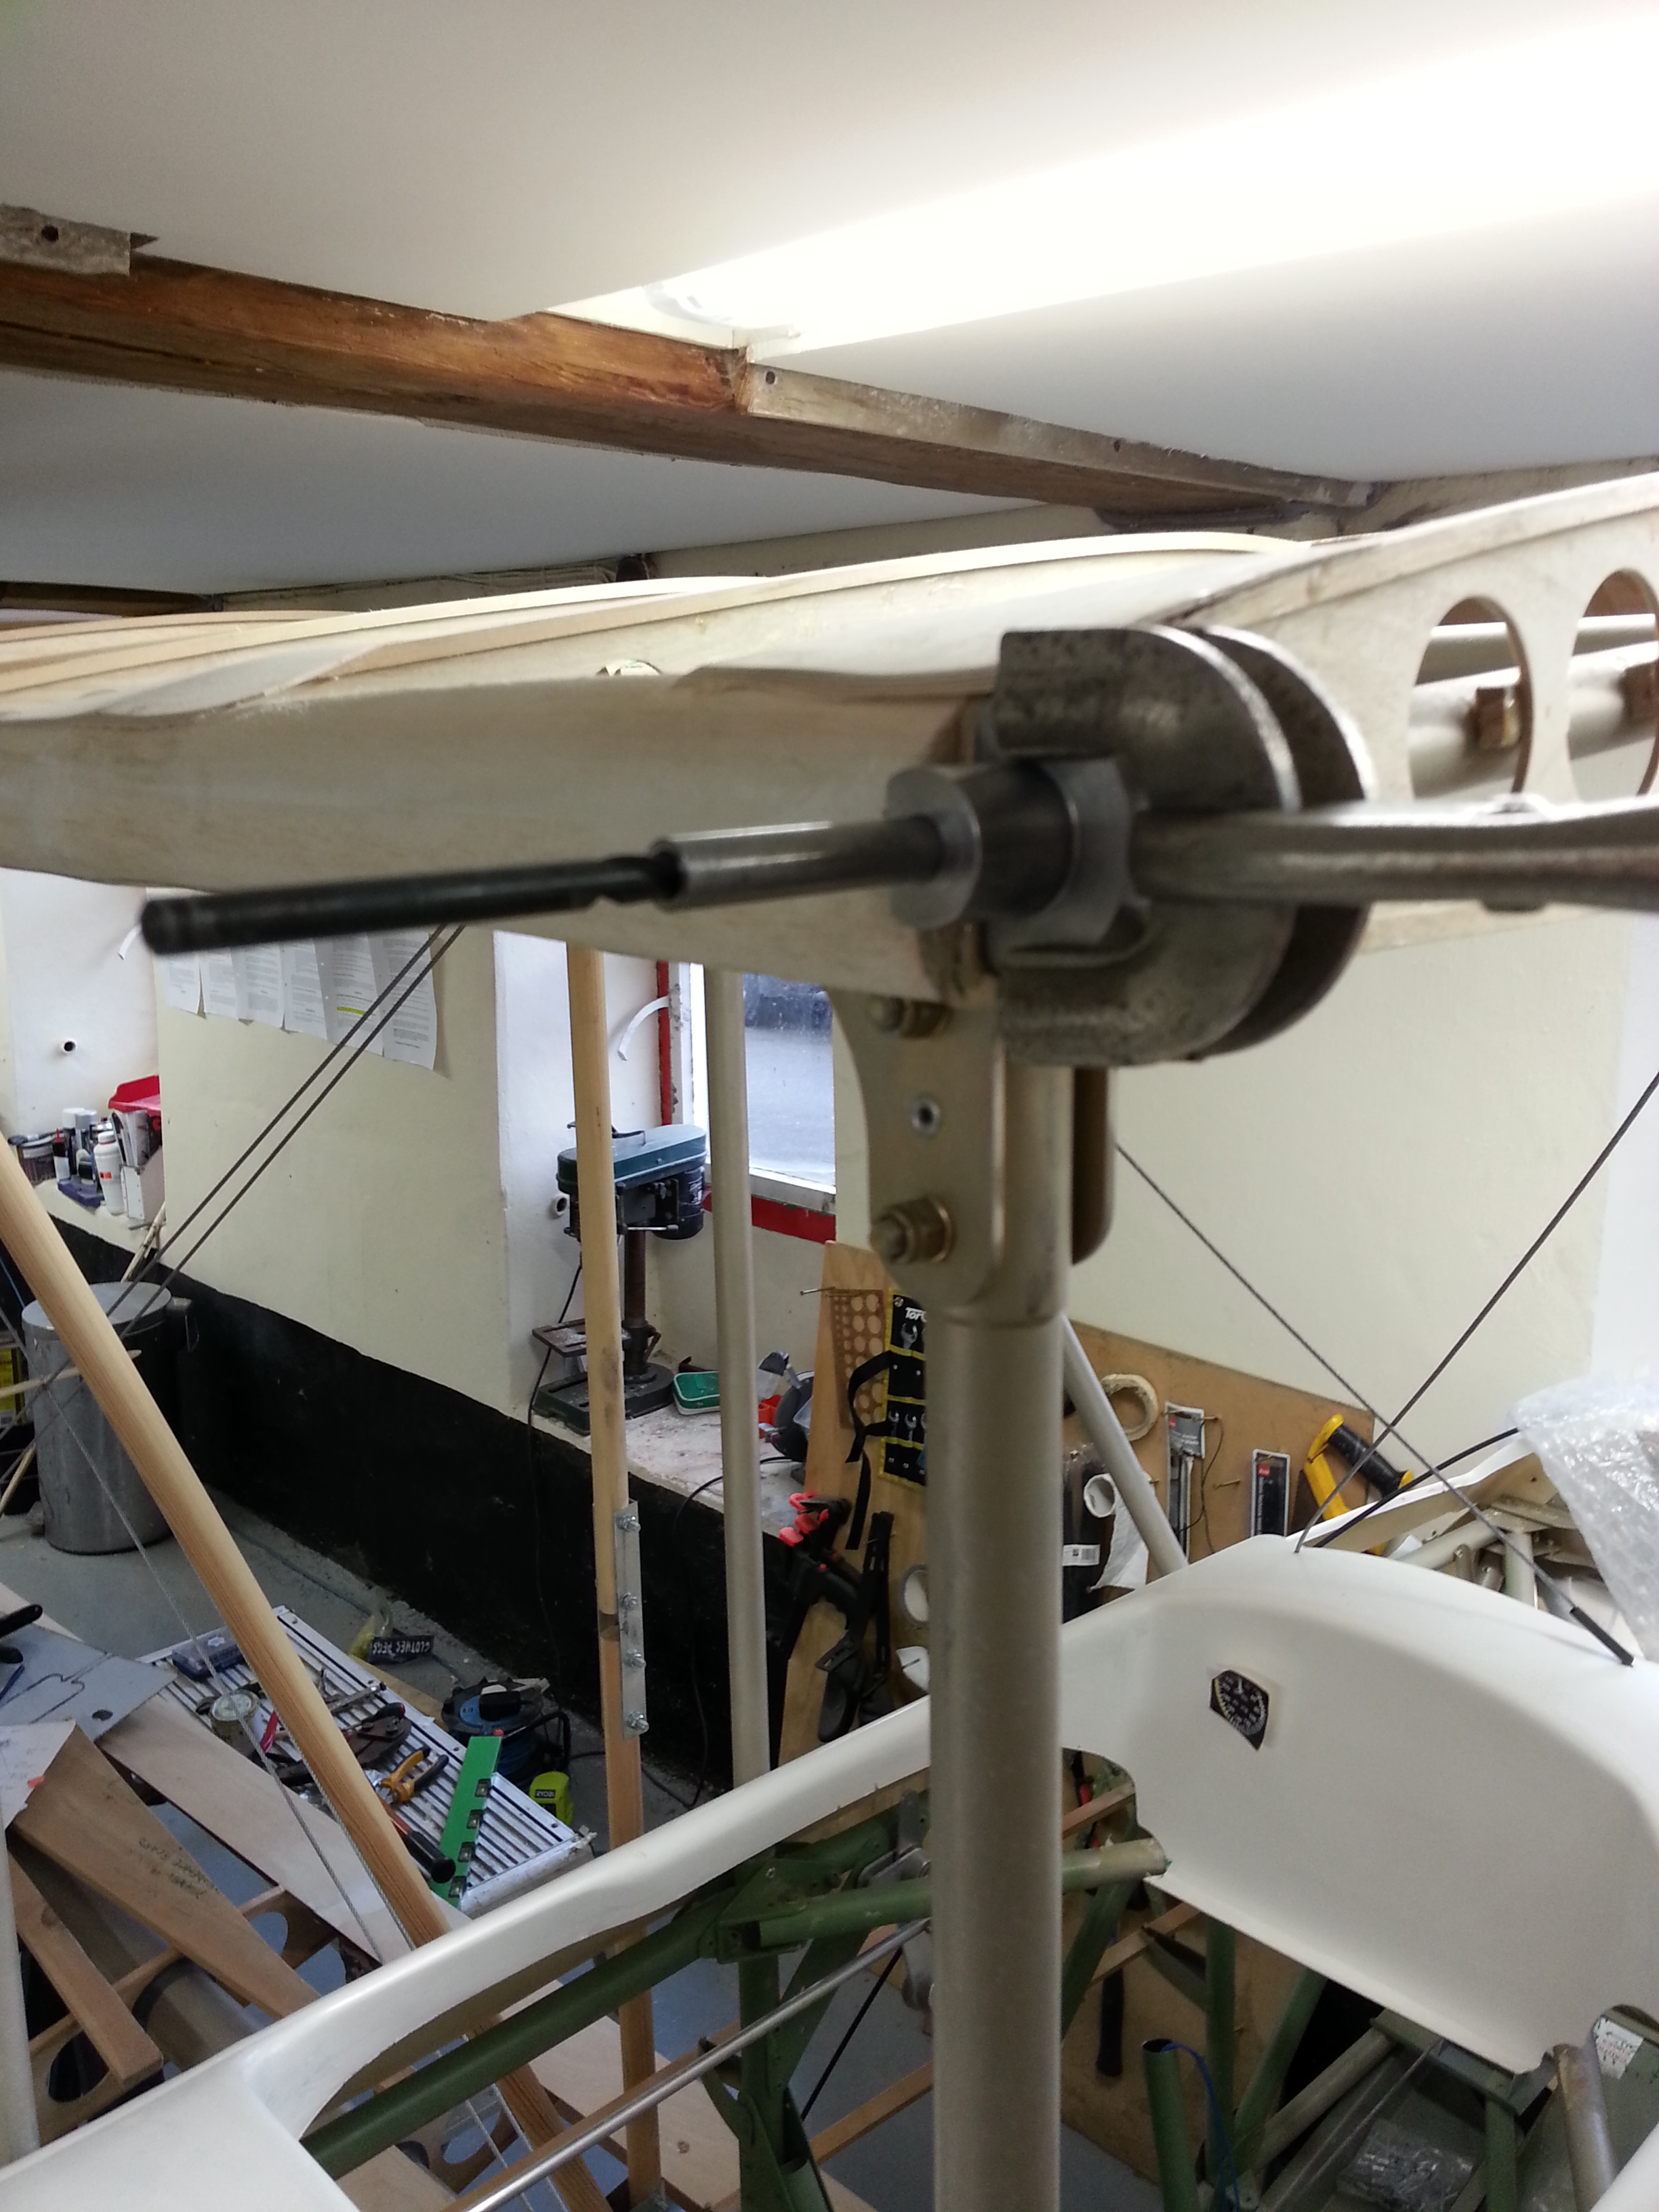
Drilling this particular hole with its compound angle takes planning but it does all make sense in the end !
Once the small, then large drill have gone through, the reamer is offered up and run through very carefully. Once you check the pins you will see that they are very very snug ! ie tight …. taking the reamer through past its half way length (its tapered to half way) just takes that thousandth of an inch off to ensure a perfect hand tight fit.
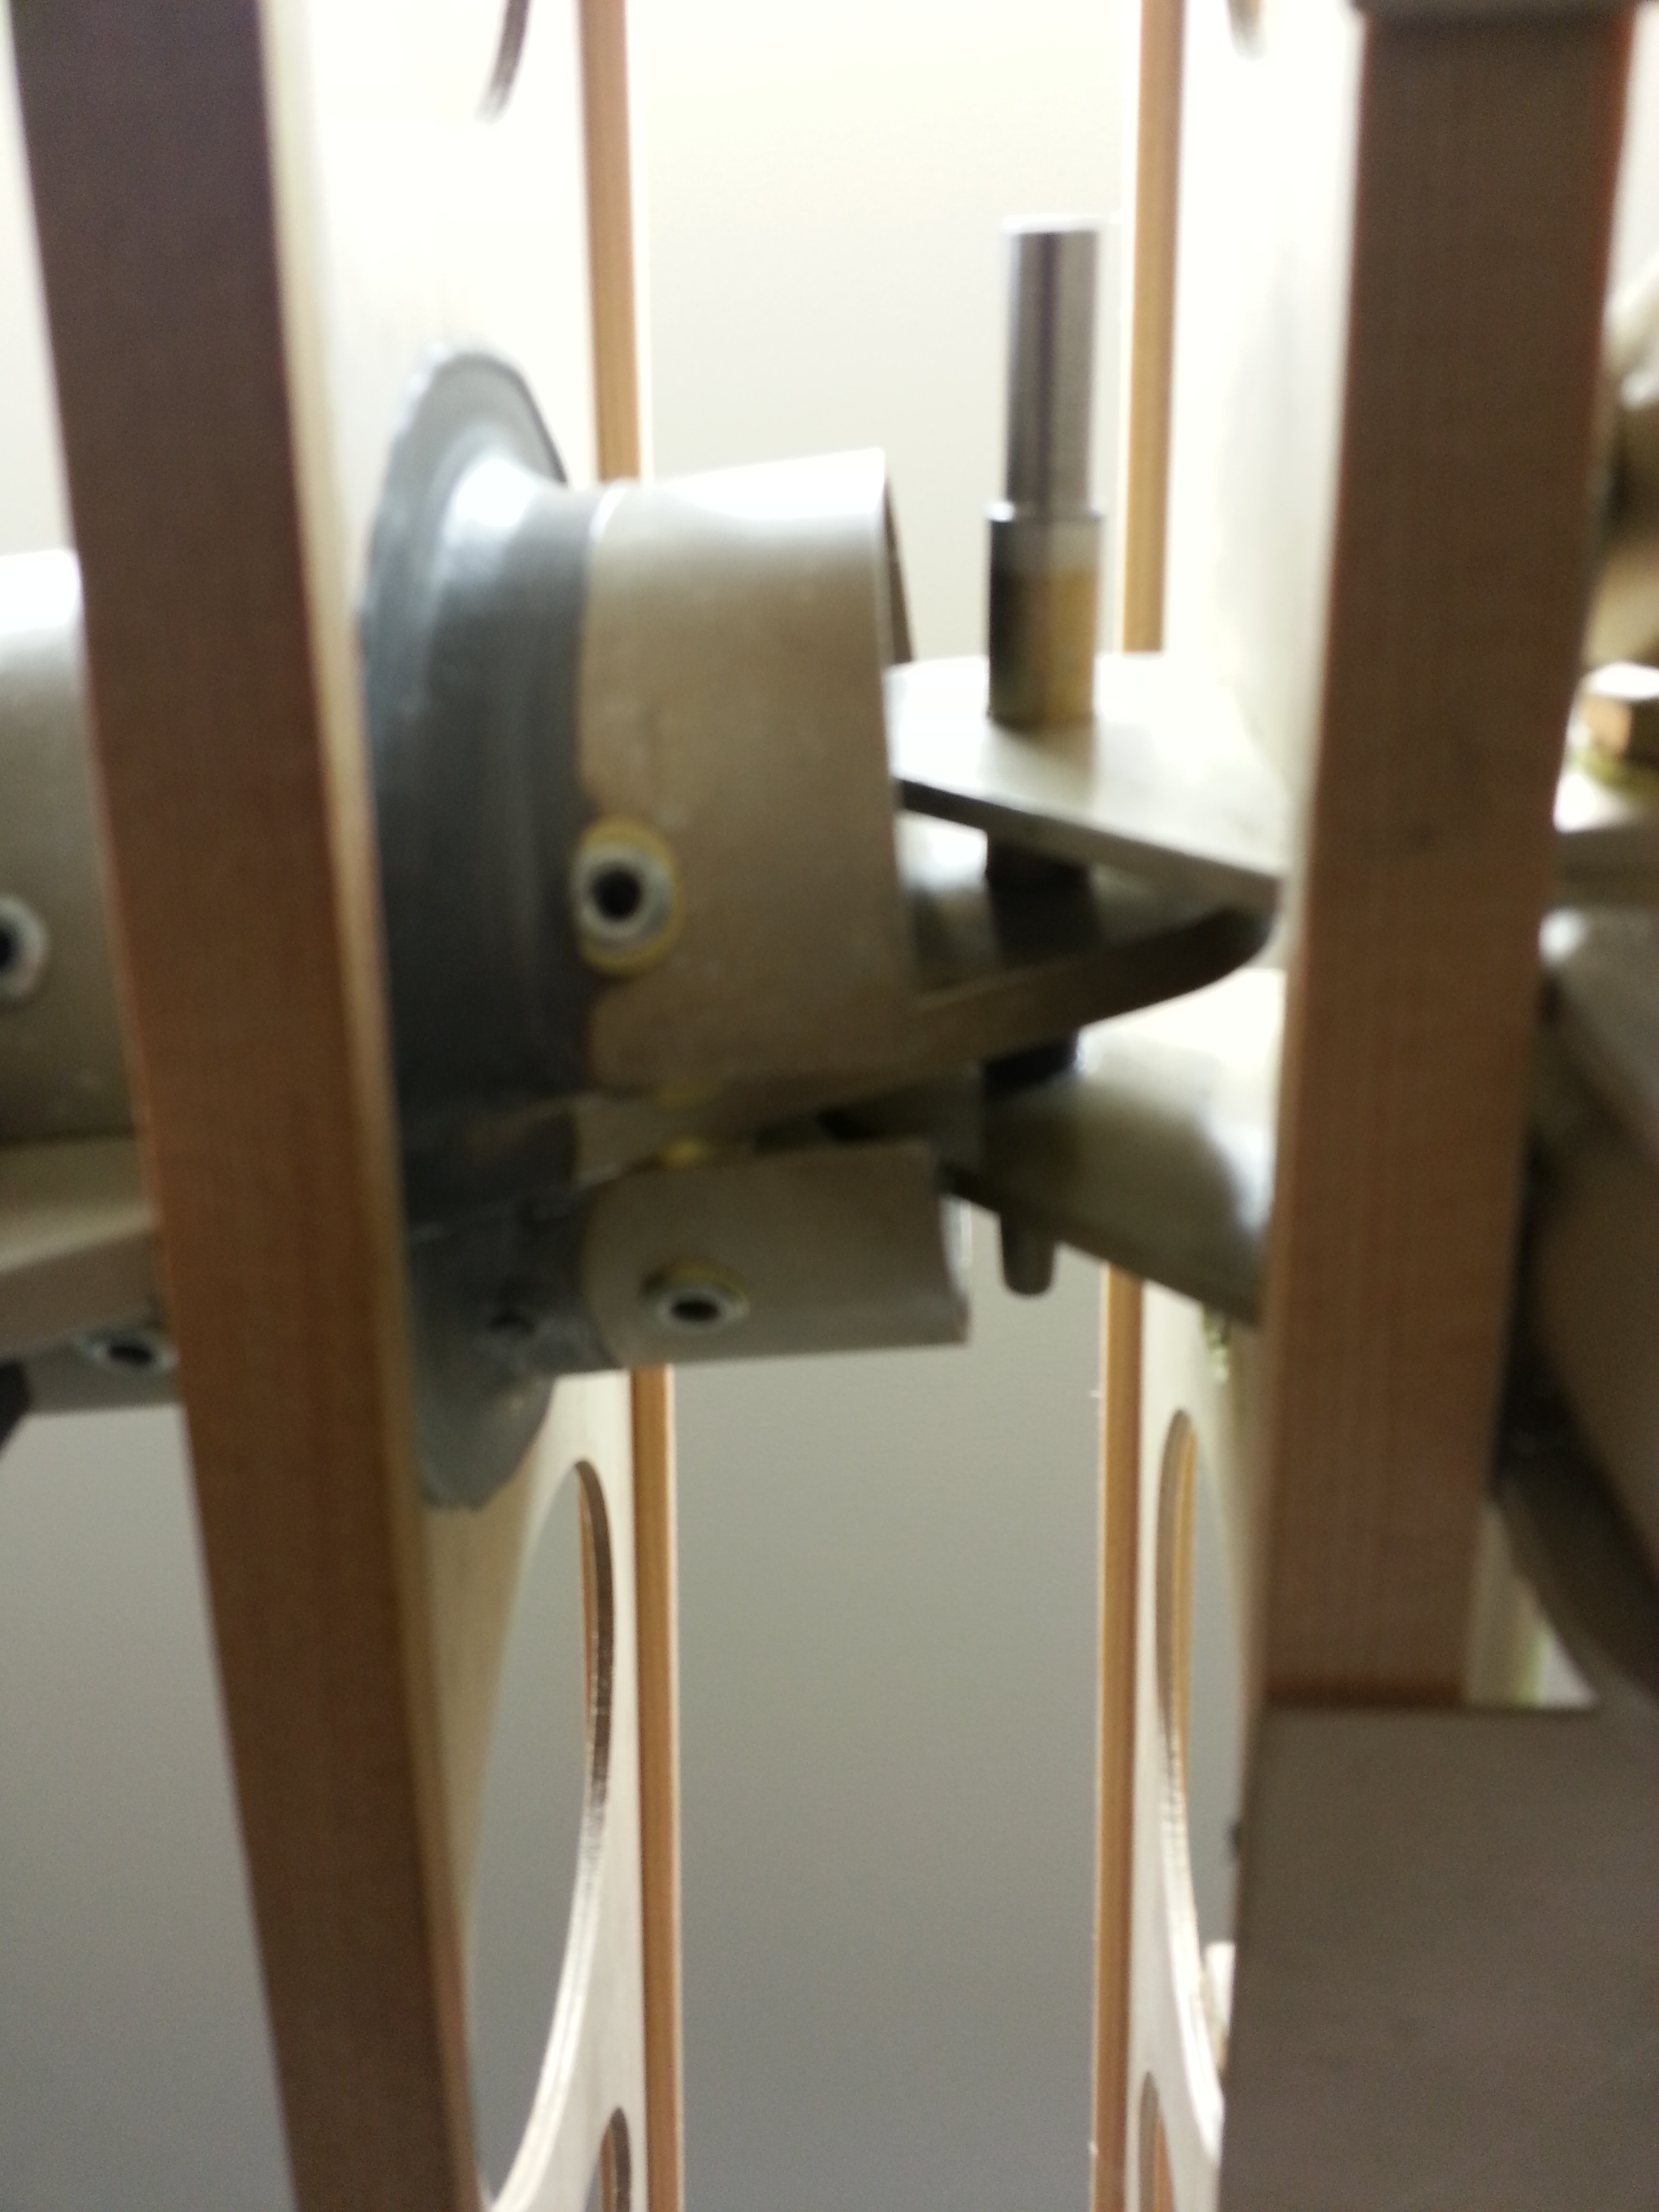
Accessing the top front cabane bracket proved very tight as well, even with a relatively thin drill and chuck. We considered the options and, with the boss firmly clamped and pilot hole aligned decided we could forego the pre 1/4 inch hole and use the boss to put the large drill through – the reason for this is the large drill has a TLAC extended shaft (taking it up to over 12 inches). This measn we can pretty much clear the leading edge. Mike spotted we would not get all the way through (BEFORE starting to drill) as the chuck would meet the leading edge before the drill had cleared the rear bracket. So – we opted to drill from behind.
Boss on, this worked a treat with constant pressure giving a full continuous swarf as it cut through.
All drilling completed and both top and bottom pegs just going in finger tight it was time to bring the wings back in. They aligned pretty well but the pegs were pretty tight. I then realised we had not put back the dihedral support. So packed back up to 3 degree lower (which enforces a 1 degree upper as the wing strut is in position) and BINGO… the pegs slipped – well very firmly – but nevertheless BY HAND .. into their fully home position … WHAT A MOMENT ! 23:30 🙂
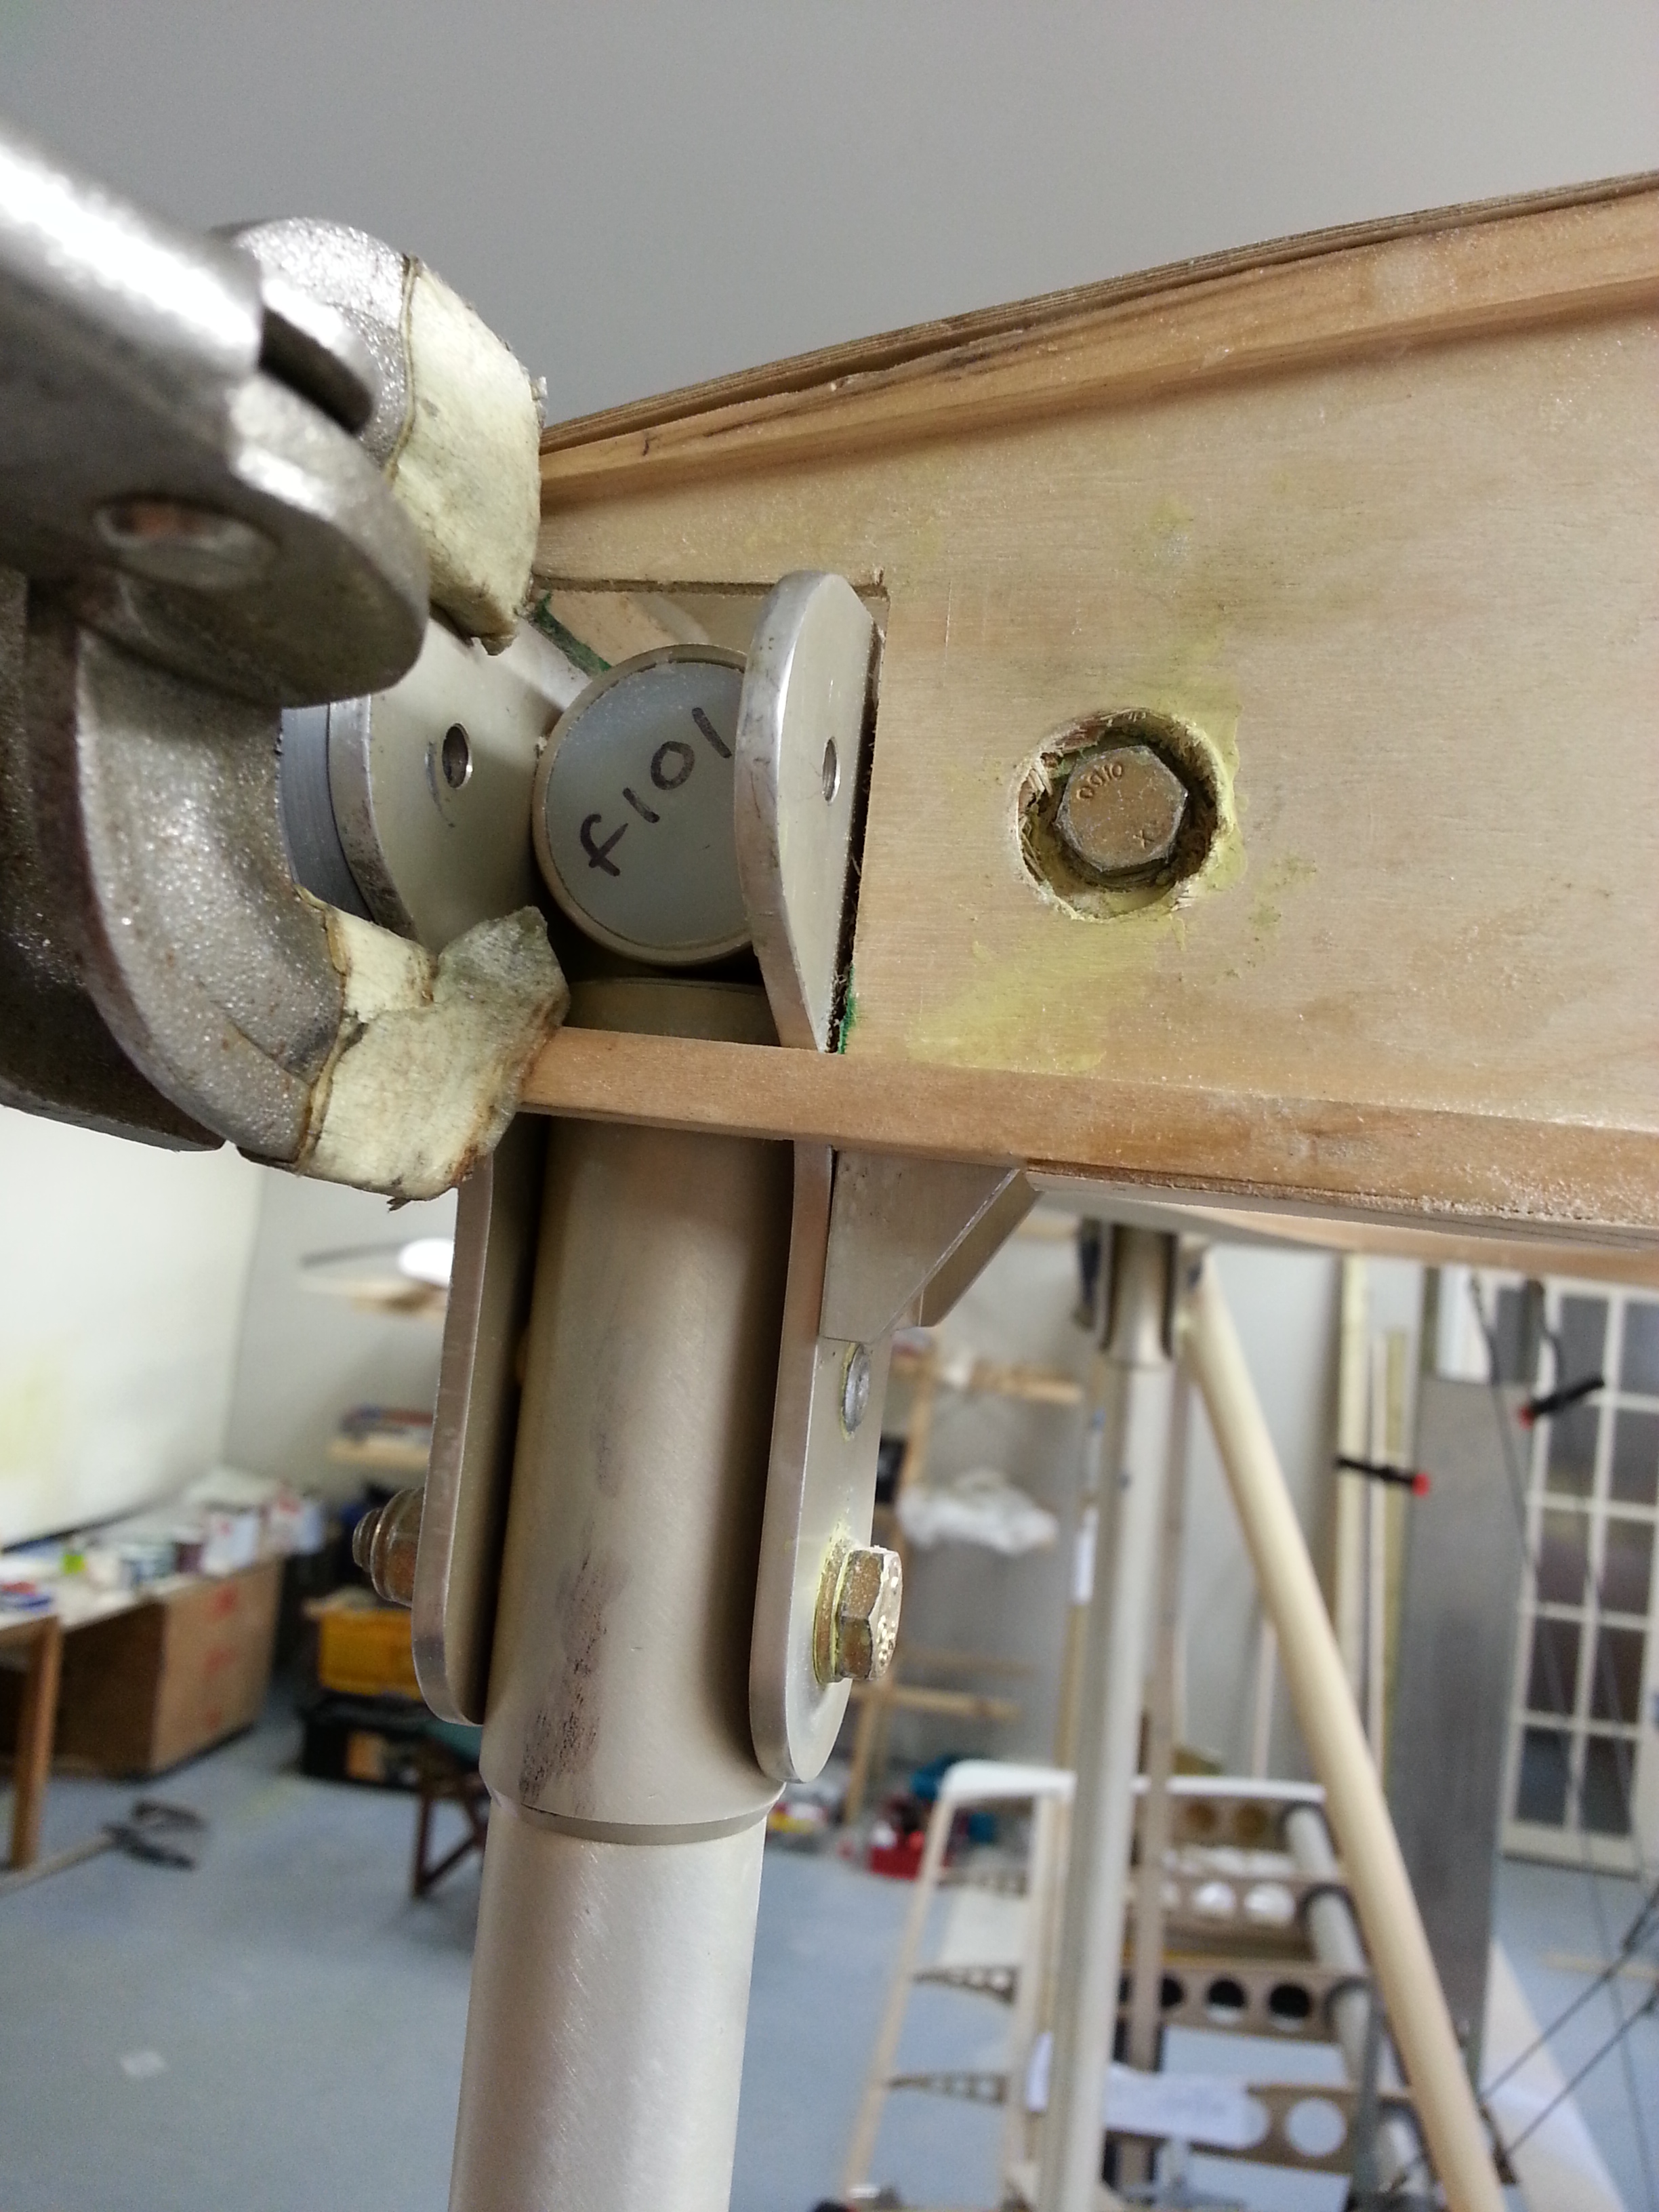
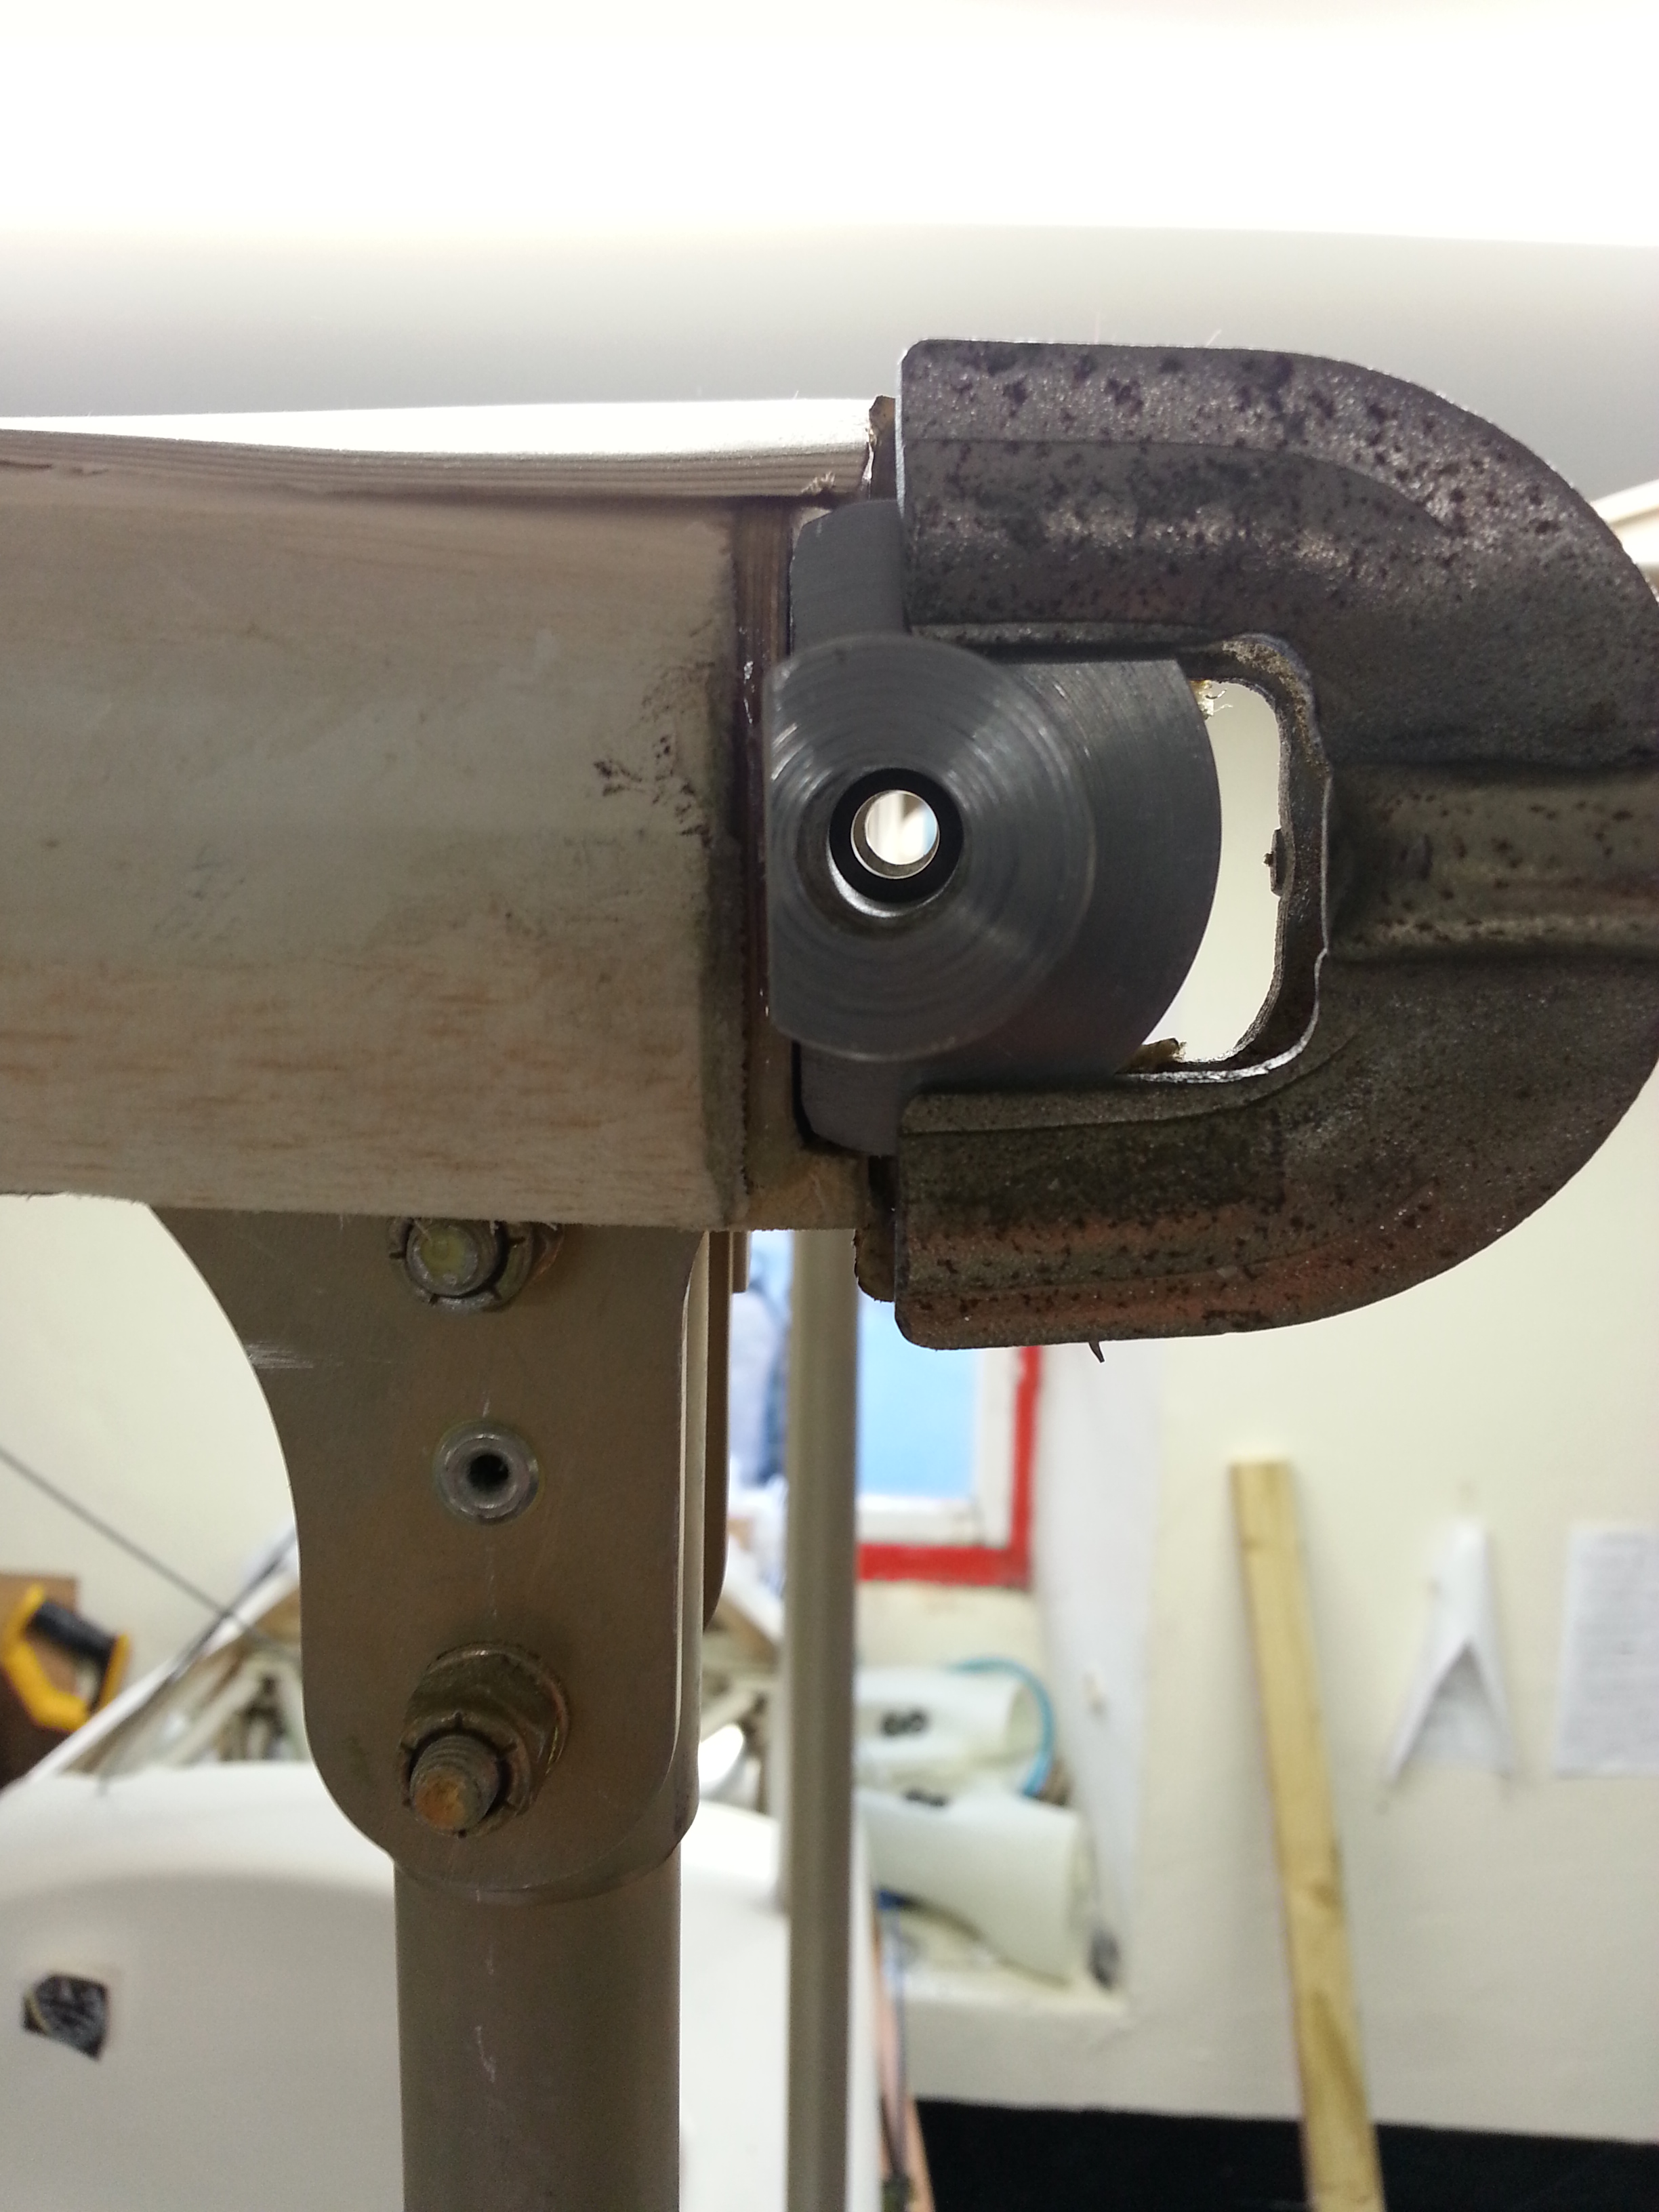
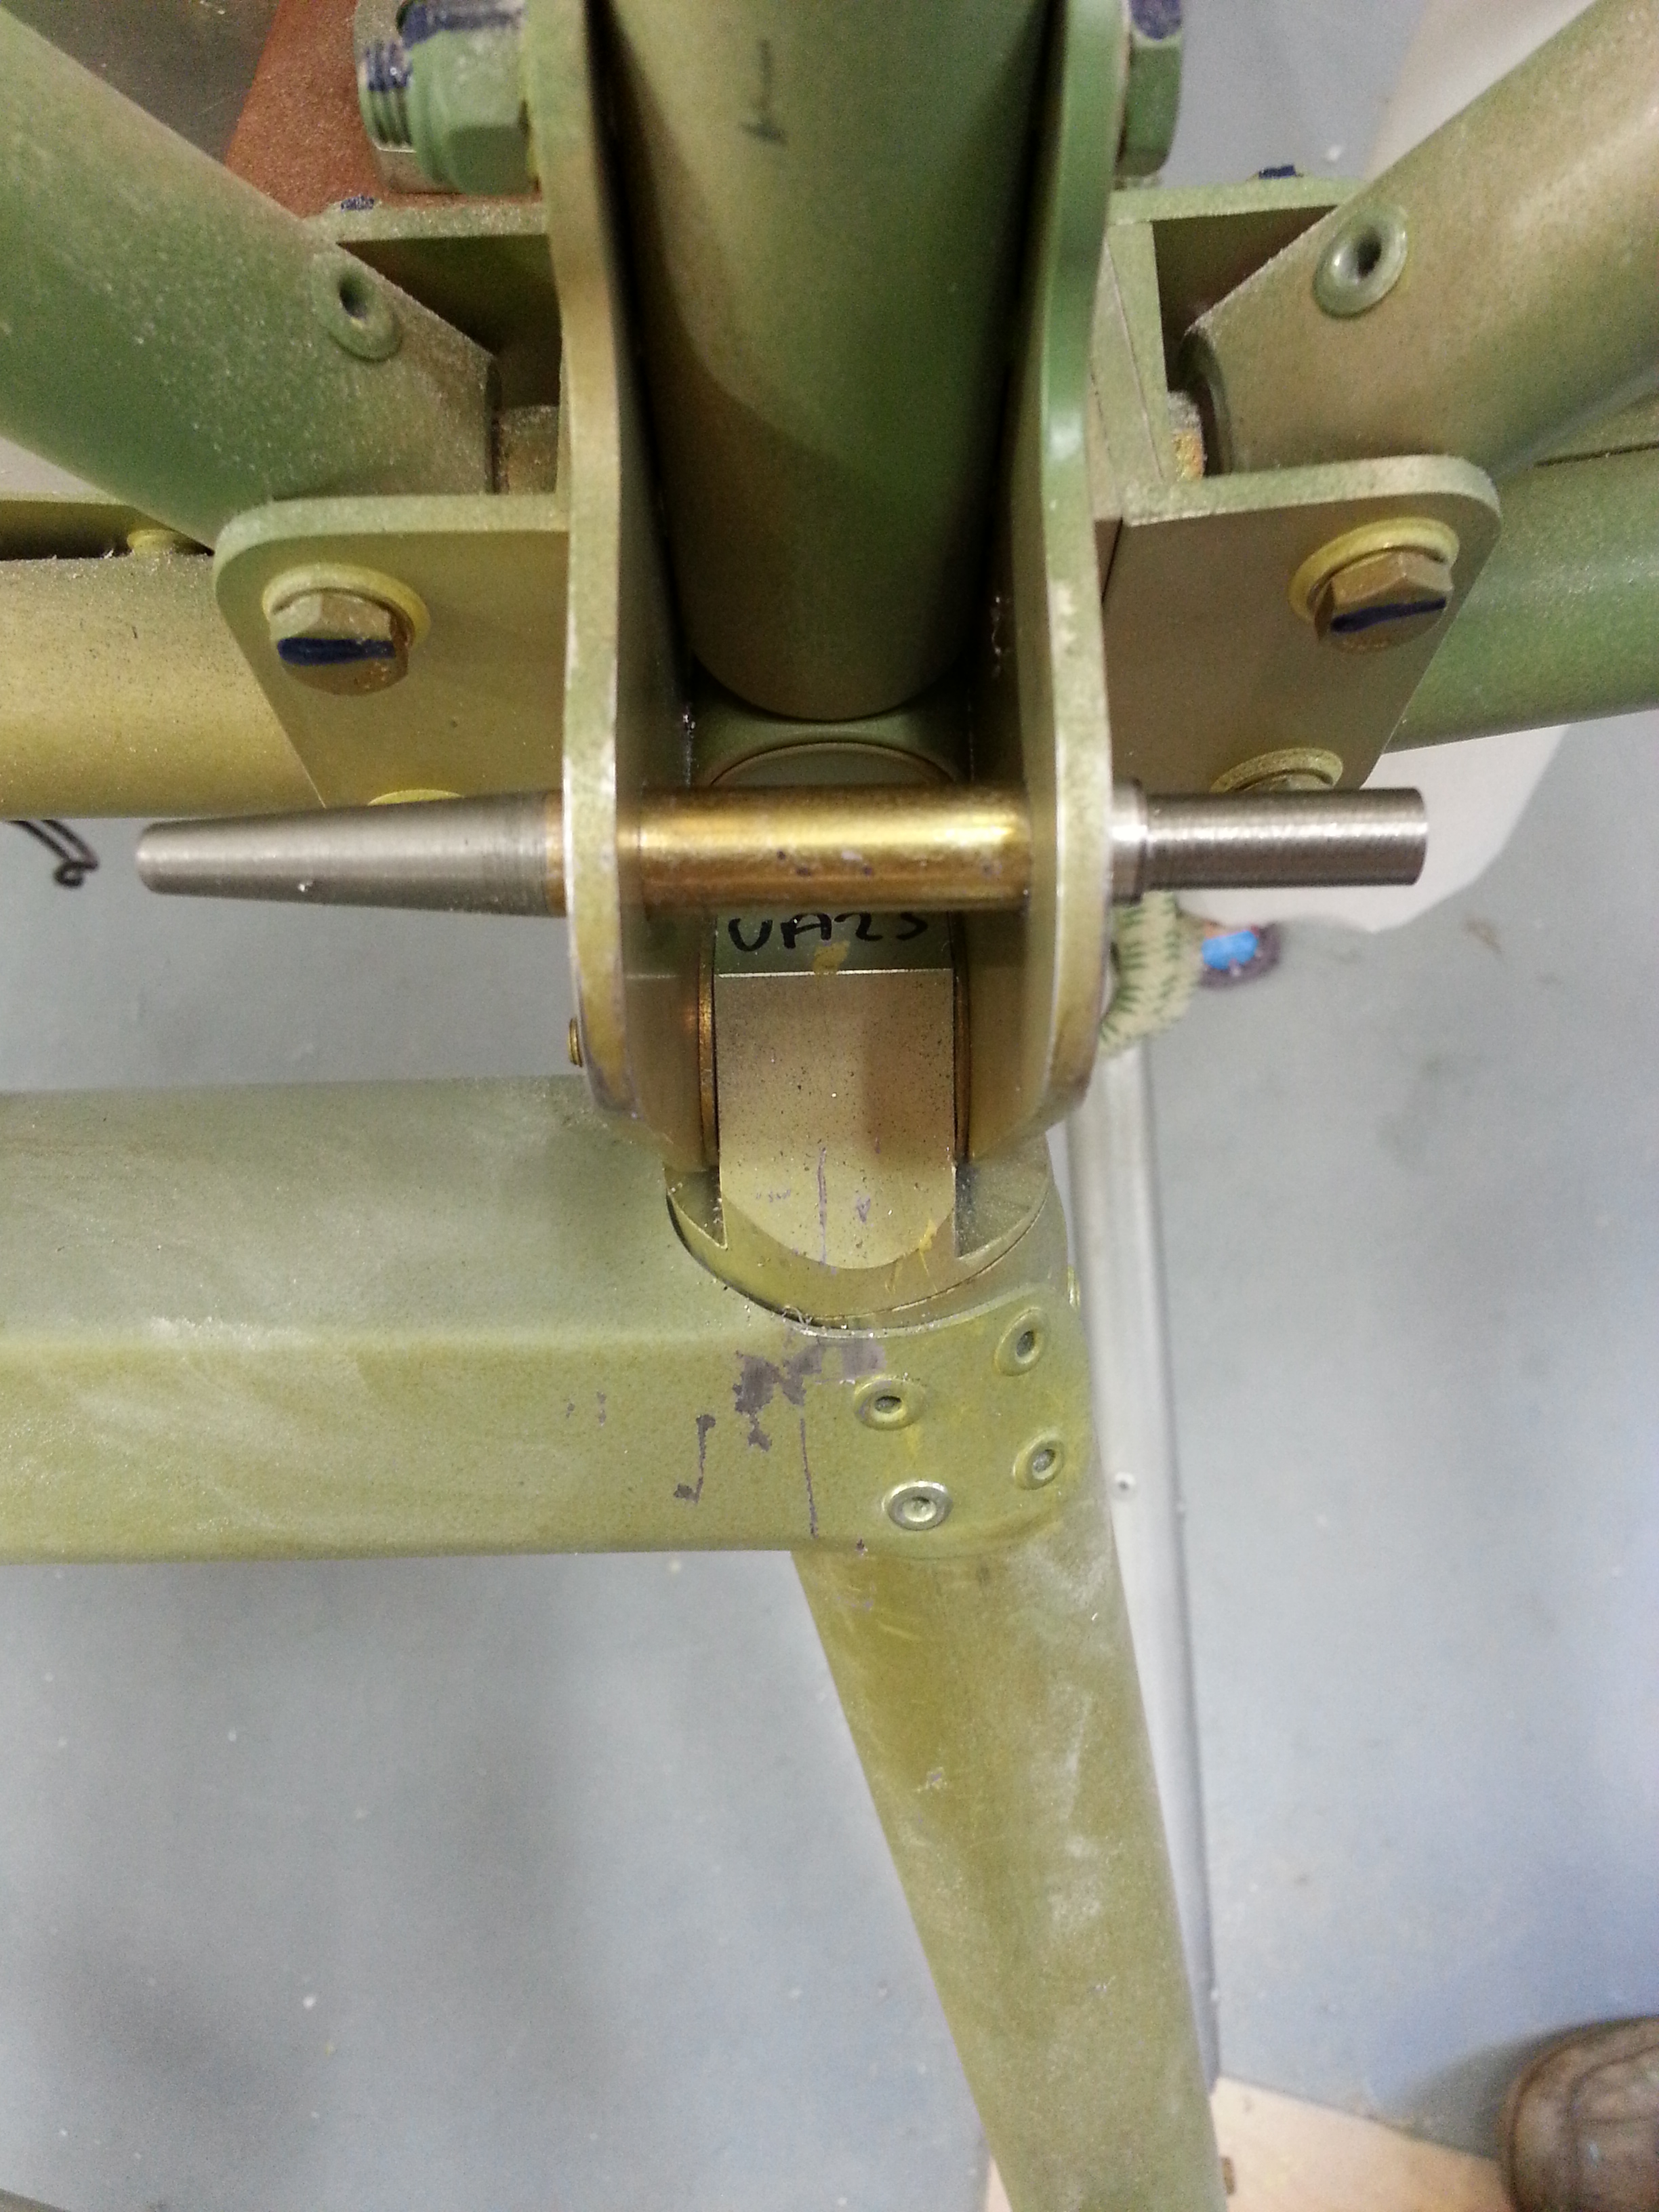
Above Fig – LOWER PEG
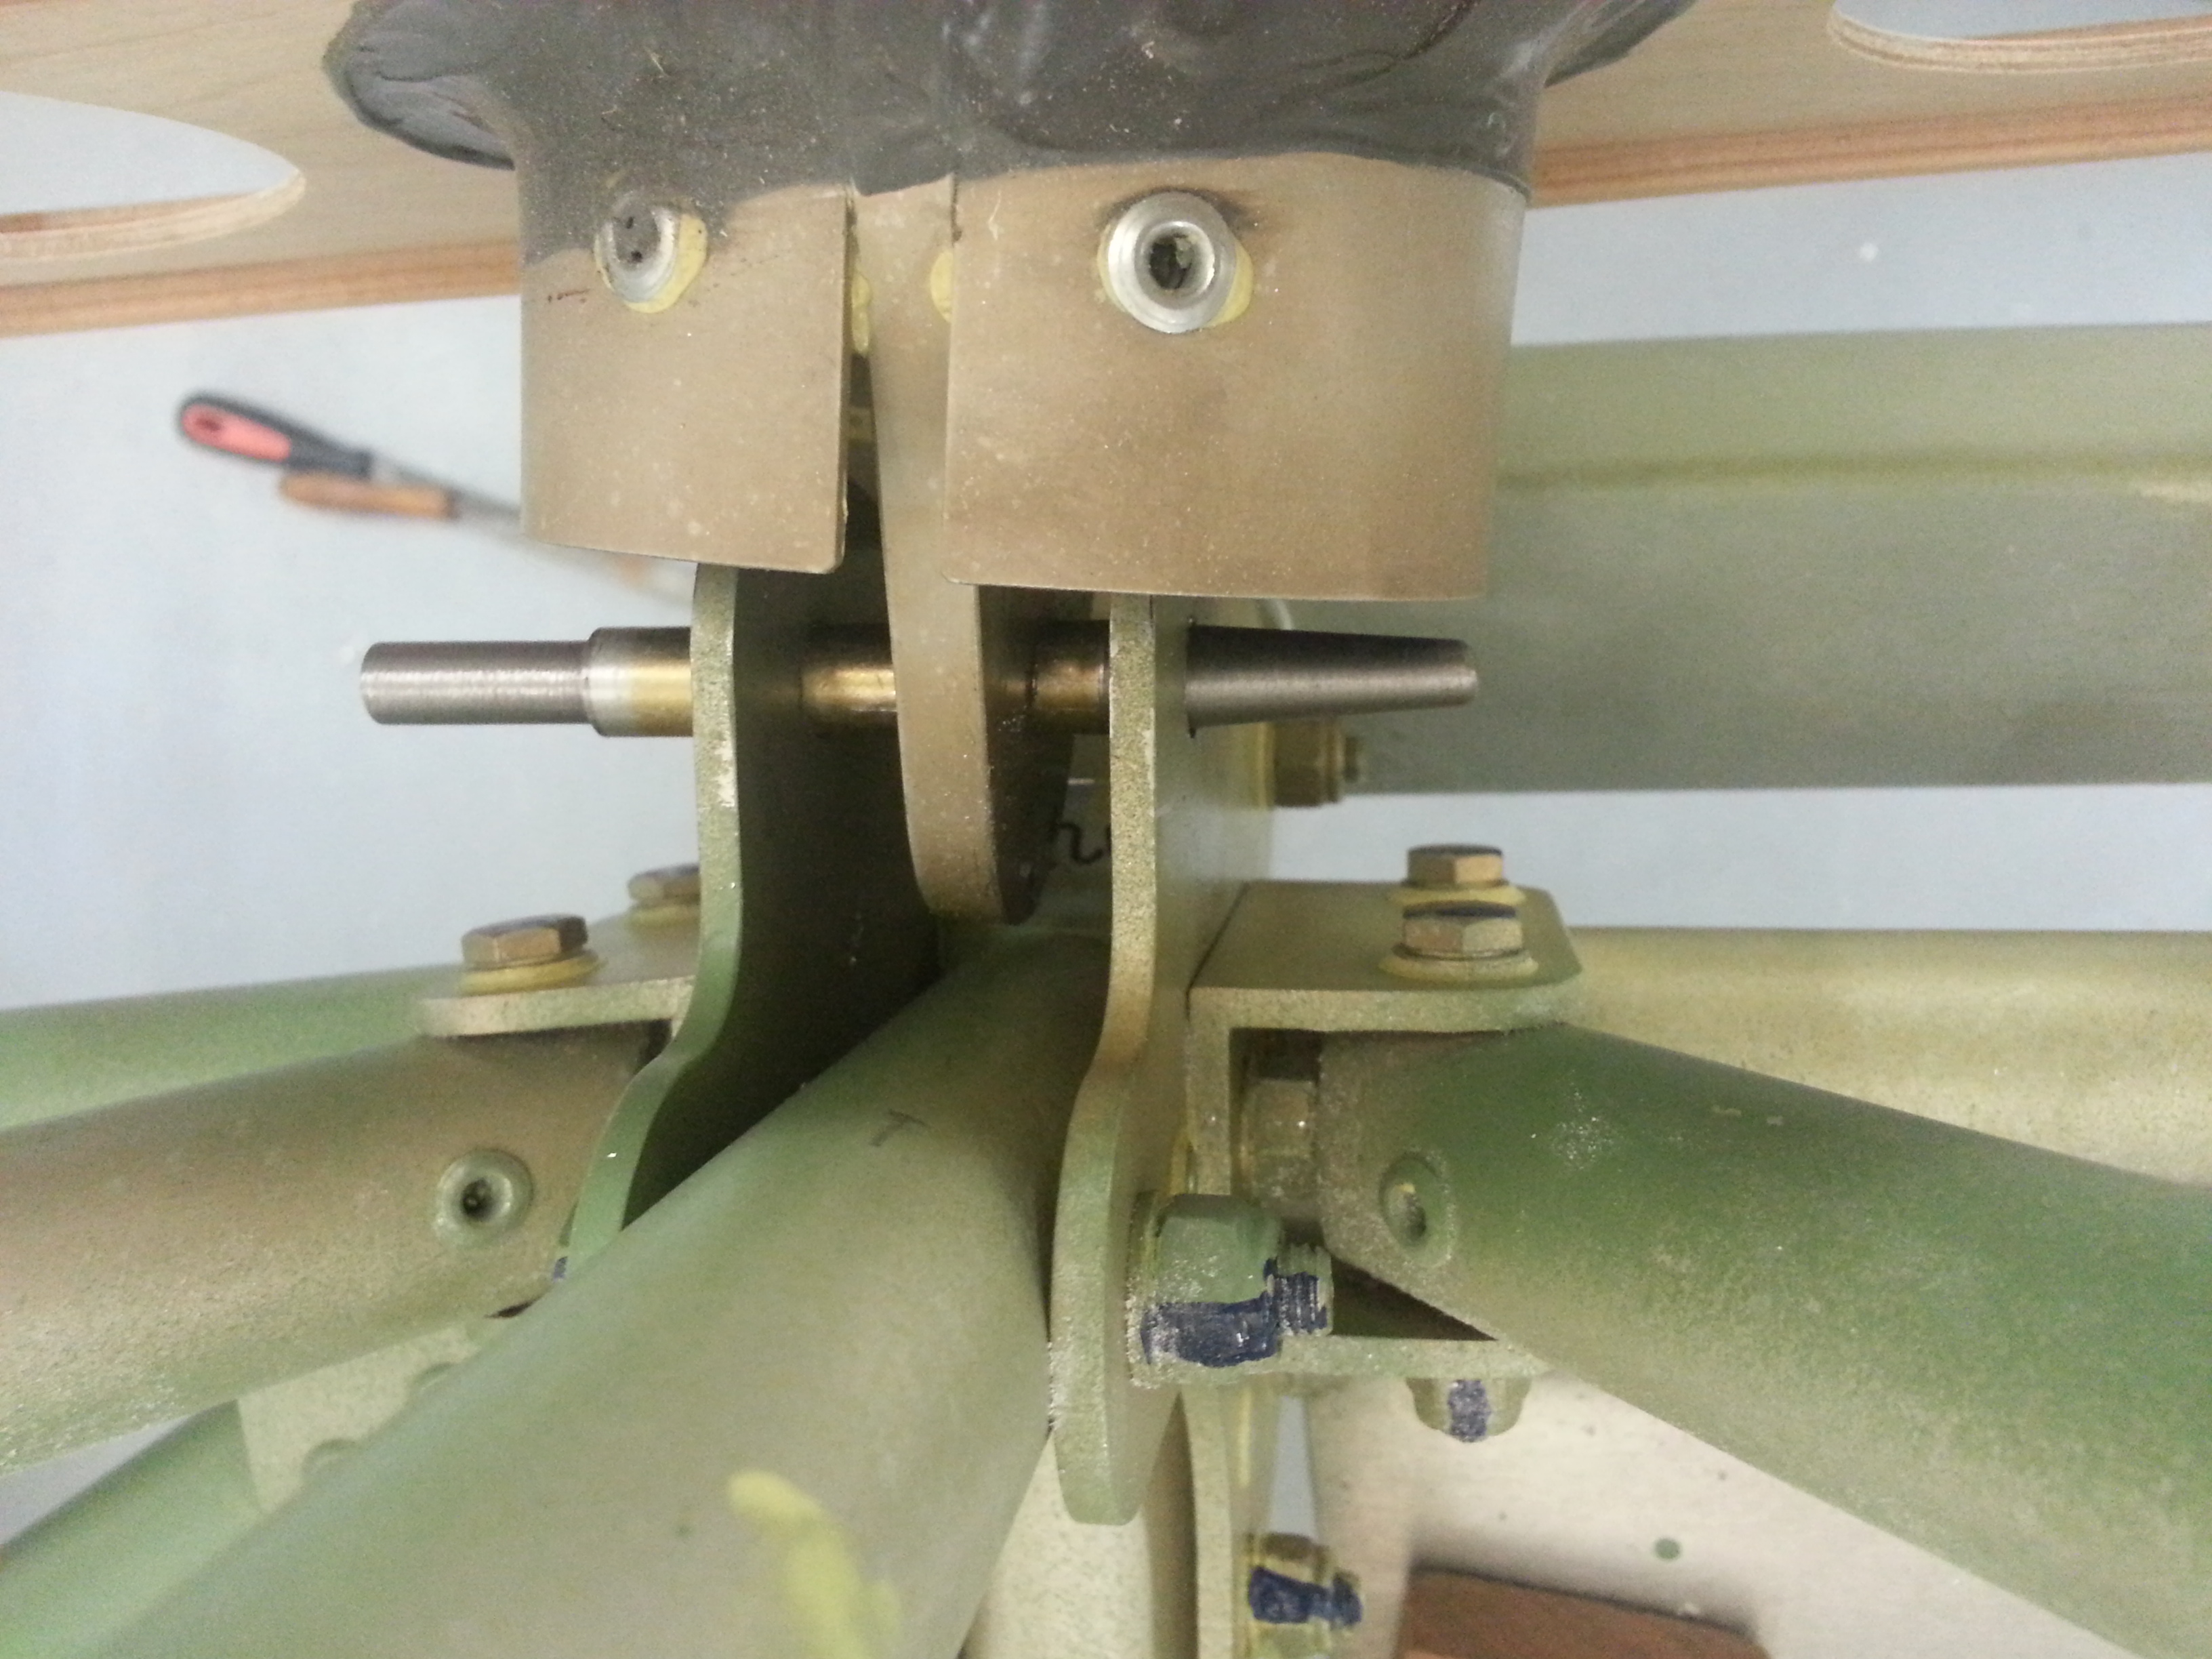
Above Fig – UPPER PEG – Viewed from below
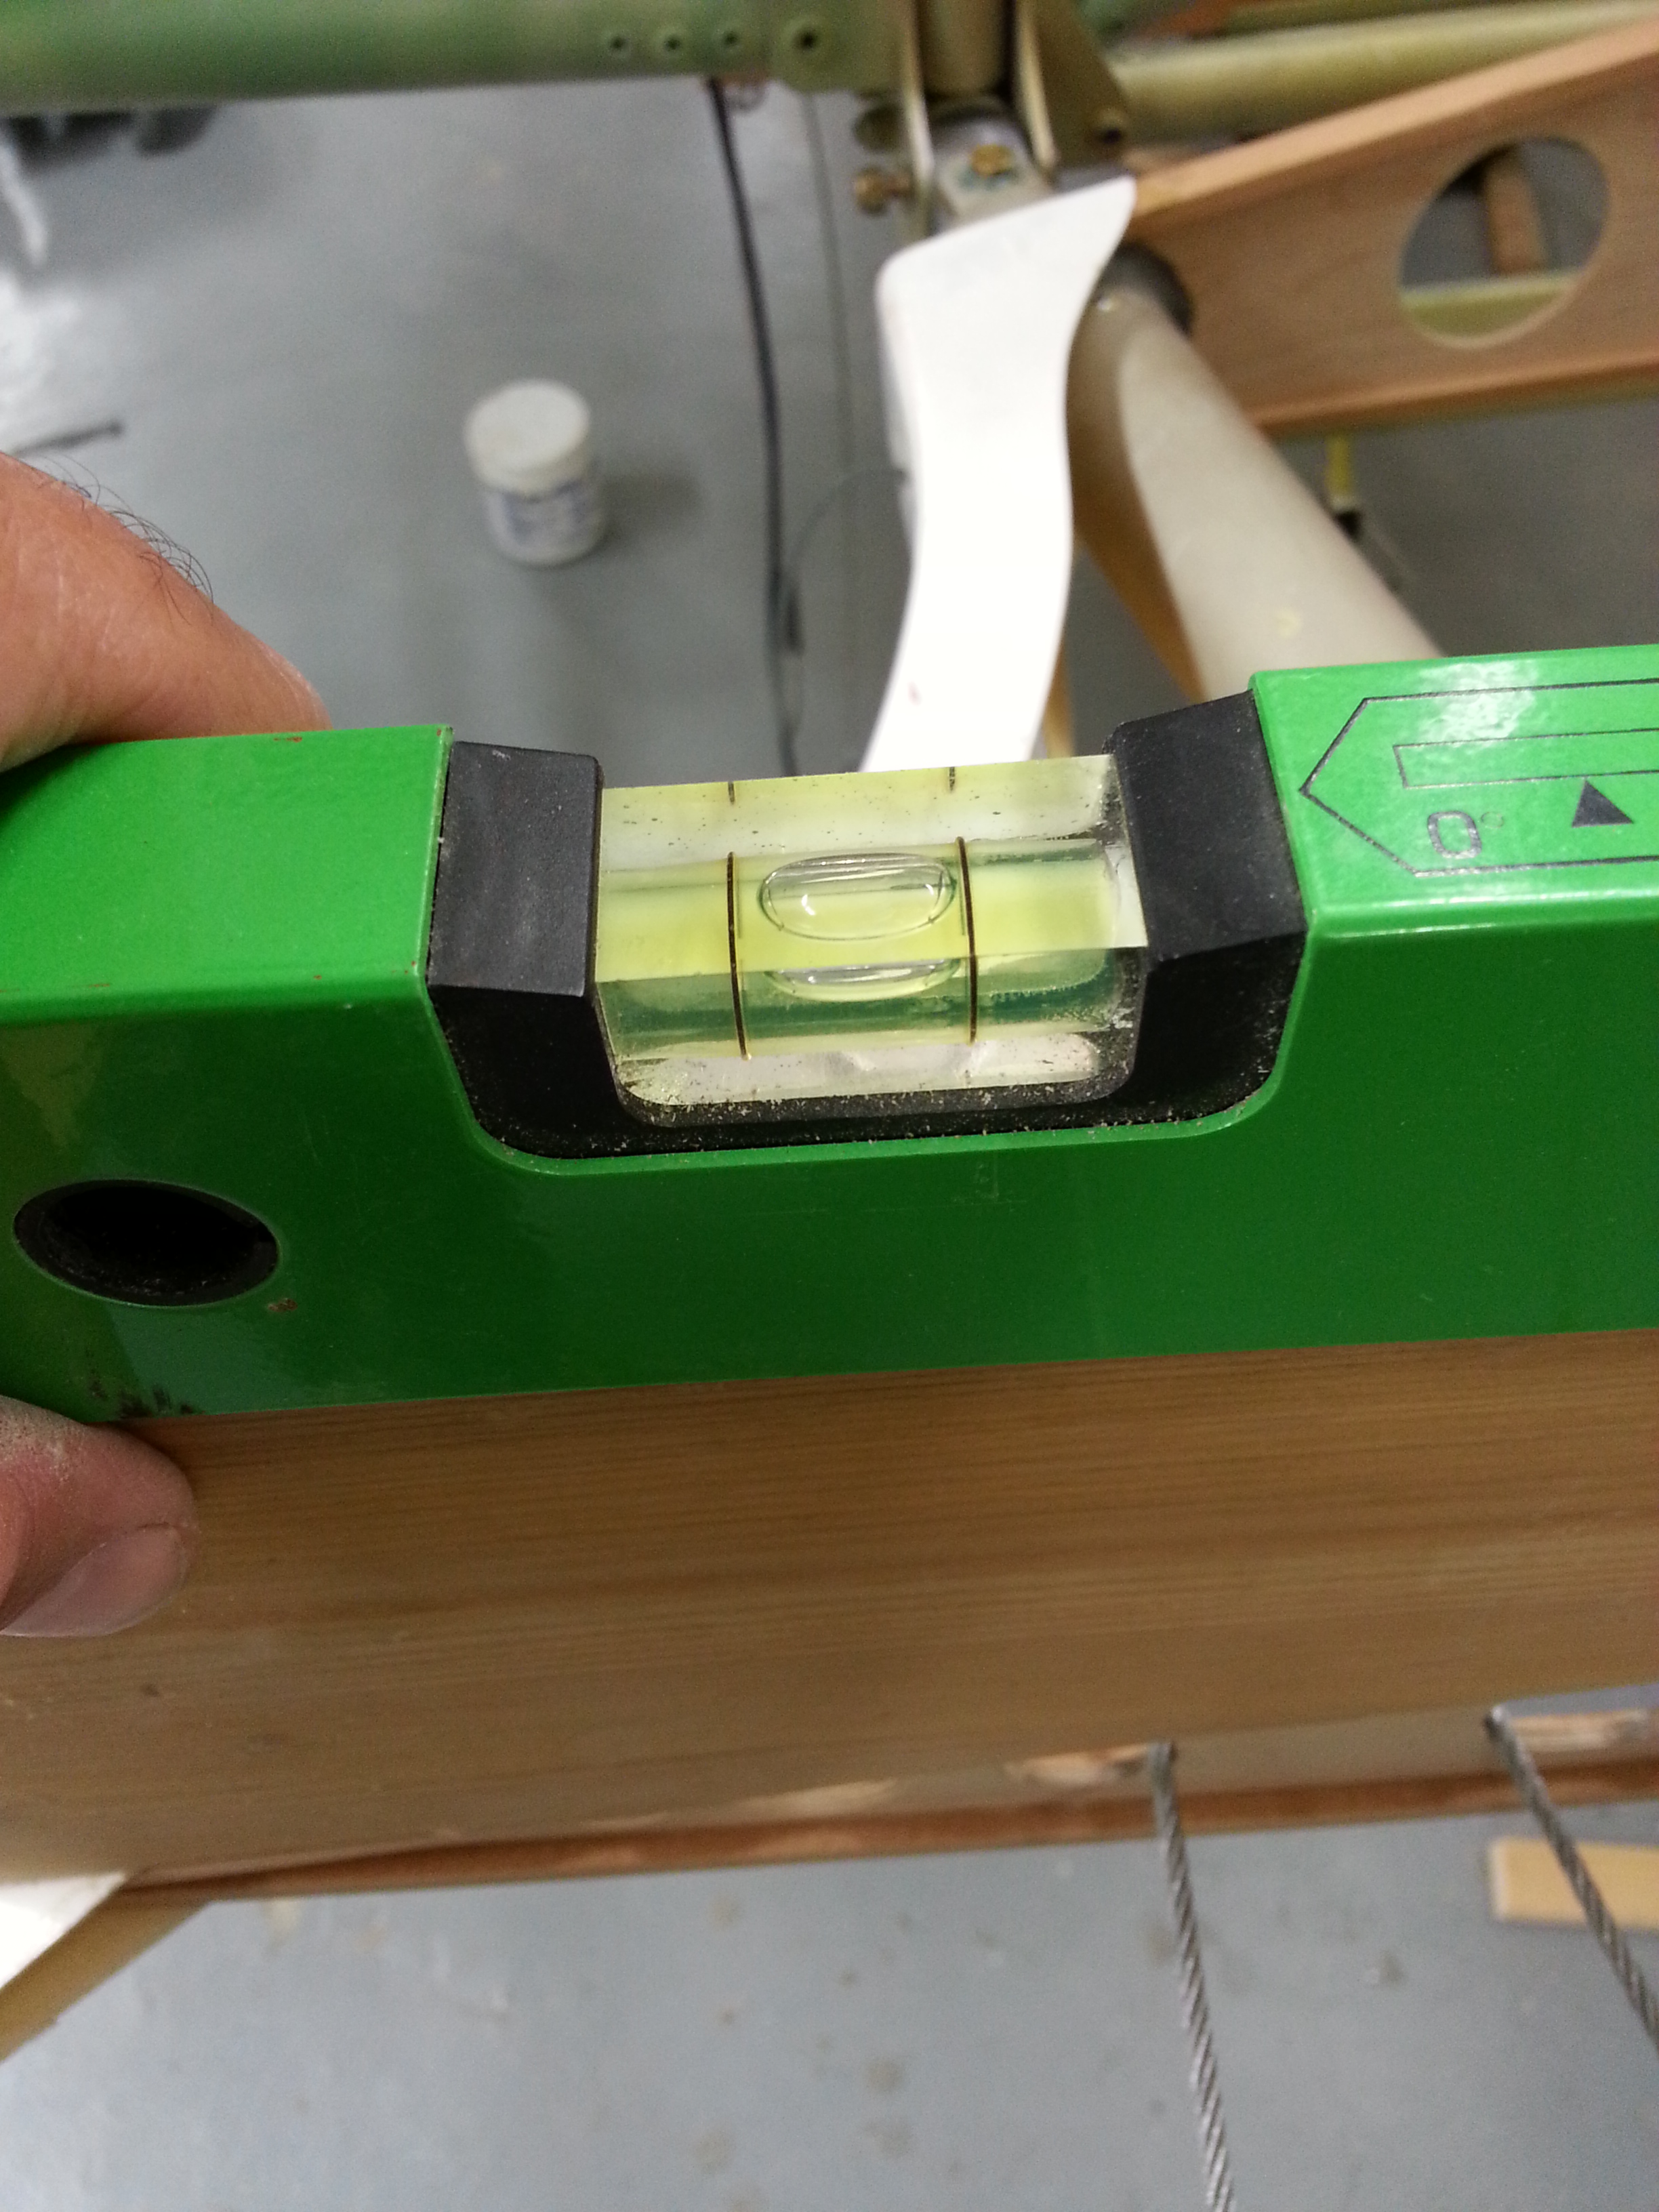
Final recheck of both Incidence and Dihedral once both pegs and rear bolts are in position

Leave a comment